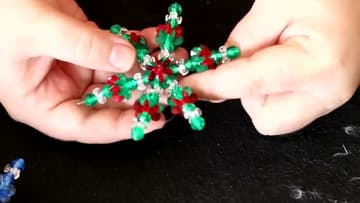
How to Make a Beaded Snowflake Ornament - Vintage Pipe Cleaner Style
Source: Crouton Crafts • Full tutorial: www.craftingstepbystep.com/jewelry-making/how-to-make-a-beaded-snowflake-ornament
- Difficulty
- Easy
- Hands-on time
- About 30 minutes
- Wait time
- 15 minutes
- Cost
- About $2 to $5
- Makes
- 1 snowflake ornament

Tools
- round nose pliers
- wire cutters or old scissors
- needle
Materials
- 12 inch white pipe cleaners
- 8mm faceted acrylic beads
- acrylic tri beads
- 18mm starflake beads in two colors
- super glue or nail glue
- paper clips or eye pins
- clear monofilament thread
Steps
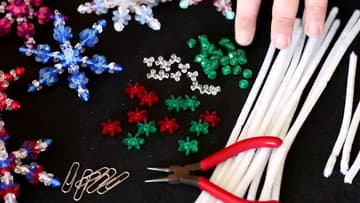
1. Gather Pipe Cleaners and Beads for the Snowflake Ornament
Set out 12 inch white pipe cleaners and your beads: 8mm faceted rounds, tri beads, and 18mm starflake beads in two colors. Add a pair of pliers, a few paper clips or eye pins, super glue or nail glue, and some clear monofilament or nylon quilting thread.
Tip: Sort the starflakes into color A and color B before you start.
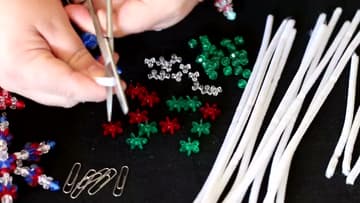
2. Cut the Pipe Cleaners in Half for the Snowflake Arms
Fold a pipe cleaner in half and snip it at the fold so you have two 6 inch pieces. Use wire cutters or an old pair of scissors, since the wire inside will dull good ones.
Tip: Cut a batch at once if you plan to make several ornaments.
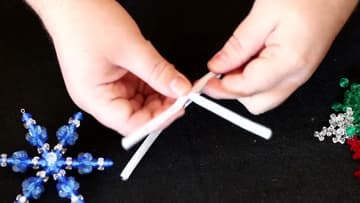
3. Twist Three Pipe Cleaner Halves Into a Six-Arm Snowflake Frame
Fold one half to find its center and pinch it. Lay a second half across that center and fold the first one around it, crossing the ends so it wraps.
Tip: Keep the center wraps flat. A bulky middle pushes the beads out.
4. String the Bead Pattern Onto One Snowflake Arm
On one arm, slide on an 8mm faceted bead and push it down to the center. Add a tri bead, then another faceted bead.
Tip: Twist the pipe cleaner tip as you thread. It finds the hole more easily.
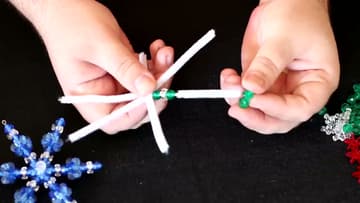
5. Bead All Six Arms of the Snowflake Ornament
Repeat the same sequence on the other five arms. Push each bead in snug against the center so the snowflake stays tight and even.
Tip: Lay it flat now and then to check the arms are all the same length.
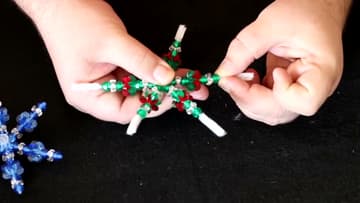
6. Trim Each Snowflake Arm and Glue On the End Bead
Slide the last bead off one arm and note where its tip landed on the pipe cleaner. Cut the pipe cleaner right below that spot.
Tip: Wipe stray glue off right away. Dried glue leaves a cloudy patch.
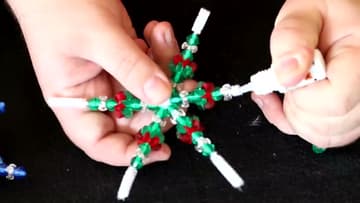
7. Glue a Paper Clip Hanger Into the Snowflake Tip
Straighten a paper clip, or use an eye pin. Pick any arm and push the wire into the end bead as far as it will go.
Tip: An eye pin gives a neater hanger than a paper clip if you have one.
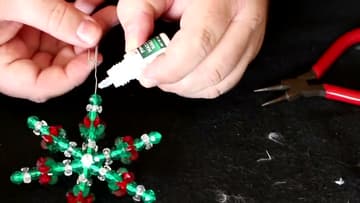
8. Bend the Snowflake Hanger Into a Loop With Pliers
Once the glue is set, trim the wire to about 3/8 inch above the bead. Leave too much and the loop gets big and clunky.
Tip: Roll the pliers, do not bend the wire. You get a rounder loop.
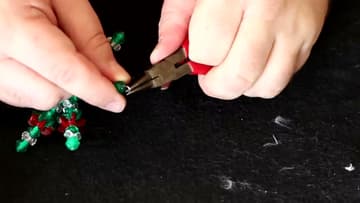
9. Secure Starflake Beads Over the Snowflake Center
Cut a length of monofilament and tie a faceted bead on, leaving a 6 inch tail. Set a starflake over the front center and wind the thread between its points and around the arms a few times.
Tip: Hot glue works for the center too if you would rather skip the thread.