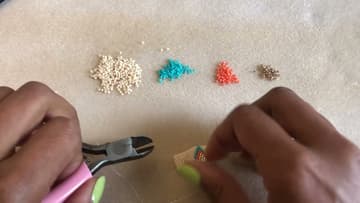
How to Make a Beaded Ring - Easy Peyote Stitch Ring
Source: Snails and Fairy Dust - Beading Tutorials • Full tutorial: www.craftingstepbystep.com/jewelry-making/how-to-make-a-beaded-ring
- Difficulty
- Medium
- Hands-on time
- About 1 hour 30 minutes
- Cost
- About $3 to $6
- Makes
- 1 ring

Tools
- size 12 beading needle
- flush cutters or thread snips
- bead mat
Materials
- size 11 Miyuki Delica seed beads in 3 to 4 colors
- 6 lb Fireline beading thread
Steps
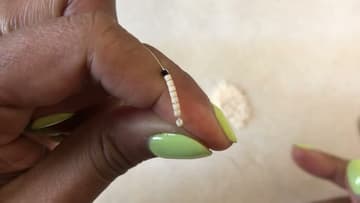
1. Add a Stop Bead and Pick Up Eight Beads for the Ring
Cut 4 to 5 feet of Fireline and thread your needle. Pick up one bead in a contrast color as a stop bead.
Tip: Use a bead color you will not use in the ring for the stop bead. It comes off later.
2. Work the First Peyote Stitch on the Beaded Ring
Wrap the thread around your finger to hold tension. Pick up one new bead.
Tip: Count from the stop bead the first time. After that the pattern shows you where to go.
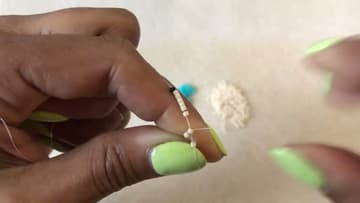
3. Finish the First Two Peyote Rows
Keep going the same way. Pick up a bead, skip the next bead in the original row, and pass through the bead after it.
Tip: Hold the tiny strip flat between finger and thumb. It is easier to see the steps.
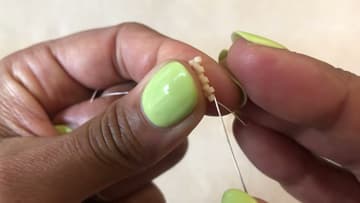
4. Add Four Beads Between the Up Beads Each Row
Take off the stop bead. From now on every row is four beads.
Tip: Count rows along the edge in zigzags. Each point on the edge is two rows.
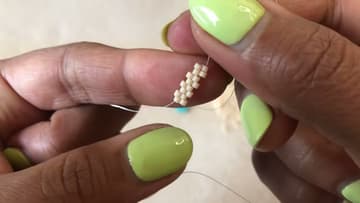
5. Start the Triangle Design on the Beaded Ring
To start the chevron, use one colored bead as the first bead of a row. On the next row, when you reach that colored bead, add another one beside it.
Tip: Lay the colors out in order on your mat before you start the design.
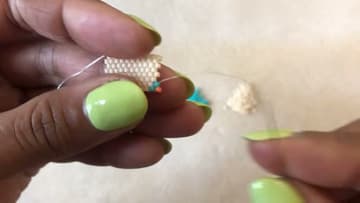
6. Build the Diagonal Stripes of the Ring Design
Continue the diagonal until the first color reaches the top edge of the band. She adds turquoise, coral and gold lines that follow each other, which makes a rainbow chevron.
Tip: Snap a phone photo of the design as you go so you can copy it on a matching ring.
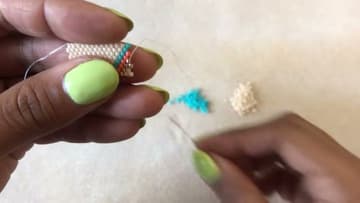
7. Size the Beaded Ring and Line Up the Ends
Wrap the band around your finger to check the length. The two ends must fit together like a zipper, with up beads on one end and down beads on the other.
Tip: Always add rows in pairs. One extra row means the ends will not mesh.
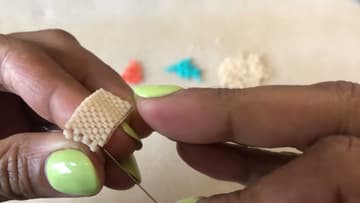
8. Zip the Beaded Ring Seam Closed
With the ends meshed, pass the needle through the up bead on the opposite end. Then go through the up bead on the near end, and back across again, zigzagging until you reach the last bead.
Tip: Pull slowly. Fireline is strong, but a sudden yank can kink it.
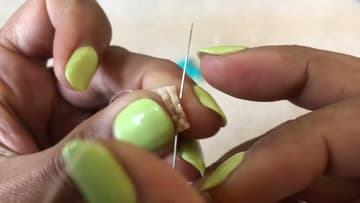
9. Weave In and Clip the Beaded Ring Threads
Weave the working thread back into the band. Find two neighbouring beads and loop around them two or three times to anchor the thread, then weave a little further and anchor again.
Tip: Use flush cutters. Scissors fray Fireline and leave a fuzzy end.