How to Transfer an Embroidery Pattern (4 Easy Methods)
Source: The Authentic Embroiderer • Full tutorial: www.craftingstepbystep.com/embroidery/how-to-transfer-an-embroidery-pattern
- Difficulty
- Easy
- Hands-on time
- About 20 minutes
- Wait time
- 30 minutes
- Cost
- About $6 to $12

Tools
- embroidery hoop
- inkjet printer
- iron
- scissors
- rotary cutter
- tracing stylus
- heat-erasable fabric pen
- water-soluble transfer pen
Materials
- plastic-coated freezer paper
- printable fabric sticker sheets
- Sticky Fabri-Solvy stabilizer
- dressmaker's carbon transfer paper
- pattern tracing fabric
- cotton embroidery fabric
Steps
1. Iron Freezer Paper to Your Fabric (Method 1)
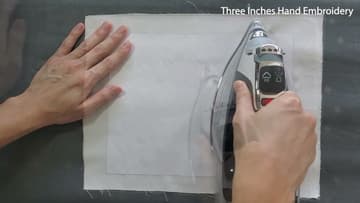
The first method prints your pattern straight onto fabric, and it starts with plastic-coated freezer paper. Iron your fabric flat, then lay the freezer paper shiny side down on top and press it with a hot iron for 15 to 20 seconds.
Tip: Watch this step Make sure the shiny, coated side of the freezer paper faces the fabric, or it will not stick when you iron it.
2. Print the Pattern Onto the Fabric
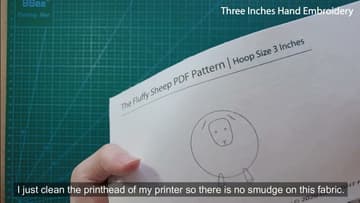
Load the stiffened fabric into an inkjet printer with the fabric side facing up, and print your design onto the cloth. The lines come out crisp and sized exactly to your pattern, which is why this is the most accurate of the four methods.
Tip: Watch this step Clean your printer's printhead first so the ink lays down without smudging on the fabric.
3. Stick Fabri-Solvy Onto Hooped Fabric (Method 2)
Sticky Fabri-Solvy is a printable, self-adhesive stabilizer that washes out with water. Print your design onto it, cut it to size, and set it aside.
Tip: Watch this step Hoop the fabric before you apply the stabilizer, not after, so the surface stays smooth and drum-tight.
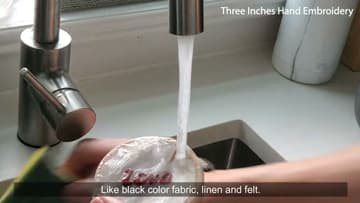
4. Stitch, Then Rinse the Stabilizer Away
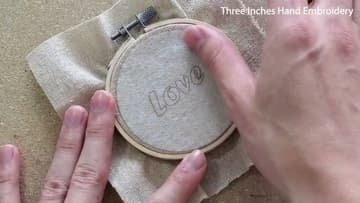
Once your design is stitched, hold the whole piece under running water. The Fabri-Solvy dissolves and rinses off, leaving your thread sitting on clean fabric with no residue.
Tip: Watch this step Give it a good rinse for two to three minutes so no sticky residue is left to stiffen the fabric.
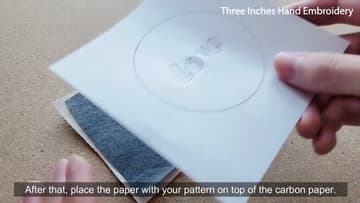
5. Trace Through Carbon Paper (Method 3)
Carbon paper copies a drawing onto fabric with no printer at all. Lay a sheet of dressmaker's carbon on your fabric with the dark, waxy side facing down, then set your paper pattern on top of it.
Tip: Watch this step A dried-up ballpoint or a proper stylus both work; you just need a hard point that presses without tearing the paper.
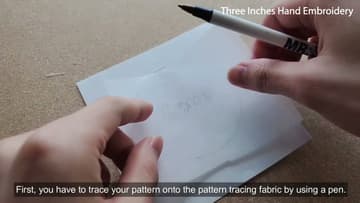
6. Trace Your Design Onto Pattern Tracing Fabric (Method 4)
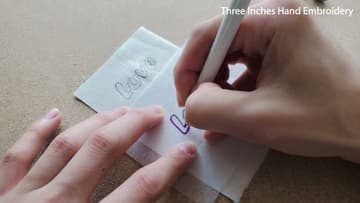
The last method uses pattern tracing fabric, a thin see-through non-woven sheet that sewers keep for copying patterns. Set it over your printed design and trace the outline onto it with any pen you have to hand.
Tip: Watch this step Any regular pen works for this first tracing, since it only goes onto the tracing fabric and not your project.
7. Transfer the Outline With a Heat or Water Pen
Lay the traced tracing fabric on top of your project fabric and go over the lines one more time. Use a heat-erasable pen or a water-soluble transfer pen so the marks vanish later with heat or a splash of water, leaving nothing on the finished piece.
Tip: Watch this step The heat pen gives the sharpest line, but test either pen on a scrap first to be sure the marks fully disappear.