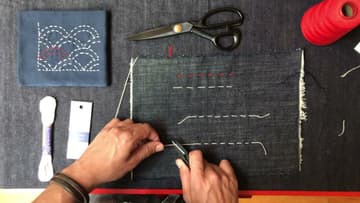
How to Sew Sashiko Stitches to Mend Jeans (Visible Mending)
Source: Levi's® • Full tutorial: www.craftingstepbystep.com/embroidery/how-to-sew-sashiko-stitches
- Difficulty
- Easy
- Hands-on time
- About 1 hour
- Cost
- About $4 to $10
- Makes
- 1 mended pair of jeans

Tools
- sashiko needle
- fabric shears
- thread snips
- clear quilting ruler
- tailor's chalk
- safety pins
Materials
- sashiko thread
- denim scrap for the patch
Steps
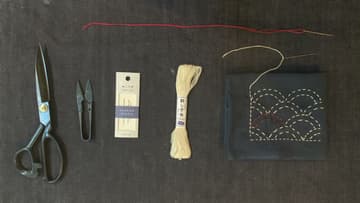
1. Gather Sashiko Thread, Needles and Snips for Mending Jeans
You need very little for this mend. A long sashiko needle, a skein of sashiko thread and something to cut with are the basics.
Tip: White thread on blue denim is the classic look, but any color you love works.
2. Measure One Inch Beyond the Hole in the Jeans
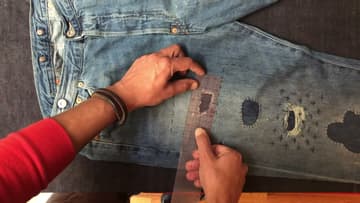
Lay the jeans flat and check how big the damaged area is. Use a clear ruler so you can see the fabric underneath.
Tip: Measure the thin, faded area, not only the open hole.
3. Place the Denim Patch Behind the Hole Inside the Jeans
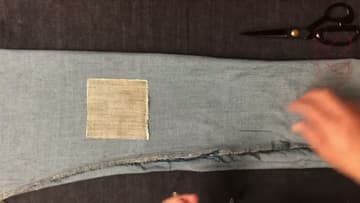
Cut your denim scrap to the size you measured. Turn the jeans inside out and find the back of the hole.
Tip: Pick a scrap in a similar weight of denim so the mend bends with the rest of the jeans.
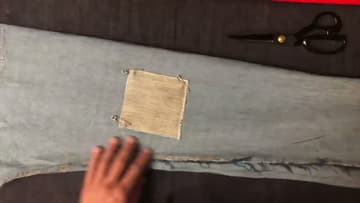
4. Pin the Denim Patch at All Four Corners
Secure the patch before you turn the jeans back the right way. A quick and easy way is a safety pin at each corner.
Tip: Pin from the outside of the jeans so you can take the pins out as you stitch.
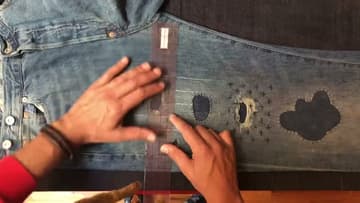
5. Draw Chalk Guidelines Over the Patched Hole
Give yourself some lines to follow. Lay a ruler across the patched area and draw evenly spaced lines with tailor's chalk, first in one direction and then the other.
Tip: Chalk brushes off, so you do not need to worry about marks left behind.
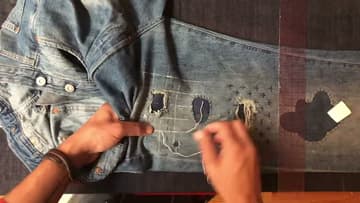
6. Sew Vertical Sashiko Running Stitches Along the Grid
Thread your needle with sashiko thread. Even though the finished look is a crosshatch, every line is a plain running stitch: in and out, in and out along the chalk line.
Tip: Load two or three stitches onto the needle before pulling through. It goes faster.
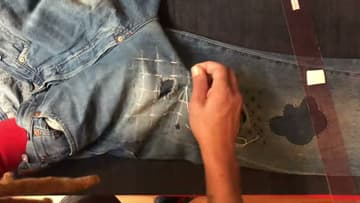
7. Add Horizontal Sashiko Stitches to Make the Crosshatch
Once every vertical line is done, go back over the area and stitch the horizontal lines the same way. Where the two directions cross, you get the crosshatch look.
Tip: Smooth the fabric flat with your hand after every row to check for puckers.
8. Bring the Needle Up for the Last Sashiko Stitch
Dyuna switches to a denim scrap to show the finish up close. Treat the end of your last row as the final stitch of the project.
Tip: Practicing the finish on a scrap first takes the worry out of doing it on the jeans.
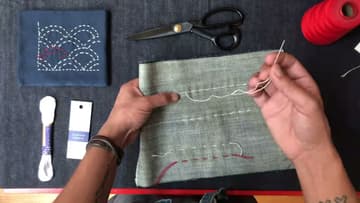
9. Lock the Sashiko Thread With a Back Stitch on the Back
Flip the garment inside out, or in this case flip the scrap over. Take the needle back through the same hole as your last stitch.
Tip: For extra security, make the back stitch twice in the same spot.
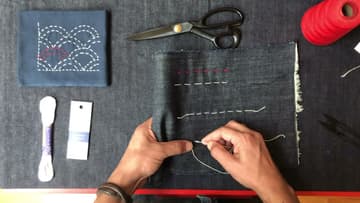
10. Trim the Sashiko Thread Tail on the Back of the Denim
On the back of the fabric, cut the leftover thread close to the stitch with thread snips. Leave a short tail so it cannot work its way back through.
Tip: Wash the jeans inside out to keep the white stitches bright.