How to Separate Embroidery Floss Without Tangles
Source: Easy Sewing for Beginners • Full tutorial: www.craftingstepbystep.com/embroidery/how-to-separate-embroidery-floss
- Difficulty
- Easy

Tools
- thread snips
- embroidery needles
- thread conditioner (optional)
Materials
- 6-strand embroidery floss
Steps
1. Measure a Length of Embroidery Floss From Fingertip to Armpit
Find the loose end of your skein and pull out some floss. Hold the end at your fingertip and stretch the thread along your arm to your armpit.
Tip: Leave the paper bands on the skein. They hold the color number you will need to buy more.
2. Snip the Embroidery Floss Away From the Skein
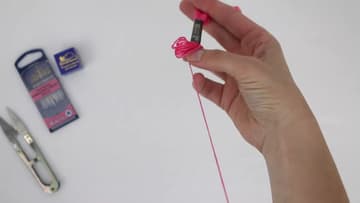
Cut the measured piece off with thread snips or small sharp scissors. Cut straight across, close to where the floss leaves the skein.
Tip: Snips are faster than scissors for this. You squeeze them with one hand while the other holds the thread.
3. Tap the Cut End of the Embroidery Floss to Fan the Strands
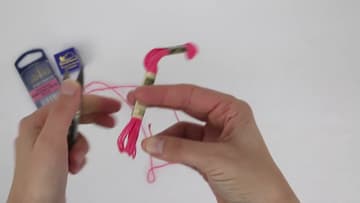
Hold the floss near one end so a short tail sticks up. Flick or tap the tip with your other finger a few times.
Tip: Work over a light surface. Separate strands are much easier to see against white.
4. Pinch One Single Strand of Embroidery Floss
With the end fanned out, pick out one strand and pinch it between your thumb and finger. With your other hand, hold the remaining five strands loosely right below the end.
Tip: If you grabbed two by accident, let go and tap the end again. Starting over takes seconds.
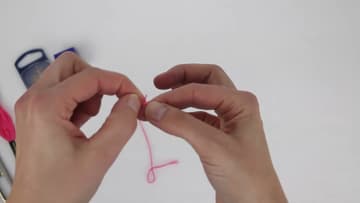
5. Pull the Single Strand Straight Up Out of the Floss
Draw the single strand slowly straight up and away. The other strands will bunch and crinkle up below your fingers.
Tip: Pull upward, not sideways. Sideways pulling drags the other strands along with it.
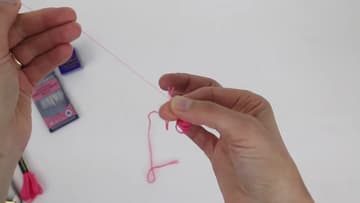
6. Let the Remaining Embroidery Floss Strands Relax Untangled
Keep pulling until the single strand comes completely free of the bunch. As soon as it clears the end, the remaining five strands straighten out by themselves, with no knots.
Tip: Keep the separated strands apart on the table so they do not twist back together.
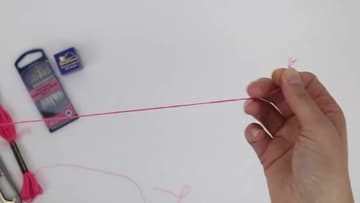
7. Separate a Second Strand of Floss the Same Way
Most hand embroidery uses two strands, so repeat the process. Tap the end, pinch one more strand and pull it straight up while the rest bunch below.
Tip: Wind the leftover strands on a floss bobbin so they stay tidy for the next project.
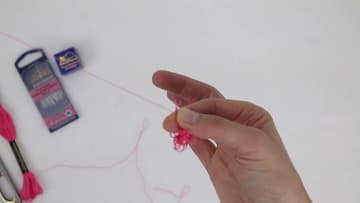
8. Run the Floss Strands Through a Thread Conditioner
This step is optional. Open the thread conditioner, lay one strand on top, press it down with a fingertip and pull the strand through.
Tip: Condition each strand separately, before you put them together.
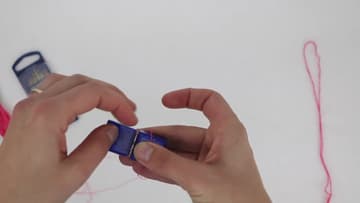
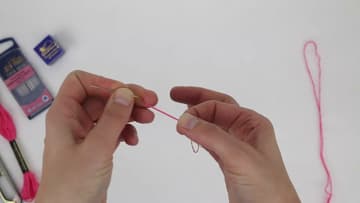
9. Thread Both Floss Strands Through the Embroidery Needle
Line up the two strands so the ends sit together. Pinch them tight right at the tips and push them through the eye of an embroidery needle.
Tip: Trim a fuzzy end straight with your snips. A fresh cut threads far more easily.
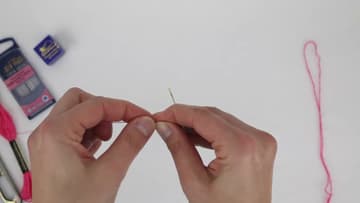
10. Tie a Quilter's Knot at the End of the Embroidery Floss
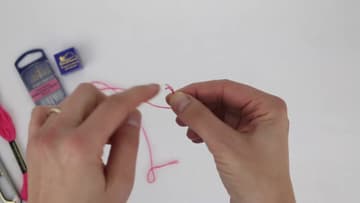
Pull a short tail through the needle and leave the long ends hanging. To tie a quilter's knot, hold the long ends against the needle and wrap them around it two or three times.
Tip: Pinch the wraps tightly as you slide them off, or the knot comes out loose.