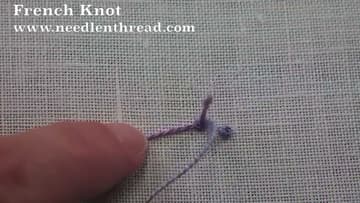
How to Embroider a French Knot: 6 Step Beginner Tutorial
Source: Mary Corbet • Full tutorial: www.craftingstepbystep.com/embroidery/how-to-french-knot
- Difficulty
- Easy
- Hands-on time
- About 10 minutes
- Cost
- About $2 to $4
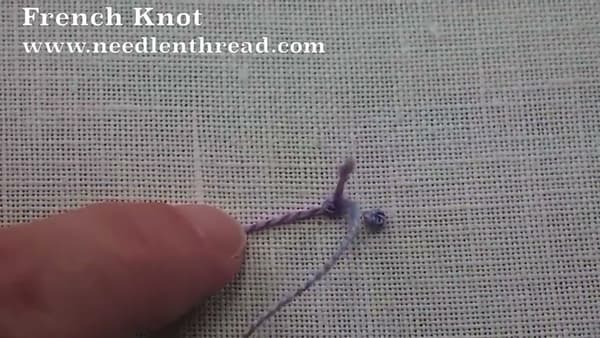
Tools
- Milliner needle (also called straw needle)
- Embroidery hoop
- Embroidery scissors
Materials
- Embroidery floss (DMC or similar)
- Plain weave fabric (linen or cotton)
Steps
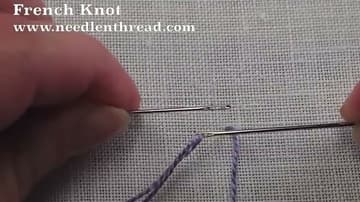
1. Use a Milliner Needle, Not an Embroidery Needle
The needle matters more than any other tool for French knots. Use a milliner needle (also sold as a straw needle) - the shaft is the same width as the eye, so the needle slides through the wrapped thread without catching.
2. Bring the Working Thread to the Front
Bring your threaded needle up through the fabric where you want the knot to sit. Pull all the slack through so the working thread is taut against the back of the fabric.
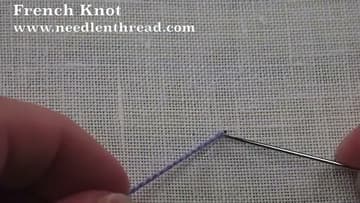
3. Wrap the Thread Around the Needle Twice
Lay the needle horizontally against the working thread, then wrap the thread around the needle two full times. Two wraps gives a knot about the size of a small bead - plenty for most projects.
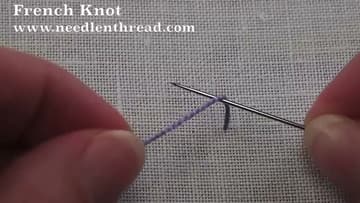
4. Insert the Needle Next to the Exit Point
Take the tip of the needle down into the fabric right next to where the working thread came up - close, but not in the same hole. A few fabric threads' worth of distance is enough.
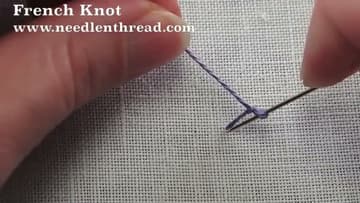
5. Hold Light Tension and Pull the Needle Through
With your non-stitching hand still holding the working thread, pull the needle through the fabric and through the wraps. Keep just enough tension on the working thread to hold the knot's shape - don't yank.
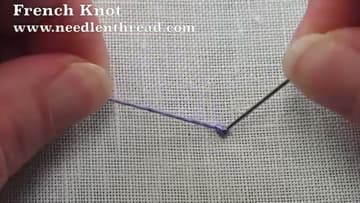
6. Release the Thread as It Settles
As the needle pulls almost all the way through, let go of the working thread. The last bit slides through and the knot drops onto the fabric surface as a tight little bead.
Tip: French knots cluster well - dot a few together for the center of a flower, scatter them across a leaf for texture, or string them along a line for lettering accents.