How to Finish an Embroidery Hoop (4 Backing Methods)
Source: The Authentic Embroiderer • Full tutorial: www.craftingstepbystep.com/embroidery/how-to-finish-an-embroidery-hoop
- Difficulty
- Easy
- Hands-on time
- About 25 minutes
- Cost
- About $3 to $8
Tools
- Embroidery hoop (any small size, 3-6 inch shown)
- Embroidery scissors
- Hand-sewing needle
- Pencil or fabric marker
- Ruler
- Utility knife (for chipboard method)
Materials
- Cotton backing fabric
- Embroidery floss (matching or contrasting)
- Stiff felt sheet (1mm, for felt method)
- Chipboard or thin cardboard (for chipboard method)
- Double-sided tape (for chipboard method)
- Ribbon (optional, for hanging)
Steps
1. Measure the Inner Hoop and Mark the Backing
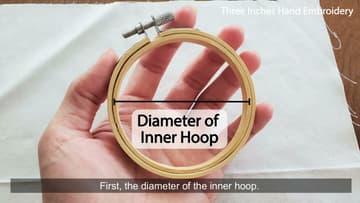
Take the inner ring of the embroidery hoop and lay it flat on your backing fabric. Trace the inside diameter and a second circle about half an inch wider.
Tip: For methods that use felt or chipboard, mark a third circle 1mm smaller than the inner hoop diameter so the backing slips inside cleanly without buckling.
2. Method 1 - Gather the Excess Fabric Into a Rosette
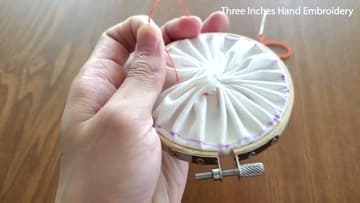
Tighten the hoop with the embroidery facing front. Flip it over and you will see a fan of excess fabric on the back.
Tip: This is the five-minute, zero-extra-materials option.
3. Method 2 - Trace and Cut a Felt Circle
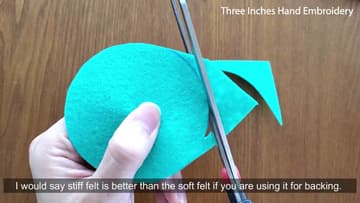
For a cleaner back, switch to 1mm stiff craft felt. Place the inner hoop ring on top of the felt and trace the outer edge with a fine pen.
Tip: Pick a felt colour that contrasts with your embroidery floss for a pop of colour around the border, or match your design palette for a more subtle look.
4. Method 2 Continued - Blanket Stitch the Felt to the Hoop
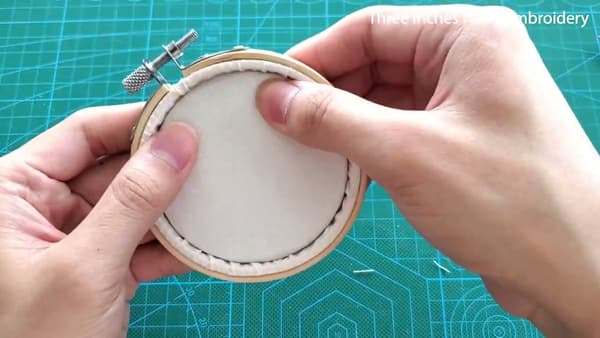
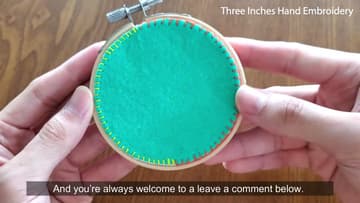
Hold the felt circle against the back of the hoop and blanket-stitch all the way around. The needle goes through the felt, comes up over the wooden hoop edge, and loops through the working thread to form the classic blanket stitch edge.
Tip: If blanket stitch is new to you, the same effect works with a simple whipstitch (a slanted overhand stitch). Less decorative but faster, and the felt stays just as flat.
5. Method 3 - Patch the Back With a Second Fabric Square
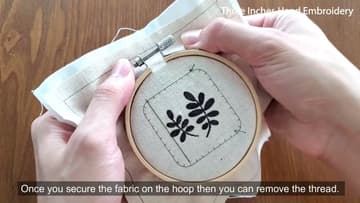
This is the option for embroiderers who want a soft, fabric back without the felt look. Cut a square of cotton fabric slightly bigger than the outer hoop.
Tip: Iron the backing fabric flat before you start. A wrinkled patch looks wrinkled forever once the hoop is tightened down.
6. Method 4 - Build the Chipboard + Felt Backing Disc
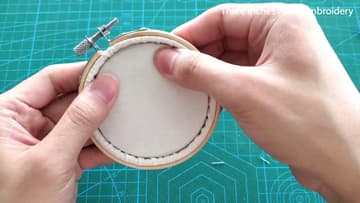
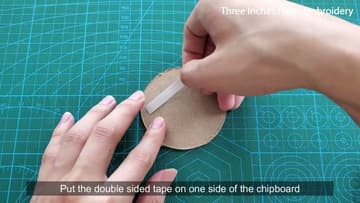
For the cleanest, most professional finish, cut a circle of chipboard (or stiff cardboard from a cereal box) about 1mm smaller than the inner hoop diameter. Apply a few strips of double-sided tape across one side, then press a felt circle the same size on top.
Tip: Cereal boxes, shipping boxes, and the cardboard back of a sketch pad all work. Just pick a piece without any printing on the surface that faces the felt.
7. Method 4 Continued - Insert the Disc and Finish the Hoop
Loosen the hoop screw slightly, slip the chipboard disc into the back of the hoop with the felt side facing the embroidered fabric, then tighten the screw down. Press the disc firmly so the felt fully contacts the fabric.
Tip: If the disc feels loose inside the hoop, you cut it too small - re-trace and re-cut a fraction larger.