How to Embroider a Snowflake (Felt Ornament for Beginners)
Source: Valeri Lewman • Full tutorial: www.craftingstepbystep.com/embroidery/how-to-embroider-a-snowflake
- Difficulty
- Easy
- Hands-on time
- About 1 hour 15 minutes
- Wait time
- 1 hour
- Cost
- About $3 to $8
- Makes
- 1 felt ornament

Tools
- 3-inch embroidery hoop
- size 24 chenille needle
- scissors
- heat erasable pen
- chopstick for stuffing
Materials
- felt sheets
- stick and stitch snowflake pattern
- red embroidery floss
- cotton cord
- fiber fill
Steps
1. Trace the Ornament Template Onto Felt
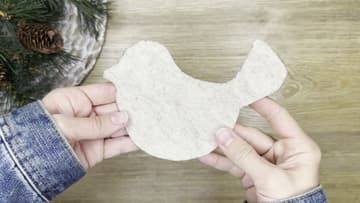
Print a simple ornament template and cut out the shape you want. Valeri picks a bird, but a circle, heart or mitten works too.
Tip: Heat erasable pen lines vanish with an iron or a hair dryer.

2. Stick the Snowflake Embroidery Pattern on the Felt
Choose a snowflake from your stick and stitch sheet and cut around it. Peel off the backing and press the sticky pattern onto the felt, centered inside your traced outline.
Tip: Check the snowflake is straight before you press it down. It is hard to reposition.
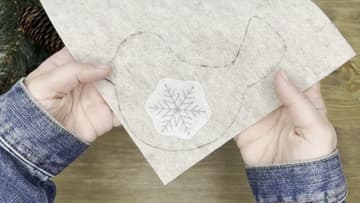
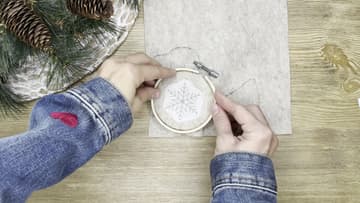
3. Put the Felt Snowflake Pattern in an Embroidery Hoop
Open a small embroidery hoop, about 3 inches, and lay the felt over the inner ring with the snowflake centered. Press the outer ring on and tighten the screw.
Tip: Do not pull the felt drum tight. Felt stretches and will distort the snowflake.
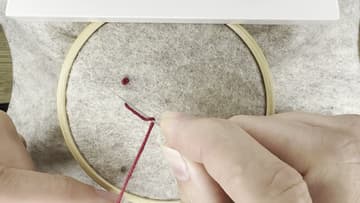
4. Practice the Colonial Knot for the Snowflake Tips
Thread four strands of red floss. Come up where you want a knot.
Tip: Not a fan of knots? Skip them. Back stitch alone still looks great.
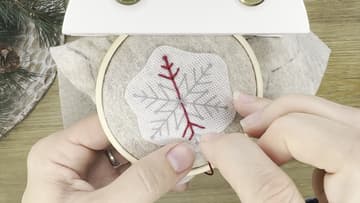
5. Back Stitch the Snowflake Arms in Red Floss
Work along each arm of the snowflake with back stitch. Come up a stitch length ahead, go back down into the end of the last stitch, and repeat.
Tip: Finish one arm before starting the next so the thread on the back stays tidy.
6. Cut Out the Felt and Dissolve the Snowflake Pattern Paper
Take the felt out of the hoop and cut out your ornament shape on the traced line. Then soak it in warm water, or hold it under the tap.
Tip: Press out the water with a towel instead of wringing the felt.

7. Cut a Plain Felt Backing for the Snowflake Ornament
While the front dries, trace the same template onto a second piece of felt and cut it out. This plain shape is the back of your ornament.
Tip: Flip the template over for the back so any lopsided edges still line up.
8. Blanket Stitch the Two Felt Ornament Layers Together
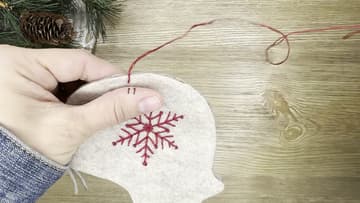
Separate two strands of floss, fold them in half and thread the folded end so you have a loop at the tail. Start at the bottom.
Tip: Draw two small lines on your thumb with the erasable pen as a spacing guide.
9. Stitch a Cord Hanger Into the Felt Ornament Edge
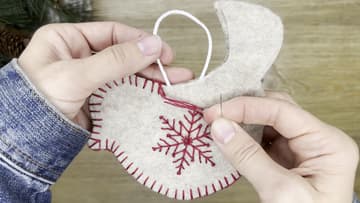
Cut about 13 inches of cotton cord and knot the ends together. Slip the knot between the two felt layers at the top.
Tip: Start a fresh thread a few stitches before the hanger so you do not run short.
10. Stuff the Felt Snowflake Ornament and Finish the Edge
Stop stitching with a gap of an inch or two. Push small bits of fiber fill into the ornament, starting with the narrow parts like the tail.
Tip: Small tufts of stuffing give a smoother shape than one big wad.