How to Embroider a Christmas Tree (Easy Hoop Ornament)
Source: River Birch Threads • Full tutorial: www.craftingstepbystep.com/embroidery/how-to-embroider-a-christmas-tree
- Difficulty
- Easy
- Hands-on time
- About 2 hours
- Wait time
- 1 hour
- Cost
- About $5 to $12
- Makes
- 1 ornament

Tools
- 3 inch embroidery hoop
- embroidery needle
- embroidery scissors
- small paint brush
- hot glue gun
- embroidery stand (optional)
Materials
- cotton fabric
- stick and stitch pattern or washable marker
- brown floss
- green floss
- gold metallic floss
- colored floss for lights
- white floss
- brown acrylic paint
- felt for the backing
- ribbon for hanging
Steps
1. Hoop the Fabric for the Christmas Tree Embroidery
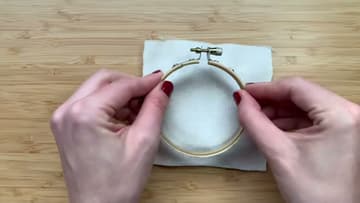
Unscrew a 3 inch wooden hoop and take out the smaller inner ring. Lay a small square of fabric over it, then push the outer ring down on top and tighten the screw.
Tip: Leave an inch or two of fabric around the hoop so you have something to hold.
2. Press the Christmas Tree Pattern Onto the Hooped Fabric
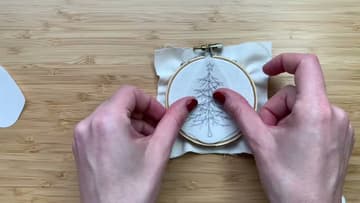
Add the tree design. The creator uses a stick and stitch pattern: peel the mesh backing off the top and press the sticker down onto the fabric.
Tip: An embroidery stand frees both hands and makes the small stitches easier.
3. Backstitch the Christmas Tree Trunk in Brown Floss
Thread two strands of brown floss. Come up through the fabric and make a stitch about 1 cm long.
Tip: Any brown or dark green works for the trunk. The video uses DMC 08.
4. Backstitch the Green Christmas Tree Branches
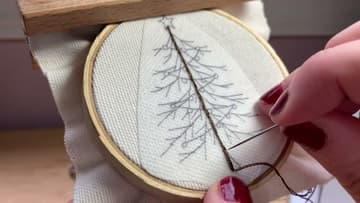
Switch to green floss and use three strands so the branches look full. Work the same backstitch you used on the trunk, following each branch line on the pattern from the trunk outward.
Tip: Shorter stitches follow a curve better than long ones.
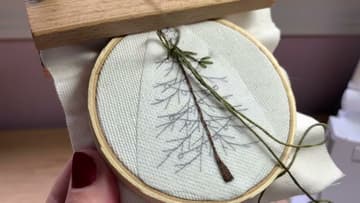
5. Stitch Gold Light Strings Across the Christmas Tree
Give the tree sparkle with DMC Light Effects metallic floss, two strands at a time. Backstitch swags of light string across the branches the same way you did the trunk.
Tip: Cut metallic floss shorter than usual, about 12 inches, to cut down on tangles.
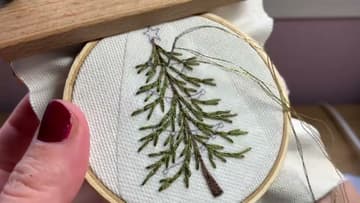
6. Make French Knot Lights on the Christmas Tree
Add the bulbs with French knots in bright colors. Come up through the fabric on a light string.
Tip: Mix three or four colors and scatter them so no two of the same sit side by side.
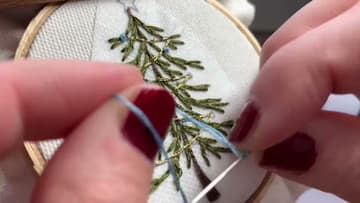
7. Stitch the Gold Star on Top of the Christmas Tree
Turn the hoop so you have room at the top. Using one strand of the gold metallic floss, stitch from point to point across the star in no set order until it looks full and bright.
Tip: Stop adding snow while it still looks a little sparse.
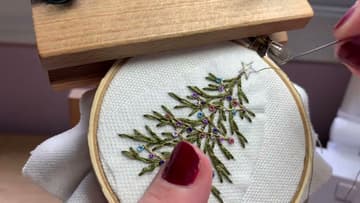
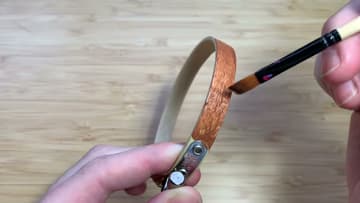
8. Paint the Embroidery Hoop Walnut Brown
Take the embroidery out of the hoop and paint the outer ring with brown acrylic paint for a walnut look. Wood stain works too if you have it, but paint is the cheaper choice.
Tip: Paint only the outside of the ring so it still grips the fabric.
9. Trim the Extra Fabric Around the Embroidery Hoop
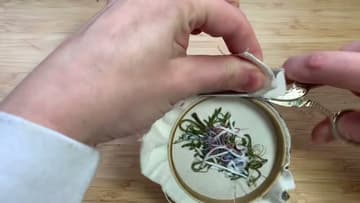
Once you are happy with how the tree sits in the hoop and the fabric is tight, turn it over. Cut away the extra fabric right down to the edge of the hoop with sharp scissors.
Tip: Small curved scissors make this cut much easier.
10. Glue Felt to the Back of the Embroidery Hoop Ornament
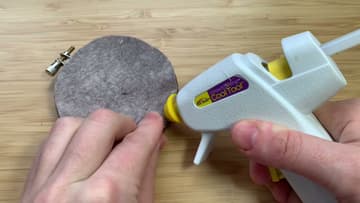
Trace the hoop on felt and cut out a circle the same size. Run hot glue around the edge of the felt and press it onto the back of the hoop.
Tip: Write the year on the felt with a fabric pen for a keepsake.