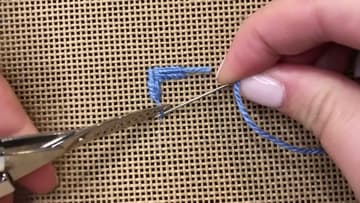
How to Do the Continental (Tent) Stitch in Needlepoint
Source: KC Needlepoint • Full tutorial: www.craftingstepbystep.com/embroidery/how-to-do-the-continental-stitch
- Difficulty
- Easy
- Hands-on time
- About 30 minutes
- Cost
- About $8 to $20

Tools
- tapestry needle (size 18 or 20)
- small embroidery scissors
- needlepoint frame or stretcher bars (optional)
Materials
- 13 mesh mono needlepoint canvas
- pearl cotton size 5 or needlepoint wool
Steps
1. Tie a Waste Knot in the End of the Needlepoint Thread
Thread your tapestry needle. Then go to the far end of the thread, the end opposite the needle, and tie a plain overhand knot.
Tip: Cut a working length of about 18 inches so the thread does not wear thin.
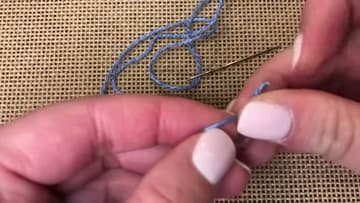
2. Lay the Waste Knot on Top of the Needlepoint Canvas
Push the needle down from the front about an inch away from where your first stitch will go. Pull until the knot sits on top of the canvas.
Tip: Keep the knot in line with your row so the stitches cover the tail.
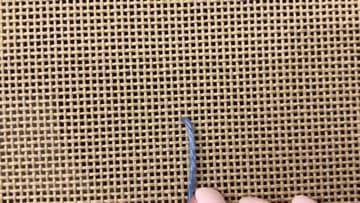
3. Make the First Continental Stitch From Bottom Left to Top Right
Each continental stitch covers one canvas intersection, the spot where a vertical and a horizontal thread cross. Four holes surround it.
Tip: Count the holes around the intersection out loud the first few times: one, two, three, four.
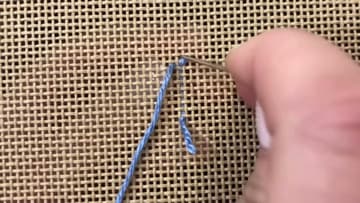
4. Work a Row of Continental Stitches to the Left
Come up again in the hole directly to the left of where your last stitch started. Go down top right, which is the hole your last stitch came up from.
Tip: If a stitch leans the other way, pull it out. You came up in the wrong corner.
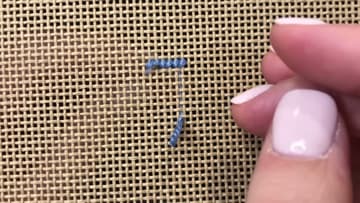
5. Turn and Stitch the Next Continental Row to the Right
At the end of the row, drop down to the intersection right below your last stitch. Now you are working to the right, so the direction flips.
Tip: Turning the canvas upside down for every return row is another way to keep the motion the same.
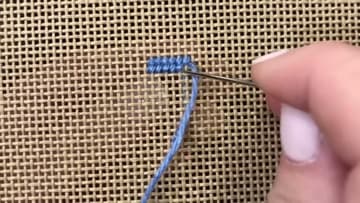
6. Work the Continental Stitch Down a Canvas Column
Columns follow the same idea as rows. When you are stitching downward, come up in the bottom left hole and go down in the top right hole.
Tip: Use continental for lines and outlines, basketweave for big background areas.
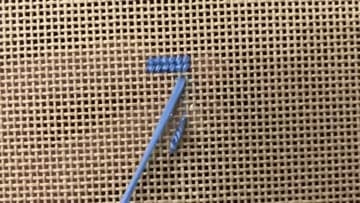
7. Work the Continental Stitch Up a Canvas Column
Going up a column, reverse it. Come up in the top right hole and go down in the bottom left.
Tip: Check the back every few stitches while you are learning. It tells you more than the front.
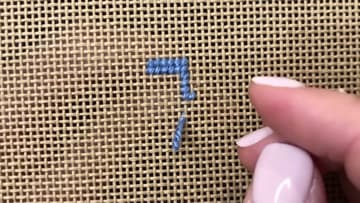
8. Weave the Thread Under the Stitches on the Back of the Canvas
When your thread runs short, or you want to change colors, flip the canvas to the back. Run the needle under the slanted back stitches of four or five stitches nearby.
Tip: Weave through stitches of the same color so a dark thread does not shadow a light area.
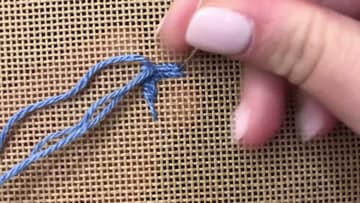
9. Trim the Thread Tail and Waste Knot on the Needlepoint
Snip the woven tail close to the back of the canvas. Then turn back to the front and find your waste knot.
Tip: Pull the knot up a little before you cut so the blade does not catch a stitch.