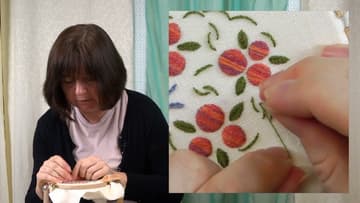
How to Do Stem Stitch - Embroidery for Beginners
Source: Sarah Homfray Embroidery • Full tutorial: www.craftingstepbystep.com/embroidery/how-to-do-stem-stitch
- Difficulty
- Easy
- Hands-on time
- About 20 minutes

Tools
- embroidery hoop
- embroidery needle
- scissors
Materials
- embroidery floss
- fabric
Steps
1. Set Up Your Hoop and Anchor the Thread
Stretch your fabric in the hoop and thread your needle. Before you start the stem stitch pattern, make two tiny stitches right on the design line to anchor your thread.
Tip: Keep the anchor stitches small and right on the line - you want them covered by the stem stitch, not poking out at the edge.
2. Make Your First Forward Stitch and Leave a Loop
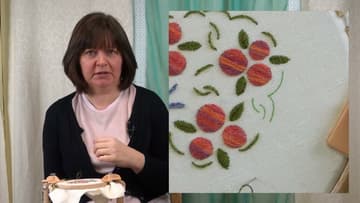
Bring your needle up at the starting point on the design line. Take a forward stitch of about 2-3mm and stop before pulling the thread all the way through.
Tip: Keep your stitches 2-3mm long. Too long and the rope effect won't form properly - too short and the work becomes fiddly.
3. Place the Loop Right and Come Up Between the Points
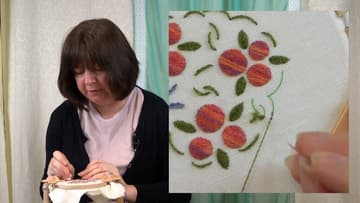
For stem stitch, let the loop fall to the right. Holding it there, bring your needle back up through the fabric at the midpoint - roughly halfway between where you started and where the stitch went down.
Tip: Pulling tension from the back (rather than the front) helps protect the thread and keeps the stitch even. Make it a habit from the start.
4. Repeat to Build the Rope Effect
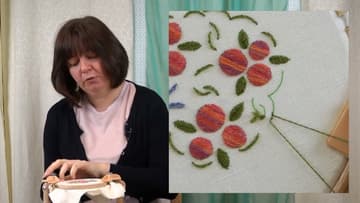
Take another forward stitch the same length as the first. Loop to the right again, come up at the center of the previous stitch.
Tip: Try to keep each stitch the same length throughout. Consistent stitch length is what makes the rope effect look neat and even.
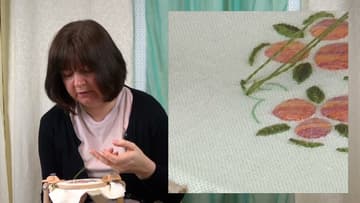
5. Navigate Curves by Shortening Your Stitches
Around tight curves, shorten each stitch slightly - roughly half the normal length. More stitches means more contact points with the curve, and the line follows it cleanly without puckering or jumping across.
Tip: Stem stitch works best on curves that bend anticlockwise (curving to your left as you stitch upward). Save outline stitch for the opposite direction.
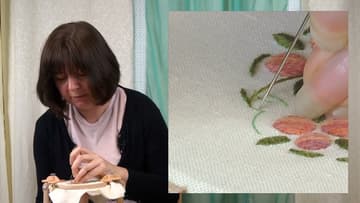
6. Try Outline Stitch by Flipping the Loop Left
Outline stitch is the same technique with one change: the loop goes to the left instead of the right. Everything else - stitch length, midpoint entry, back tension - stays identical.
Tip: A useful trick for remembering: if you're going 'up' a shape, stem stitch loop goes to the right (stem stands up, loop goes up-right).