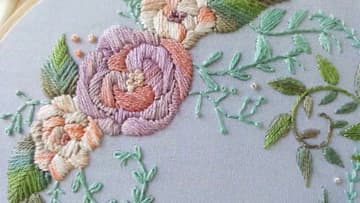
How to Do a Satin Stitch (Basics + Variations)
Source: Jessica Long Embroidery • Full tutorial: www.craftingstepbystep.com/embroidery/how-to-do-a-satin-stitch
- Difficulty
- Medium
- Hands-on time
- About 35 minutes
Tools
- Embroidery hoop (6 inch)
- Embroidery needle (size 7 or 10)
- Embroidery scissors
- Fine-tipped fabric pen
Materials
- Embroidery floss (DMC 6-strand)
- Plain weave fabric (linen or cotton)
- Water-soluble pattern transfer paper
Steps
1. Pick Your Floss Weight (1 to 6 Strands)
The number of strands of floss you use changes the look completely. Single strand gives you the smoothest, most polished satin look - the classic look in traditional needlework.
Tip: If you want smooth-as-glass satin, use one strand. If you want chunky character, use 4 or 6.
2. Mark a Sharp, Thin Guideline
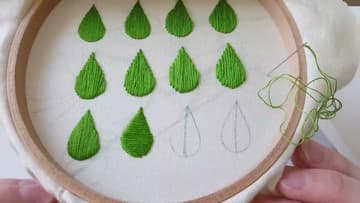
The single biggest reason beginner satin stitch looks wobbly is a fuzzy guideline. A thick or blurry pen line leaves you guessing which side of the line to land your needle on, and even a thread-width of inconsistency shows on the finished fill.
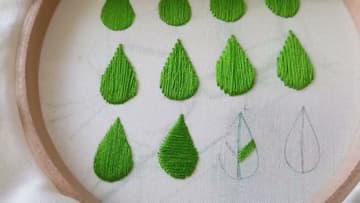
3. Start with a Center Stitch
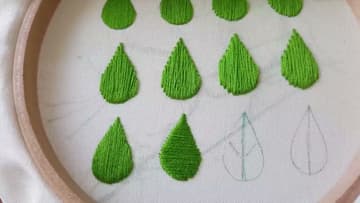
Bring your threaded needle up at point A on one edge of the outline, then back down at point B on the opposite edge - straight across the middle of the shape. This center stitch sets the stitch direction for everything that follows.
Tip: If your shape has a point at one end and a curve at the other, the angle of the center stitch matters most where the shape is widest. Lay it where you want the fill to read.
4. Fill Outward with Parallel Stitches
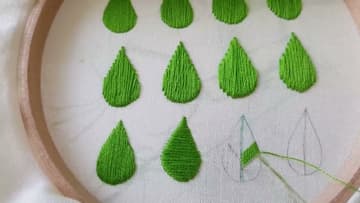
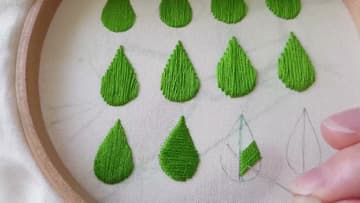
Now fill the rest of the shape with stitches parallel to that center stitch. Work to one side first, then come back and fill the other side.
5. Go All the Way Back Around
For every stitch, take the needle all the way back around to the starting edge - do not shortcut across the back. The cheap version (come up through the middle, go back over the top) saves thread but loses the parallel direction that makes satin stitch work.
6. Split Long Shapes with a Center Vein
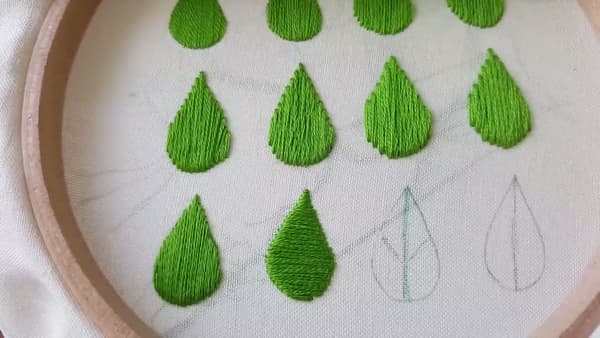
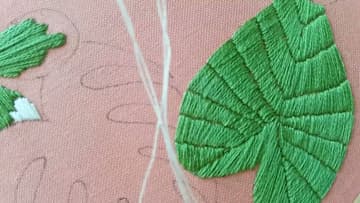
Stitches longer than about an inch and a half lose tension, snag on things, and look slack. If your shape is longer than that, draw a line down the middle and treat each half as its own satin-stitch section.
Tip: The same trick works for long petals, big leaves, and ribbon shapes. Any time you catch yourself thinking 'this stitch is too long,' split the shape.
7. Try the Variations (Padded, Outlined, Layered)
Three variations turn flat satin stitch into something special. Padded satin stitch - outline the shape in split stitch, fill it with more stitches (chain, satin, whatever - it gets covered up), then layer satin stitch on top.
Tip: Padded satin reads especially well when you use it for the front layer of overlapping shapes - the lift gives a tiny shadow that visually separates one petal from another.