How to Do a Lazy Daisy Stitch
Source: Clever Poppy • Full tutorial: www.craftingstepbystep.com/embroidery/how-to-do-a-lazy-daisy-stitch
- Difficulty
- Easy
- Hands-on time
- About 20 minutes

Tools
- embroidery hoop
- embroidery needle
- embroidery scissors
Materials
- embroidery floss
- fabric
Steps
1. Come Up at the Petal's Point
Bring your needle up through the fabric right at the pointed tip of where you want the petal to sit, and pull all of the working thread through so the knot seats against the back. This point is the bottom of the petal, the spot it narrows to, so you start every lazy daisy here.
Tip: Watch this step The pointed tip is your anchor. Starting in the same hole each time is what makes a row of petals share one neat center.
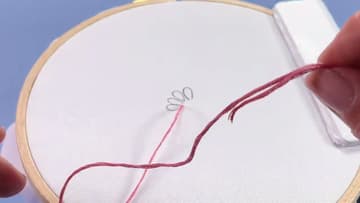
2. Lay the Thread in the Petal's Direction
This stitch is a two-hand job. Use your free hand to lay the working thread out flat in the direction you want the petal to point, then press it lightly against the fabric to hold it there.
Tip: Watch this step Hold the thread down with a finger or thumb the whole time. That free hand is doing half the work of shaping the loop.
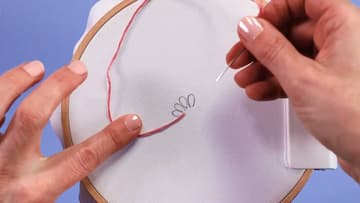
3. Go Back Down and Leave a Big Loop
Take the needle back down into the same hole you came up through, or just beside it, which is perfectly fine. Draw the thread to the back slowly and stop while a generous loop is still sitting on top of the fabric.
Tip: Watch this step Go slow on this pull. If you whip the thread through, the loop vanishes before you can catch it and you have to start the petal over.
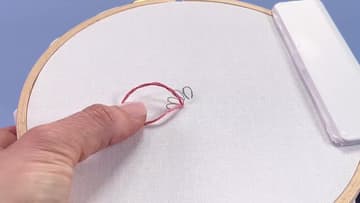
4. Bring the Needle Up Inside the Loop
Bring the needle back up through the fabric on the inside of the loop, aiming for the spot just inside that curved top edge. The needle must come up within the loop, not outside it.
Tip: Watch this step Eye the inside of that curved top before you push the needle up. Catching the loop from inside is the difference between a petal and a flat stitch.
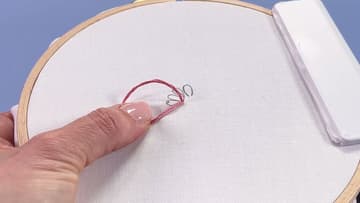
5. Pull Through and Shape the Petal
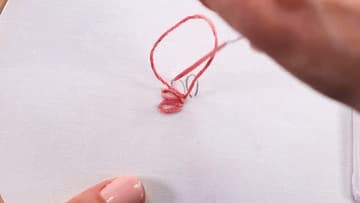
Gently draw the working thread through, pulling it out away from the end of the loop. Go slowly and watch the lazy daisy shape form as the loop settles.
Tip: Watch this step Tension is everything in this stitch. Draw it away from the tip, not back toward it, or the round shape collapses.
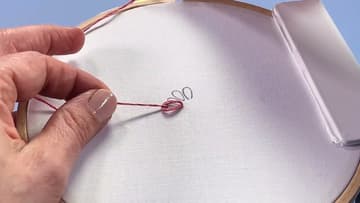
6. Secure the Petal With a Tiny Stitch
Take the needle down with a very small stitch right over the outside edge of the loop's curved top. As you tighten that stitch, rest your thumb on the petal so it keeps its rounded shape instead of being pulled flat.
Tip: Watch this step Keep your thumb on the loop as you cinch the securing stitch. It stops the petal from snapping into a tight sliver right at the finish.
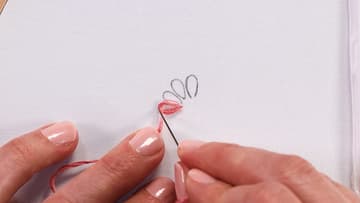
7. Fix the Tension and Build Your Flower
Tension takes practice, so do not worry if early petals pull narrow. To round one back out, slide the needle through the middle of the loop and gently draw a little slack back to the top, then secure it.
Tip: Watch this step Petals pulling skinny is the most common beginner snag, and it happens to pros too. The slide-and-loosen fix saves a tight petal without unpicking it.