How to Do a Bullion Knot (Plus an Easy Bullion Rose)
Source: Cutesy Crafts • Full tutorial: www.craftingstepbystep.com/embroidery/how-to-do-a-bullion-knot
- Difficulty
- Medium
- Hands-on time
- About 30 minutes

Tools
- milliner needle
- embroidery hoop
- embroidery scissors
- water soluble fabric pen
Materials
- 6-strand cotton embroidery floss
- cotton or linen blend fabric
Steps
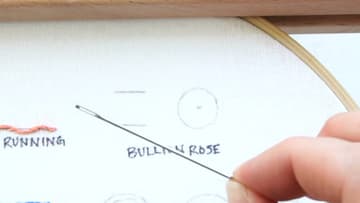
1. Pick a Long Milliner Needle for Bullion Knots
Start with the right needle. A milliner needle has an eye the same width as the rest of the shaft, so it slides out of the wraps without dragging them apart.
Tip: Size 3 to 5 milliners suit six-strand floss. Go finer for two or three strands.
2. Go Down at the End of the Bullion Knot Line and Leave a Loop
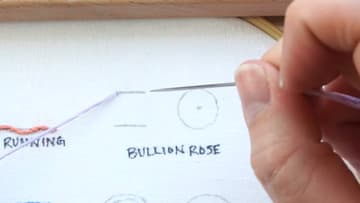
Draw a short line where you want the knot. Bring the needle up from the back at the start of the line.
Tip: Mark the line with a water soluble pen so the guide rinses away later.
3. Bring the Needle Back Up at the Start of the Bullion Knot
From the back, bring the needle up again at the very start of the line, right next to where the thread first came out. Stop when the needle is about halfway through the fabric.
Tip: Coming up a hair away from the first hole keeps the knot from pulling back through.
4. Wrap the Floss Around the Needle for the Bullion Coil
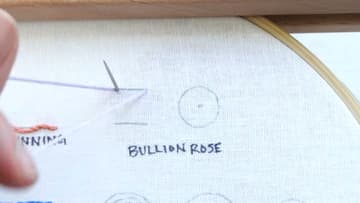
Take the loop of thread and wind it around the needle, close to the fabric. Push each wrap down so they stack neatly side by side.
Tip: Wrap firmly but not tight. Very tight wraps grip the needle and refuse to slide.
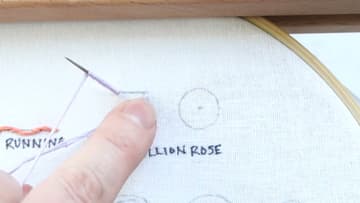
5. Pinch the Bullion Wraps and Pull the Needle Through
Hold the wraps lightly between your thumb and pointer finger. Push the needle up from the back as far as it will go, then pull it out through the top, still pinching.
Tip: If the needle sticks, wiggle it gently instead of yanking.
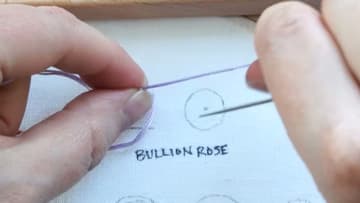
6. Lay the Bullion Knot Flat and Anchor the End
Keep pulling the thread off to the side the knot will lie, here to the right. The coil tightens and settles onto the line.
Tip: Pull slowly at the end. A sharp tug can twist the coil out of line.
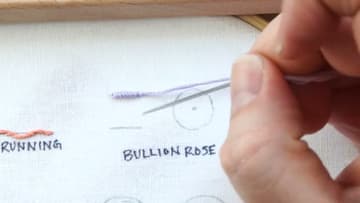
7. Stitch a French Knot in the Center of the Bullion Rose
Once the straight knots feel comfortable, try a rose. Cutesy Crafts starts it with a French knot in the middle of the drawn circle.
Tip: Two wraps make a neat, small center. Three gives a bigger, puffier bud.
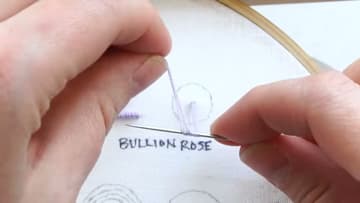
8. Add the First Short Bullion Knots Around the Rose Center
Bring the needle up near the top of the French knot and down near the bottom, leaving a loop. Come back up at the first point and wrap.
Tip: Pulling toward where the knot will rest keeps it hugging the center.
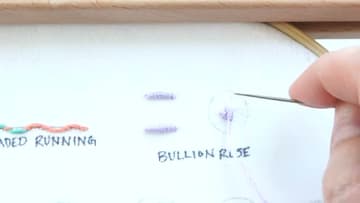
9. Work the Bullion Knots in a Pinwheel to Build the Rose
Rather than start each new knot in a fresh spot, start it near the end of the last one, slightly to the outside. Each knot overlaps the one before, so they spiral around the center like a pinwheel.
Tip: Extra wraps on a knot make it bow outward, which is what forms a petal.
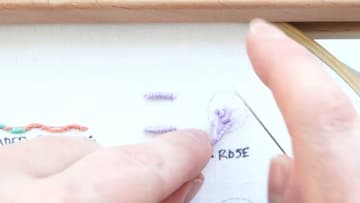
10. Finish the Bullion Rose and Check Its Shape
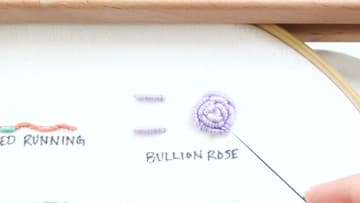
Keep adding knots until the rose fills your drawn circle, then tie off on the back. Here is the finished lavender rose beside the two straight practice knots.
Tip: Snip the tail on the back close to the knot so it cannot pull loose.