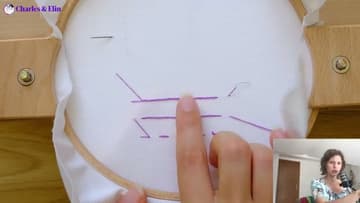
How to Backstitch: 3 Ways for Hand Embroidery
Source: Elin Petronella • Full tutorial: www.craftingstepbystep.com/embroidery/how-to-backstitch
- Difficulty
- Easy
- Hands-on time
- About 20 minutes
Tools
- Embroidery hoop (6 inch wood)
- Embroidery needles (size 7-9)
- Small embroidery scissors
- Fabric marking pencil
Materials
- DMC embroidery floss (cotton)
- Embroidery fabric (Aida or linen)
- Water-soluble pen marks for guide lines
Steps
1. Make Your First Stitch in the Direction You're Going
Bring the needle up at the start of your line. Take it down a stitch length ahead, in the direction you want to travel.
Tip: Two strands of six-strand DMC floss is the sweet spot for most outlining. One strand looks wispy. Three or more starts to feel ropey on fine details.
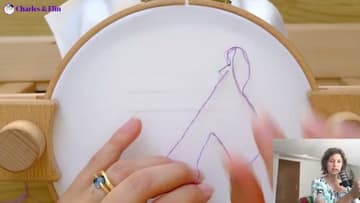
2. Bring the Needle Up One Stitch Length Ahead
Come up through the fabric one stitch length ahead of where the previous stitch ended. You're now sitting ahead of your last stitch with a small gap behind you - that gap is what you're about to fill.
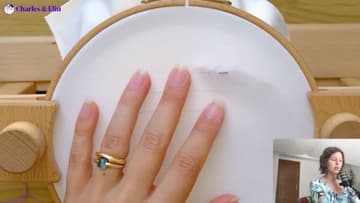
3. Go Back Down Into the Previous Hole
Take the needle back down into the same hole where your previous stitch ended. Pull through.
Tip: If you see a tiny gap between stitches, you came up too far ahead. Pull a bit harder when you're going back down to draw the line tight, or shorten your next forward leap.
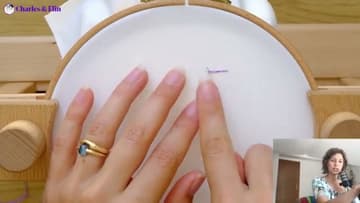
4. Repeat for the Single-Sided Version
Keep repeating: come up one stitch length ahead, go back down into the previous hole, pull through. This is the single-sided backstitch.
Tip: The back doesn't have to look pretty for most projects. Save the double-sided versions for table linens, bookmarks, or anything where both sides will be seen.
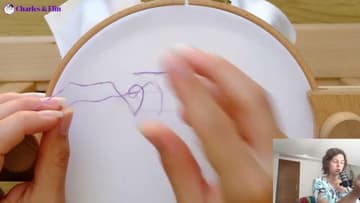
5. Double-Sided Full-Loop Backstitch
Same start - one forward stitch in the direction of travel. Now come up a stitch length ahead and go back down into the previous hole, exactly like the single-sided version.
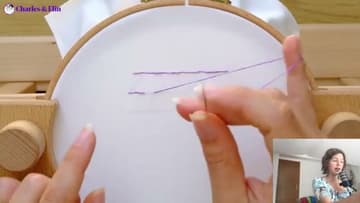
6. One-Pass Time-Saving Method
This third version gets you the same double-sided coverage as Step 5, but in a single needle motion. Make your first stitch as normal.
Tip: This works best with a hoop on a stand so both hands stay free. Trying to scoop one-handed while holding the hoop is awkward.
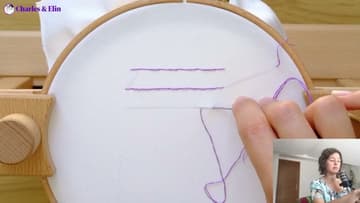
7. Pick the Right Version for the Project
Big piece, lots of long lines, back won't be seen? Use the one-pass method.
Tip: Stitch a small sampler of all three on scrap fabric and label them. Next time you start a project you'll know exactly which one to pick without thinking about it.