How to Draw - Sketching Basics for Complete Beginners
Source: SchaeferArt • Full tutorial: www.craftingstepbystep.com/drawing/how-to-draw
- Difficulty
- Easy
- Hands-on time
- About 45 minutes
- Cost
- About $10 to $20

Tools
- Graphite pencils (2B for most sketching, 8B for darks)
- Kneaded eraser
- Gum eraser
- Pencil sharpener
- Blending stump
Materials
- Sketchbook or drawing paper pad (9x12)
- Graphite pencil set
Steps
1. Get a Sketchbook and a Basic Pencil Set
You need less than you think. A pad of sketch paper around 9x12 inches and a boxed graphite set with a spread of pencils, an eraser and a small sharpener will carry you through months of practice.
Tip: Buy a spiral-bound pad rather than loose sheets. Being able to flip back through six months of bad drawings is the fastest way to notice you improved.
2. Pick Up Two Kinds of Eraser
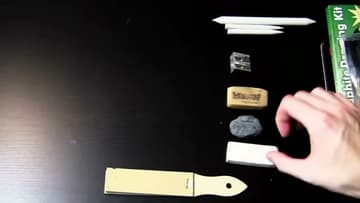
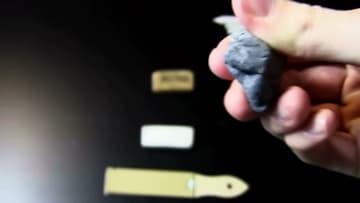
A gum eraser crumbles as it works, which lifts graphite off the surface instead of grinding it into the paper. It is the one to reach for when you want a passage gone without wrecking the tooth of the sheet.
Tip: A kneaded eraser is also a shading tool. Dab it over a dark passage to pull highlights back out rather than trying to draw around them.
3. Learn What the H and B on a Pencil Mean
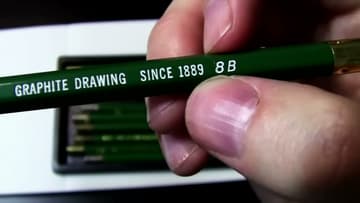
Every graphite pencil is marked with a letter and a number, and the system is simpler than it looks. B is for blackness.
Tip: Do not buy a pencil per grade until you know your own hand. Most people end up using two or three from a twelve-pencil set and leaving the rest in the tin.
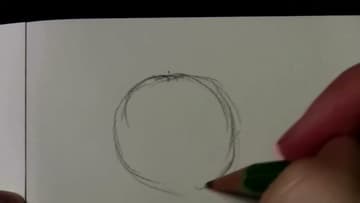
4. Sketch With Many Light Lines, Not One
This is the habit that separates a sketch from a scribble, and almost nobody is taught it. Instead of trying to place one perfect line, let the pencil travel back and forth over roughly the same path, building the shape out of a loose bundle of strokes.
Tip: Hold the pencil further back than you would for writing. It is harder to press hard from there, which is exactly the point.
5. Darken Only the Line You Committed To
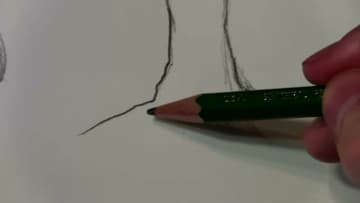
Once the shape is right, go back and press harder along the edge you actually want. That darker line becomes the drawing.
Tip: If you find yourself erasing constantly, you are committing too early. Go back to lighter passes and let the shape emerge.
6. Compare a Sketched Shape to a Committed One
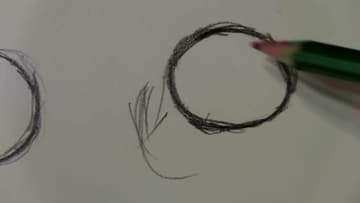
Draw a circle in one confident stroke, then draw another using the light-pass method, and set them side by side. The sketched one is rounder.
Tip: Try it with a straight line too. A ruled edge built from three light passes beats a single freehand stroke by a wide margin.
7. Pick a Light Source and Shade Away From It
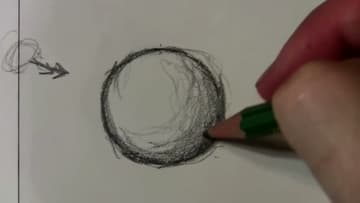
A circle is flat. A circle with shadow on one side is a sphere.
Tip: Leave a small patch of bare paper on the lit side. That untouched highlight does more to sell the roundness than any amount of dark shading.
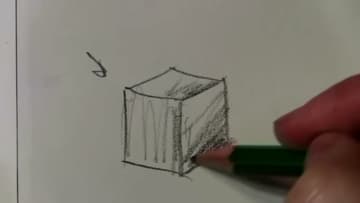
8. Practise on a Cube and a Cylinder
A sphere has one curved surface, so the shading is one smooth gradient. A cube has flat planes that each catch a different amount of light, which makes it a harder and more useful exercise.
Tip: Do not stress over the ones that come out badly. Turn the page and try the same object from a different angle with the light somewhere else.