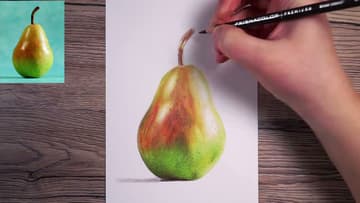
How to Draw With Colored Pencils (Layering a Realistic Pear)
Source: Gemma Chambers Art • Full tutorial: www.craftingstepbystep.com/drawing/how-to-draw-with-colored-pencils
- Difficulty
- Medium
- Hands-on time
- About 3 hours
- Makes
- 1 pear drawing

Tools
- pencil sharpener
- pencil extender (optional)
- kneaded eraser
Materials
- soft core colored pencils
- smooth Bristol board or drawing paper
- reference photo
Steps
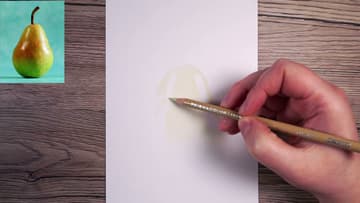
1. Lay a Light Base Layer of Colored Pencil Over the Pear
Pick the lightest color you can see in your reference. For the top of this pear it is a pale cream.
Tip: Light circles hide pencil strokes far better than back and forth scribbles.
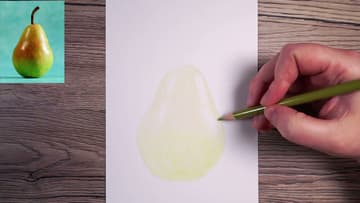
2. Add a Light Green Colored Pencil Base to the Bottom of the Pear
The bottom of the pear is a different color from the top, so it gets its own base. Fade the cream out where the two areas meet.
Tip: Soft edges between color areas look more natural than a hard line.
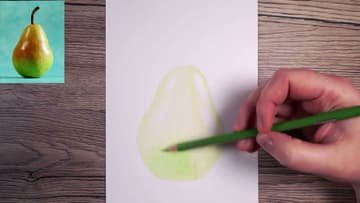
3. Layer a Mid Green Colored Pencil Over the Lower Pear
Now you start working from light to dark. Find the next darkest color in one area.
Tip: Glance at your reference after every color. It tells you where to go next.
4. Mark the Brown Patches on the Top of the Pear
Move up to the top section and look for its next darkest color. On this pear it is a light brown.
Tip: Save small details for last. They get lost under later layers.
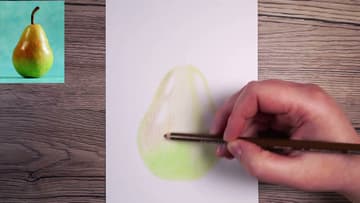
5. Layer Bright Red Colored Pencil Over the Top of the Pear
Ask yourself which big colors are still missing. The top of this pear should look red, and it does not yet.
Tip: Do not press hard until you are sure every color is in the right place.
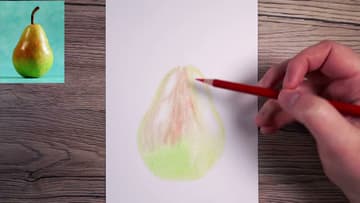
6. Add the Darkest Brown and the Shadow Under the Pear
Keep stepping darker. A slightly darker green goes over the shaded left side, then more of the same brown in a few extra passes.
Tip: The darkest color is your anchor. Everything else is judged against it.
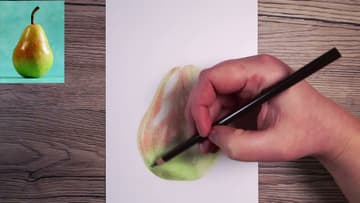
7. Press Harder to Build Vivid Green on the Pear Drawing
Your pear is all mapped out now but looks pale and washed out. Time to go back down through the same colors, darkest to lightest, pressing a bit harder each time.
Tip: Firm is not full force. Leave a little room for any last colors.
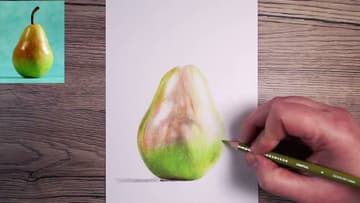
8. Burnish the Lightest Colored Pencil Over the Pear to Blend
Do the same on the top. Add any new tones you need, such as a sienna brown for a mellow red, then work back through the light brown and bright red.
Tip: A pencil extender helps you keep using short, worn down light pencils.
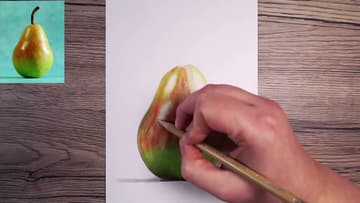
9. Dot in the Speckled Skin Texture on the Pear
Step back and compare your drawing to the reference. Add any missing color, like a touch of bright orange around the red.
Tip: Vary the size and spacing of the dots. Even rows look fake.
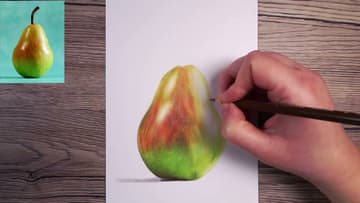
10. Draw the Pear Stem With Colored Pencil, Light to Dark
The stem gets the same treatment as the rest of the pear. Start with its lightest color, which is already fairly deep, and work up to the darkest, then back down.
Tip: Sign and date the drawing. A light spray of fixative protects it.