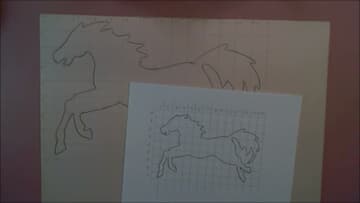
How to Draw Using the Grid Method
Source: Rick Mayotte • Full tutorial: www.craftingstepbystep.com/drawing/how-to-draw-using-the-grid-method
- Difficulty
- Easy
- Hands-on time
- About 45 minutes

Tools
- long metal ruler
- pencils
- kneaded eraser
- lightbox (optional)
Materials
- the picture or sketch to copy
- drawing paper or newsprint pad
Steps
1. Start With a Clean Sketch for the Grid Method
Pick the picture you want to copy. Rick uses a simple running horse outline he drew on printer paper and went over in darker pencil so the lines are easy to see.
Tip: Simple outlines are best for a first try. Save detailed portraits for later.
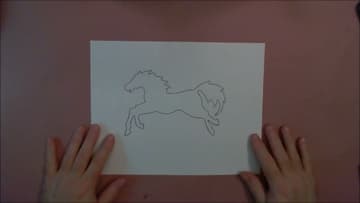
2. Measure the Width of the Sketch With a Ruler
Lay a ruler across the widest part of the drawing. The horse is a little under 7 inches across.
Tip: Close enough is fine. Use a calculator only if you need an exact size.
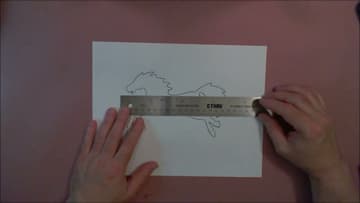
3. Mark Grid Lines Across the Original Sketch
Use the ruler to tick off half-inch marks along the top and side of the drawing. Then join the marks with straight pencil lines, across and down, so the whole picture sits under a grid of even squares.
Tip: Start the grid from one corner so all the squares line up from the same edge.
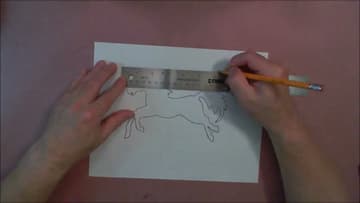
4. Finish the Half-Inch Grid Over the Whole Drawing
Carry the grid past the edges of the drawing until every part of it sits inside a square. Count the squares.
Tip: Count twice. One missing row stretches the whole copy.
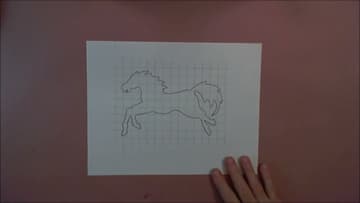
5. Draw a Larger Grid on the Big Drawing Paper
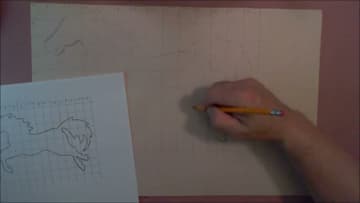
Take the big paper. Rick uses a 12 by 18 inch newsprint sheet from the dollar store.
Tip: A long metal ruler keeps lines straight across a big sheet.
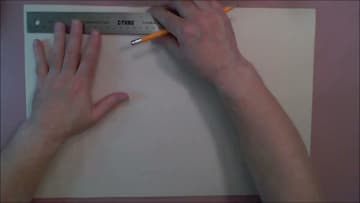
6. Number and Letter the Grid Rows and Columns
Write numbers along the top of both grids and letters down the side, in the same order. Now every square has a name, like C7.
Tip: Cut a square window in scrap paper to cover everything except the square you are copying.
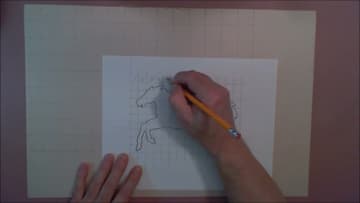
7. Copy the Drawing Square by Square Onto the Large Grid
Start at one corner of the picture and work across. For each square, look at where the line enters, where it leaves and how it curves in between.
Tip: Draw lightly at first. You can darken the lines once the whole shape is in place.
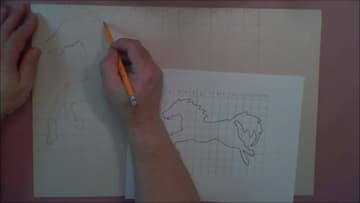
8. Keep Copying Each Grid Square Across the Drawing
Keep moving square by square across the back, the hindquarters and down the legs. Keep the original beside you so you can glance back and forth.
Tip: Turn the paper to draw curves more easily. The grid still lines up.
9. Compare the Enlarged Drawing With the Original
Lay the original on top of the enlargement and compare. The proportions should match: the same head size, the same leg length, only bigger.
Tip: To keep grid lines off your art, put the grid on a lightbox under your good paper.