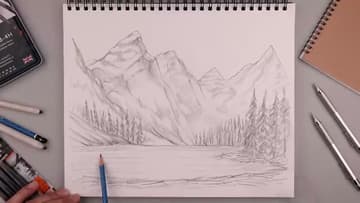
How to Draw Mountains: Pencil Landscape Step by Step
Source: Cartooning Club Z • Full tutorial: www.craftingstepbystep.com/drawing/how-to-draw-mountains
- Difficulty
- Easy
- Hands-on time
- About 30 minutes
- Makes
- 1 shaded pencil mountain landscape
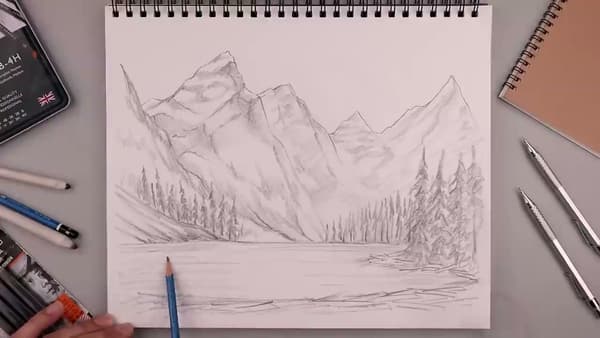
Tools
- 2B graphite pencil
- Drawing pencil set (HB-6B)
- Pencil sharpener
- Kneaded eraser
- Blending stump
Materials
- Sketchbook or drawing paper
Steps
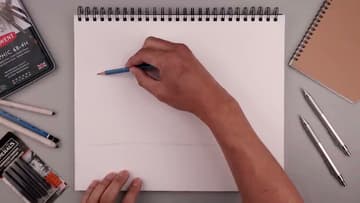
1. Sketch the Horizon Line and First Main Mountain
Turn your sketchbook horizontal and draw a soft horizontal line low across the page. That is your horizon.
Tip: Hold the pencil a little further back than you would for writing. Your hand naturally lightens, which keeps these guideline marks soft enough to draw over later.
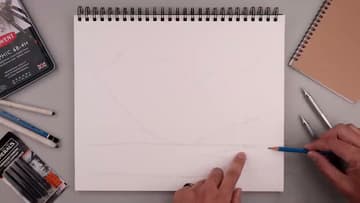
2. Stack Background Mountains Behind the Front Peak
Working from the top of your first mountain, sketch the next ridge stepping up behind it with a few angled lines coming down. Then add another stack further back.
Tip: Look up a photo of a real mountain range for a second before you start stacking. Real ridges almost never line up evenly, and that randomness is what sells the drawing.
3. Add Foreground Mountain, Tree Line, and Water Edge
Bring a smaller foreground mountain in along the right and a low hill across the left. Then drop in a soft tree line where the mountain meets the shore.
Tip: Don't draw individual trees yet. A spiky zig-zag along the shoreline does more work than careful triangles at this stage and saves you from over-committing.
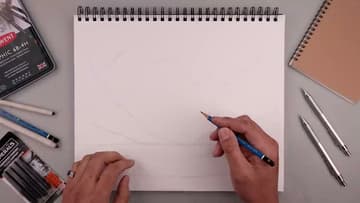
4. Define Ridgelines and Mountain Character
Switch to the tip of your pencil and lightly trace down the ridges of each mountain. These are the lines that run from each peak down toward the bottom, marking where the rock surface changes direction.
Tip: If your line goes too dark, lift it with a kneaded eraser. Real ridgelines are subtle and only a few of them should ever be your darkest marks.
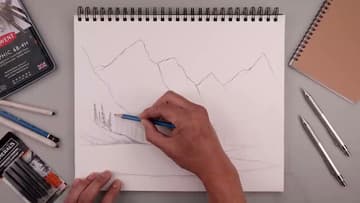
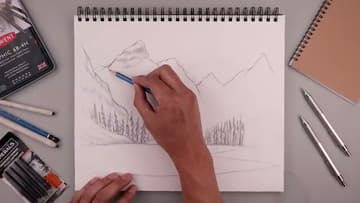
5. Build Pine Trees Along the Shore
Start at the tip of each tree and pull short, angled branches down and outward. These are pine trees, so the silhouette tapers to a point at the top and widens toward the base.
Tip: If the trees start to look like a fence, you are spacing them too evenly. Cluster two or three close together and leave gaps so the eye reads them as a real treeline.
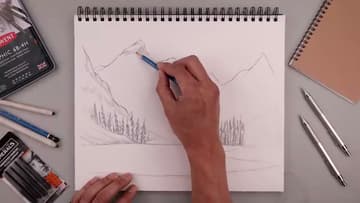
6. Shade the Shadowed Sides of the Mountains
Pick a sun direction in your head. Anything facing away from the sun gets shaded.
Tip: Smudge a heavy edge with a fingertip or the edge of a blending stump to soften it. Real mountain shadows feather out, they don't end on a clean line.
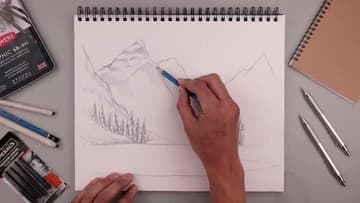
7. Add Snow Caps and Rock Layers Near the Peaks
With the tip of your pencil, add short broken strokes along the ridges near each peak. Leave little patches of bare paper between the strokes.
Tip: Snow on a mountain is shape, not color. If your dark strokes between the snow are placed well, the bare paper does the heavy lifting on its own.
8. Add Water Ripples and a Soft Mountain Reflection
Drop in a few light horizontal marks across the lake to suggest ripples. They should be darker close to the shore and almost invisible near the center of the water.
Tip: If the drawing starts to feel busy, stop adding. Pencil landscapes almost always die from one mark too many, almost never from one too few.