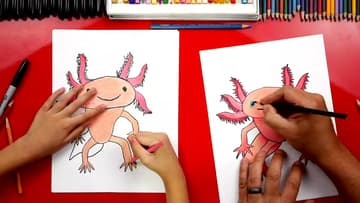
How to Draw an Axolotl - Easy Step by Step for Kids
Source: Art for Kids Hub • Full tutorial: www.craftingstepbystep.com/drawing/how-to-draw-an-axolotl
- Difficulty
- Easy
- Hands-on time
- About 30 minutes
- Makes
- 1 axolotl drawing

Tools
- black permanent marker
- colored pencils
- white colored pencil
Materials
- plain white paper
Steps
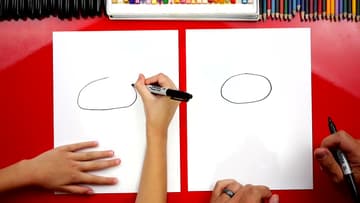
1. Draw a Bumpy Oval for the Axolotl Head
Start near the top of the paper with a wide oval for the head. Make it wider than it is tall and leave room on both sides, since the gills will stick out a long way.
Tip: Place the oval in the top third of the page. The body and tail fill the rest.
2. Add the Axolotl Eyes and Smiling Mouth
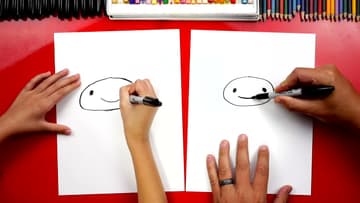
Draw two small ovals for the eyes, set wide apart and tipped toward the top of the head. Color them in solid black.
Tip: Leave a tiny white spot in each eye if you want them to look shiny.
3. Draw the First S-Curve Axolotl Gill
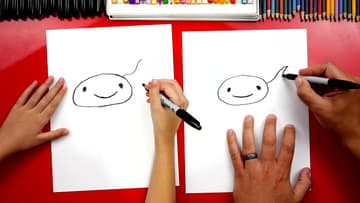
The gills grow out of the sides of the head. From the upper side of the oval, draw an S-line that goes up and out.
Tip: Pause the video and redo the first gill until you like it. The rest copy it.
4. Draw Three Gill Branches on Each Side of the Axolotl Head
Add a second gill above the first one on each side, starting right next to it. Use the same S-line out and a line back in.
Tip: Turn the paper as you draw. Curves are easier when your hand moves naturally.
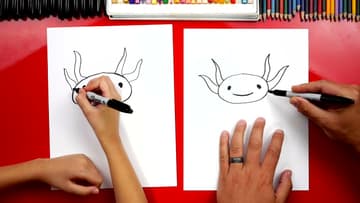
5. Add Zigzag Fringe to the Axolotl Gills
Now give the gills their feathery look. Draw small zigzag spikes along the edges of each gill, working from the base up to the tip.
Tip: Keep the spikes pointing outward from the gill, like the bristles on a brush.
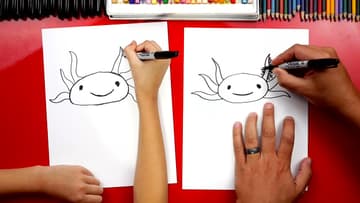
6. Draw the U-Shaped Axolotl Body
Under the head, draw a simple U shape for the body. Start at one side of the bottom of the head, curve down and come back up to the other side.
Tip: A wider U gives you a chubby, baby axolotl. A narrow one looks grown up.
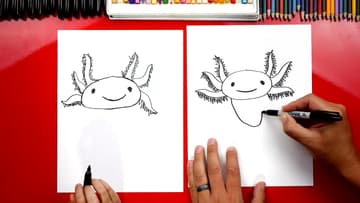
7. Draw the Axolotl Arms and Fingers
Start each arm right next to the neck. Draw a line that comes out to the side and bends down, then a second line next to it to give the arm thickness.
Tip: Draw the thumb first. It gives you a starting point for the rest.
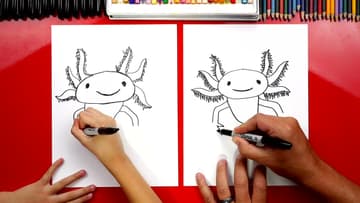
8. Draw the Axolotl Back Legs and Toes
The back legs start at the bottom of the body. Draw a line that comes out and bends down at the end, then a matching line above it for the top of the leg.
Tip: Overlapping lines like this make the drawing look 3D with no shading at all.
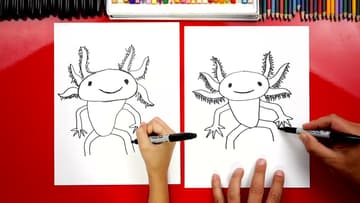
9. Draw the Axolotl Tail Behind the Legs
Draw a curve that comes down from the body and meets one of the back legs. Imagine the tail going behind that leg and continue it a little lower on the other side.
Tip: Bring the tail to a soft point. Axolotl tails are flat and fin-like.
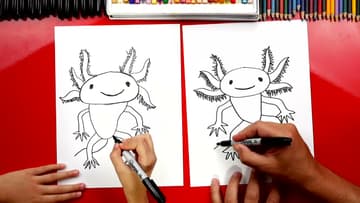
10. Color the Axolotl With Peach and Pink Pencils
Color the body with peach and pink layered together for a soft, warm skin tone. For the gills, layer crimson red over pink so they look darker and brighter than the body.
Tip: Start light and add layers. You can always go darker, but not lighter.