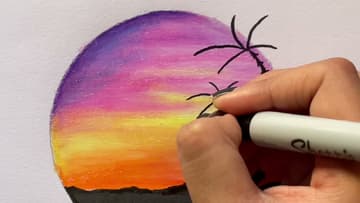
How to Draw a Sunset With Colored Pencils
Source: Arts Core • Full tutorial: www.craftingstepbystep.com/drawing/how-to-draw-a-sunset
- Difficulty
- Easy
- Hands-on time
- About 1 hour
- Makes
- 1 sunset drawing

Tools
- something round to trace
- pencil
- pencil sharpener
Materials
- colored pencils
- drawing paper
- black paint marker
- fine black Sharpie
Steps
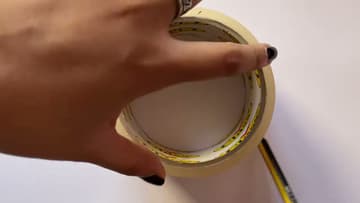
1. Trace a Circle for the Sunset Drawing
Set a roll of tape, a jar lid or any round object on your paper. Hold it steady with one hand and run a pencil around the edge.
Tip: Tape the paper to the table first so it does not slide while you trace.
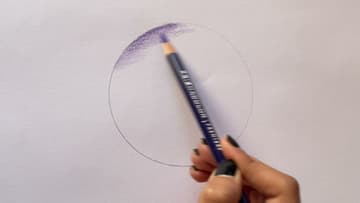
2. Shade the Top of the Sunset Sky With Violet Pencil
Take a violet colored pencil and start at the top of the circle. Use light pressure and small strokes.
Tip: Hold the pencil further back on the barrel. It keeps your pressure light.
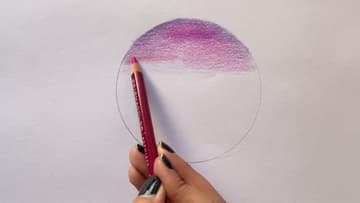
3. Add Hot Pink Under the Violet Sunset Sky
Switch to hot pink and color lightly into the middle area, overlapping the bottom of the violet. The two colors start to mix on the paper.
Tip: Overlap each new color with the last one. Gaps between colors are hard to fix later.

4. Deepen the Left Side of the Sunset With Magenta
Take magenta or another dark pink and color the left side of the sky. This gives the sunset some depth, so one side looks further from the sun than the other.
Tip: Sunsets are rarely even. A little more color on one side looks natural.
5. Fill the Center of the Sunset With Lemon Yellow
Pick up lemon yellow and fill the white band you left across the middle. This is where the sun glows brightest, so keep it clean and bright.
Tip: Sharpen the yellow often. A sharp point fills the paper tooth better.
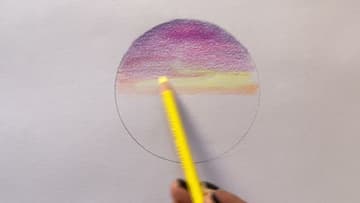
6. Build the Orange Horizon Band of the Sunset
Go back in with orange along the lower edge of the sky. Add magenta again on the right side, then take orange and blend the two colors together where they meet.
Tip: Blend with the lighter color on top. It smooths the edge without dulling it.
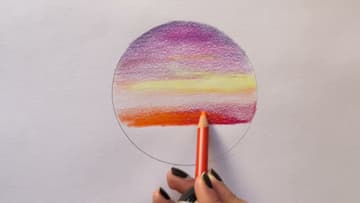
7. Layer Pink, Violet and Blue Into the Sunset Sky
Add a second layer of hot pink across the top. Then put violet on the upper left and a little non-photo blue over it.
Tip: Use the blue sparingly. Too much turns the purple grey.
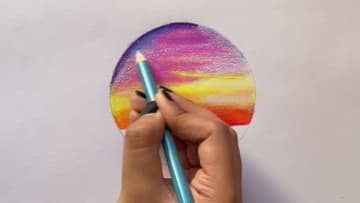
8. Burnish the Sunset Glow With a White Pencil
Take a white colored pencil and press firmly over the yellow and orange areas. White lightens the color and pushes the layers into the paper.
Tip: Wipe the white pencil tip on scrap paper often. It picks up color as you go.
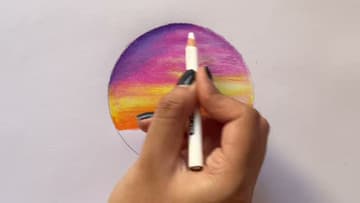
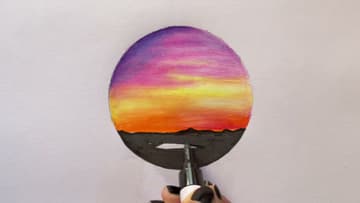
9. Color the Ground Below the Sunset in Black Marker
Draw a bumpy horizon line across the bottom of the sky with a black marker. Small hills look more natural than a flat line.
Tip: Outline the edge of the circle first, then fill toward the middle. The edge stays neat.
10. Draw Palm Tree Silhouettes Against the Sunset
From the right side, draw two palm trunks rising from the ground with a fine Sharpie. Make them curve a little and add short notches down each trunk.
Tip: Draw one tree taller than the other. Uneven heights look more natural.