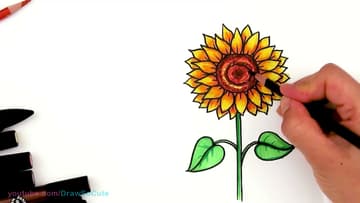
How to Draw a Sunflower: Easy & Realistic Step by Step
Source: Draw So Cute • Full tutorial: www.craftingstepbystep.com/drawing/how-to-draw-a-sunflower
- Difficulty
- Easy
- Hands-on time
- About 15 minutes
- Cost
- About $6 to $12
- Makes
- 1 colored sunflower drawing
Tools
- Fine-point black marker (Sharpie or similar)
- Colored pencils (red, brown, dark green)
- Yellow and orange markers
- Sketchbook or drawing paper
Materials
- Drawing paper or sketchbook page
- Yellow marker
- Orange marker
- Green marker
- Red colored pencil
- Brown colored pencil
Steps
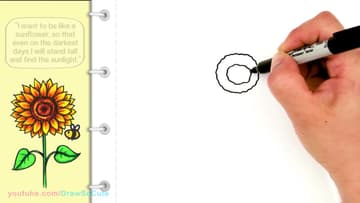
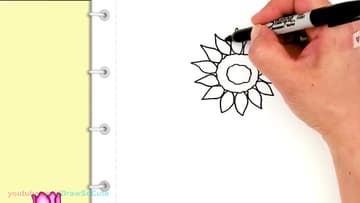
1. Draw the Center Disc with Two Wobbly Circles
Start with the center of the sunflower. Use your black marker to draw a small wobbly circle - bumpy, not smooth.
Tip: If your circle ends up oval or off-center, leave it. Real sunflower centers are never perfect circles, and the petals around it will balance everything out.
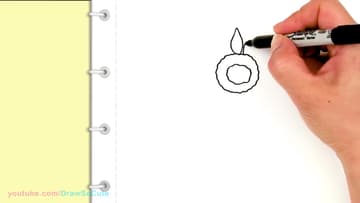
2. Add the First Ring of Pointed Petals
Now ring the center disc with petals. Each petal starts at the outer wobbly circle, comes up to a sharp point, and curves back down to the next spot on the disc.
Tip: Turn the paper as you work around the circle. Drawing every petal at the same comfortable wrist angle keeps the shapes consistent.
3. Add a Second Layer of Petals Between the First
Tuck a second layer of petals into the gaps between the first ring. These sit slightly behind the front petals and you only see their tips peeking out.
Tip: Aim the back-layer tips between the front-layer tips. A staggered pattern reads as fullness; matching tips reads as a sunburst.
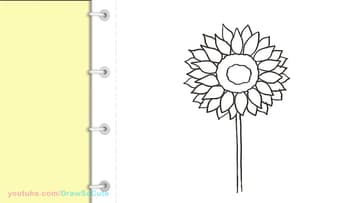
4. Drop a Sturdy Stem from the Center
From the bottom of the flower head, draw two parallel lines straight down for a thick, solid stem. Sunflower stems are sturdy - that is part of how the bloom holds its weight on the page.
Tip: Use the edge of a piece of scrap paper as a soft straightedge if you want clean parallel lines. Freehand looks more natural, but either works.
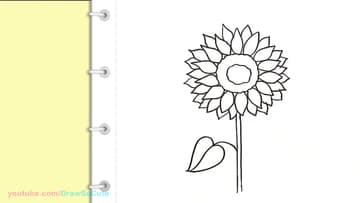
5. Add the First Heart-Shaped Leaf
Halfway down the stem, draw the first leaf on one side. Start with a curve that comes up and away from the stem, then bring it down and around like the top of a heart.
Tip: Draw a single curving center vein down the middle of the leaf later when you ink details. It instantly reads as a leaf instead of an abstract shape.
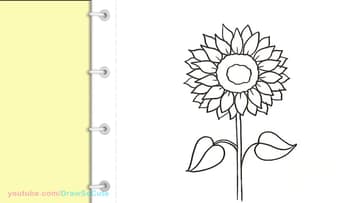
6. Add the Second Leaf and Flick Petal Detail Lines
Mirror the first leaf on the other side of the stem, a little lower than the first so the two don't sit at the same height. Then flick small detail lines at the base of each front-row petal, starting from the center disc and pulling outward.
Tip: Keep the flick lines short - one or two pen strokes per petal is plenty. Too many lines turn into shading and overpower the petal shape.
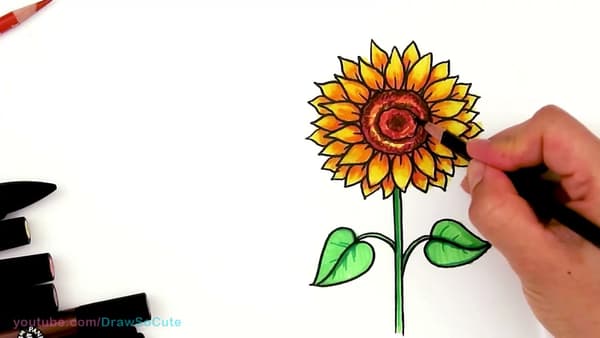
7. Color the Sunflower with Markers and Pencils
Start with yellow marker over the petals, then layer orange along the inner half of each petal where it meets the center. The two-tone fade is what gives the bloom its realistic depth.
Tip: Color the petals before the center. If you color the dark center first, the marker pigment can lift onto your hand and smudge the yellow petals.