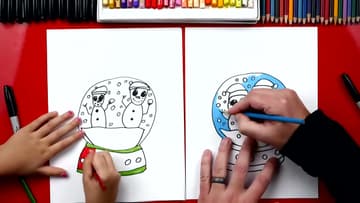
How to Draw a Snow Globe
Source: Art for Kids Hub • Full tutorial: www.craftingstepbystep.com/drawing/how-to-draw-a-snow-globe
- Difficulty
- Easy
- Hands-on time
- About 20 minutes
- Cost
- About $5 to $10
- Makes
- 1 colored snow globe drawing

Tools
- black fine point permanent marker
- bowl or cup to trace (optional)
Materials
- drawing paper or colored pencil pad
- colored pencils or washable markers
Steps
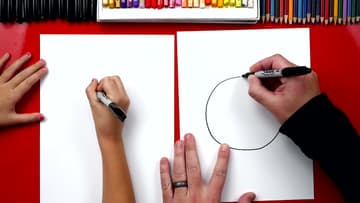
1. Draw a Big Circle for the Snow Globe Glass
Start near the top middle of your page and draw a big circle all the way around. This is the glass globe that holds the snow and the scene.
Tip: Leave space under the circle. The snow globe base still needs to fit below it.
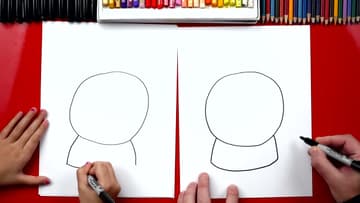
2. Draw the Curved Base Under the Snow Globe
From the bottom of the globe, draw two short lines going down and slightly out, one on each side. They look a bit like shoulders.
Tip: Keep both side lines the same length so the base does not tilt.
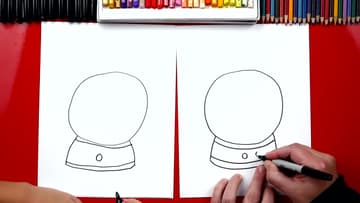
3. Add Bands and Circle Details to the Snow Globe Base
Draw a curved line across the top of the base, right under the globe. Add another curved line near the bottom.
Tip: Draw the middle circle first, then work out to each side so they stay even.
4. Draw the Snow Ground Inside the Snow Globe
Inside the bottom of the globe, draw a line on each side that curves down and meets the globe near the base. Then draw a wavy line across from one side to the other to connect them.
Tip: A gentle wave looks like drifted snow. A straight line looks like a shelf.
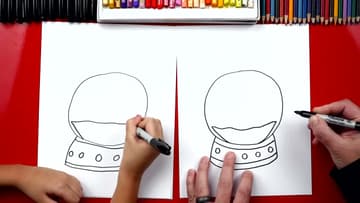
5. Draw Two Snowman Heads Inside the Snow Globe
This is where you can pause and draw your own scene. To follow along, draw two U shapes for the snowman heads.
Tip: Keep the heads in the upper half of the globe so the bodies fit under them.
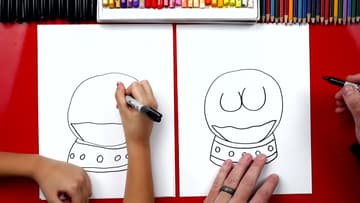
6. Draw the Snowman Eyes and Carrot Noses
Draw two circles for eyes on each snowman. Add a small circle in the top right of each eye, then color the big circles in black and leave the little ones white.
Tip: Two short curved lines across each carrot nose give it texture.
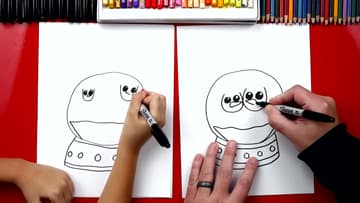
7. Draw the Snowman Smiles and Santa Hats
Under each carrot, make a smile out of small dots, like bits of coal. Add eyelashes to one if you like.
Tip: If you are short on room, let the hat tip flop down to the side instead of up.
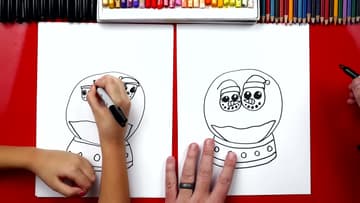
8. Draw the Snowman Bodies, Buttons and Arms
Draw a curve down from each head to the snow ground for the bodies. If your snowmen overlap, the second body tucks behind the first.
Tip: Arms that bend up at the elbow look like the snowmen are waving.
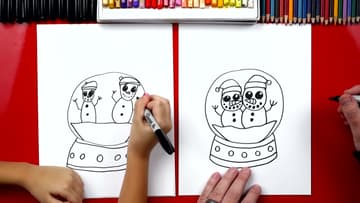
9. Draw Falling Snow Dots Inside the Snow Globe
The last drawing step is the snow. Draw small circles all over the inside of the globe, around the snowmen and up near the glass.
Tip: Vary the size of the snow dots a little so the snow looks natural.
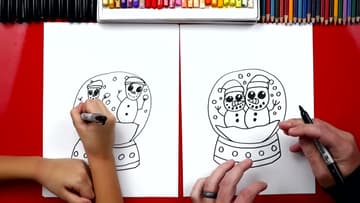
10. Color the Snow Globe Drawing
Color the inside of the globe light blue and leave the snowmen and snow dots white. The blue is what makes the snow show up.
Tip: Press harder near the glass edge for a deeper blue. It makes the globe look round.