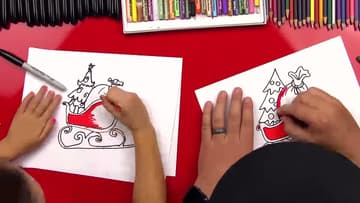
How to Draw a Sleigh
Source: Art for Kids Hub • Full tutorial: www.craftingstepbystep.com/drawing/how-to-draw-a-sleigh
- Difficulty
- Easy
- Hands-on time
- About 30 minutes
- Cost
- About $5 to $10
- Makes
- 1 colored sleigh drawing

Tools
- black fine point permanent marker
- pencil and eraser (optional)
Materials
- drawing paper or colored pencil pad
- oil pastels, markers or colored pencils
Steps
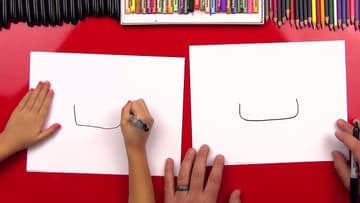
1. Draw a Long U-Shape for the Sleigh Body
Start in the middle of your page. Draw a long, flat U-shape.
Tip: Make the U wide. A narrow U turns into a bucket instead of a sleigh.
2. Draw the Curled Scroll Front of the Sleigh
The sleigh points to the left. At the top of the left side, draw a small sideways U and curl it down.
Tip: Pause the video after each curl. These shapes are easier in small pieces.
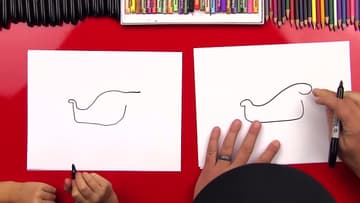
3. Curl the Back of the Sleigh Into the Body
Curl the top of the tall curve back in, then bring a line down to finish the back of the sleigh. It looks like the front scroll, only bigger.
Tip: If your curl looks lumpy, that is fine. The border later smooths it out.
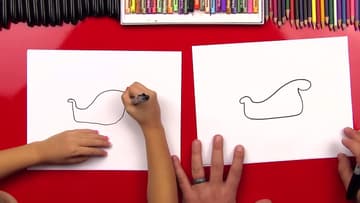
4. Draw the Swirl and Long Runner of the Sleigh
Below the front of the sleigh, draw a big S-shaped swirl that curls in like a seashell. Let the end point toward the back.
Tip: Turn your paper so you pull the marker toward you. Straight lines come out steadier.
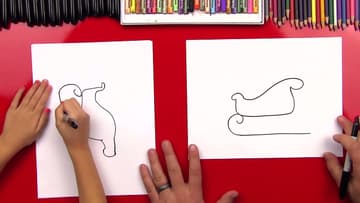
5. Add Fancy Curls Under the Sleigh Body
Now fill the space between the sleigh and the runner with curls. Draw an upside down U, then follow the line next to it and swirl back up.
Tip: Your curls do not need to match the video. Any swirl looks festive.
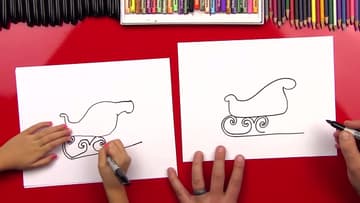
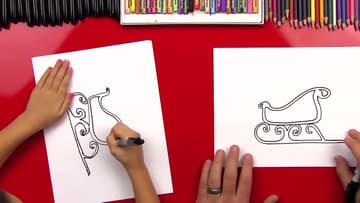
6. Add Raindrops and a Border Line Around the Sleigh
Draw a small raindrop shape inside the front scroll and a bigger one inside the back scroll. Then draw a second line right inside the outside edge of the sleigh, all the way around.
Tip: Keep the border close to the outline. A thin gap looks like trim.
7. Draw Santa's Toy Sack in the Sleigh
Above the sleigh, draw a small U, then two curved lines out and a wavy line across the top. That is the open end of the sack.
Tip: Make the sack big. A huge sack tells you it is full of toys.
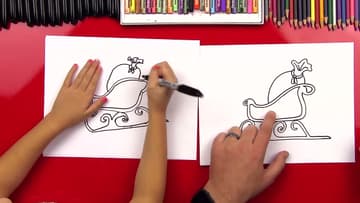
8. Draw a Christmas Tree Behind the Toy Sack
Behind the sack, draw a curved upside down V for the top of a little Christmas tree. Add a wavy line under it, then two more layers of branches, each one wider.
Tip: Ask yourself which thing is in front. Only draw the lines you could see.
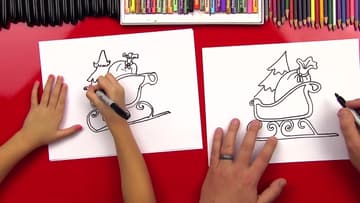
9. Decorate the Sleigh's Christmas Tree With Ornaments
Draw small circles on the tree for round ornaments. Rob's daughter adds little hooks on hers, and then a star on top.
Tip: Space the ornaments out. A few round ones read better than lots of tiny dots.
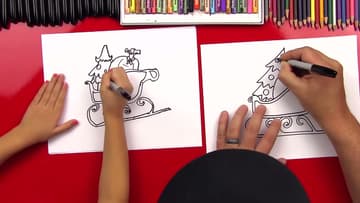
10. Color Santa's Sleigh Red, Green and Gold
Now add color. They use orange, green, a light red and a dark red.
Tip: Color the big red parts first. Small details go faster at the end.