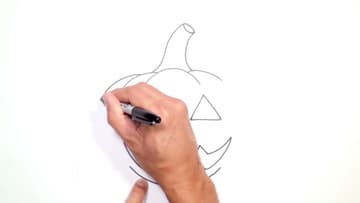
How to Draw a Pumpkin - Easy Jack-O'-Lantern in 7 Steps
Source: Cartooning Club How to Draw • Full tutorial: www.craftingstepbystep.com/drawing/how-to-draw-a-pumpkin
- Difficulty
- Easy
- Hands-on time
- About 15 minutes
- Makes
- 1 drawing of a jack-o-lantern

Tools
- Black fine-tip marker (or pencil)
- Eraser
Materials
- Drawing or marker paper
- Orange and green markers or pencils (optional)
Steps
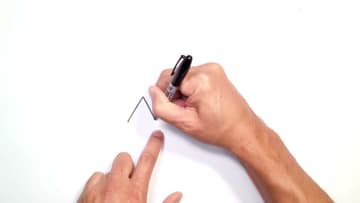
1. Draw the Left Triangle Eye of the Jack-O'-Lantern
Start with the eyes, not the outline. Put the pen down where the top point of the left eye will be, draw one line angling down to the left, then a second line from the same point angling down to the right.
Tip: Keep the bottom line level. A tilted base is what makes a triangle eye look like a mistake rather than a design.
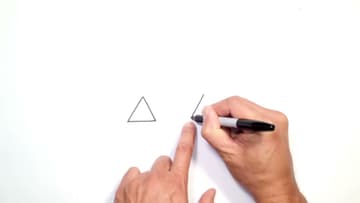
2. Draw the Right Triangle Eye at the Same Height
Mark the top point of the right eye level with the first one, then bring the two sides down to the same bottom line and close it. Check the heights before you commit.
Tip: If one eye comes out bigger, make the nose slightly off-centre toward the smaller one. The face reads as balanced even when the eyes are not.
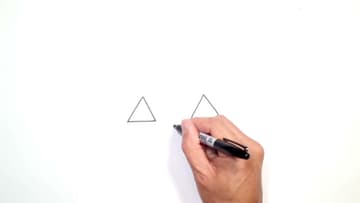
3. Add the Small Triangle Nose Between the Eyes
Sit the nose just below the line of the eyes, centred between them. Two short sides angling down from a point and a short line across the bottom.
Tip: Three triangles of two sizes is the whole classic jack-o'-lantern face. Get these right and the rest is decoration.
4. Draw the Jagged Top Teeth of the Pumpkin Grin
Below the nose, draw a V. Add another V on each side, leaving the outer ones open at the ends.
Tip: Draw the middle V first and work outward. Starting at one corner makes the mouth drift off-centre.
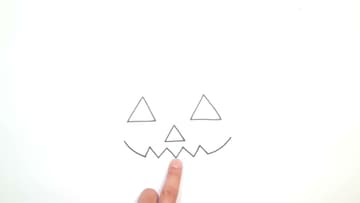
5. Add the Bottom Teeth and Close the Jagged Mouth
Under the top row, draw the same Vs pointing upward, then connect the outer ends of the bottom row up to the corners of the grin with a curved line on each side. The mouth is now one closed shape with teeth top and bottom.
Tip: Leave a small gap between the top and bottom teeth. A mouth with no gap reads as a zigzag line, not a grin.
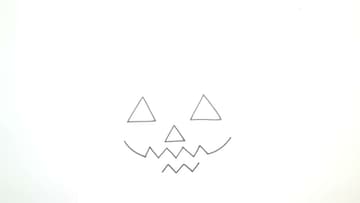
6. Draw the Top Pumpkin Ribs and the Stem
Above each eye, draw a curve for the top of a pumpkin segment. Then add a curve on each side, starting a little lower and overlapping the middle ones so the segments look like they tuck behind each other.
Tip: Curve the stem to one side. A straight stem looks like a handle.
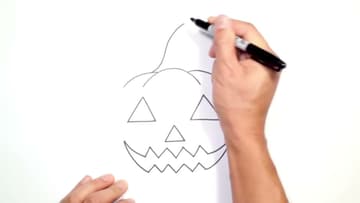
7. Round the Jack-O'-Lantern Sides Under the Chin
Under the mouth, draw a curve for the chin. Then from the outer top ridges, bring a curved line down each side of the head and tuck it in beneath the chin with a small overlap, so the pumpkin reads as a rounded, segmented shape rather than a circle.
Tip: Colour with the outline dry. Marker over wet Sharpie smears the black into the orange.