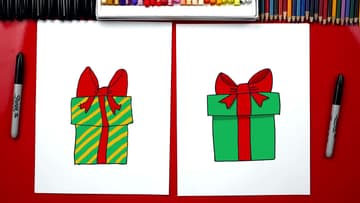
How to Draw a Present
Source: Art for Kids Hub • Full tutorial: www.craftingstepbystep.com/drawing/how-to-draw-a-present
- Difficulty
- Easy
- Hands-on time
- About 25 minutes
- Makes
- 1 drawing of a wrapped Christmas present

Tools
- black fine point permanent marker
- pencil and eraser (optional)
Materials
- drawing paper or colored pencil pad
- washable markers or colored pencils
Steps
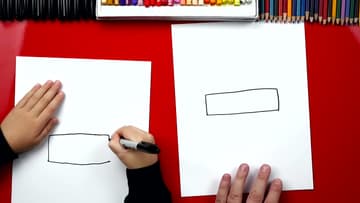
1. Draw a Long Rectangle for the Present Lid
Near the top of your page, draw a long line across and a short line down at one end. It looks like a big L that fell over.
Tip: Turn your paper as you go. It is easier to draw a straight line when your hand moves in a comfortable direction.
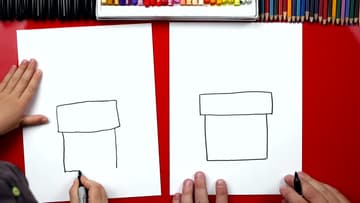
2. Draw the Square Present Box Under the Lid
Start a little in from each end of the lid. Draw two straight lines going down, and make them the same length.
Tip: Draw both side lines before the bottom. It is easier to make them match.
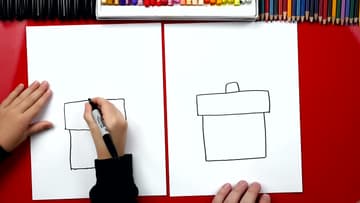
3. Draw the Rounded Knot of the Present Bow
In the middle of the lid, draw a small square shape sitting on the top line. Round the corners instead of making them sharp.
Tip: Center the knot on the lid so both bow loops get the same amount of room.
4. Draw the Two Big Loops of the Present Bow
Start at the side of the knot. Draw a curve that goes up and then comes back down to the lid, like a big rounded A.
Tip: If one loop comes out bigger, make the other one match it rather than starting over.
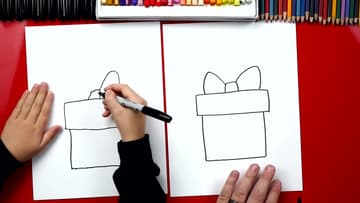
5. Add Inner Curves and Wrinkles to the Present Bow
Start next to the knot and draw a curve that comes up to the top of the loop. That line shows the inside of the ribbon and makes the bow look 3D.
Tip: Keep the wrinkle lines short and close to the knot. Long lines make the bow look busy.
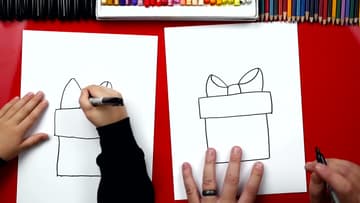
6. Draw the Ribbon Tails Hanging From the Present Bow
From each side of the knot, draw a line that comes down diagonally over the lid. Draw a second, shorter line right next to it.
Tip: The tails can overlap the lid. That makes the bow look like it sits on top of the box.
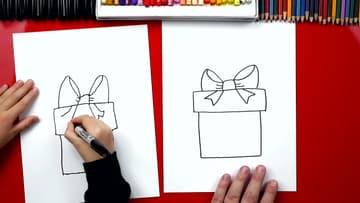
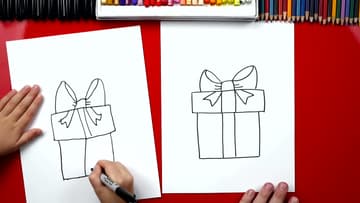
7. Draw the Ribbon Wrapping Down the Present Box
Under the knot, draw two straight lines going down through the lid. Keep them close together.
Tip: Skip the ribbon lines where the tails cover the lid. The ribbon goes behind them.
8. Color the Christmas Present Box, Bow and Ribbon
Pick your colors. In the video, both boxes are green with a red bow and ribbon.
Tip: Add a darker shade inside each bow loop. It makes the ribbon look folded.