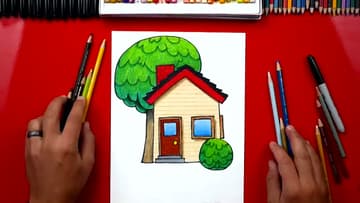
How to Draw a House: Cartoon Cottage Step by Step
Source: Art for Kids Hub • Full tutorial: www.craftingstepbystep.com/drawing/how-to-draw-a-house
- Difficulty
- Easy
- Hands-on time
- About 30 minutes
- Makes
- 1 drawing of a cartoon cottage
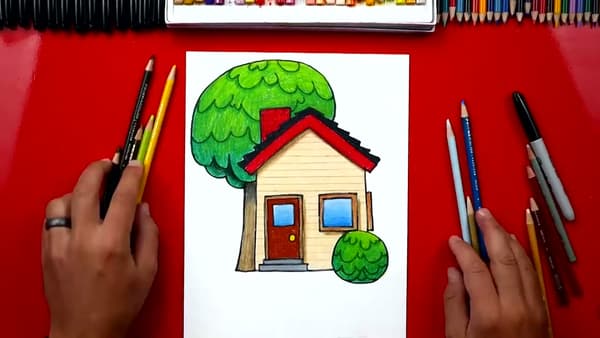
Tools
- Black fine-tip marker (Sharpie or similar)
- Pencil
- Eraser
- Drawing paper or sketchbook
Materials
- Colored pencils or markers (red, yellow, green, brown, blue)
- White drawing paper
- Black marker for outlining
Steps
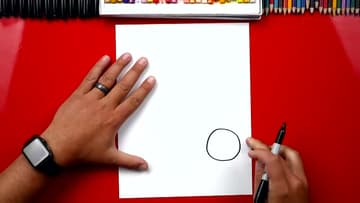
1. Draw the Front Shrub and Start the Baseline
Place your paper in portrait orientation. With your black marker, draw a small circle in the bottom-right area of the paper for the shrub that sits in front of the house.
Tip: Position the shrub low and slightly to the right of center. If you start it dead-center, the house ends up crowding the left edge of the paper and the tree has nowhere to go.
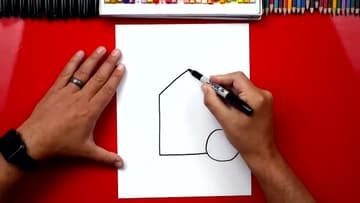
2. Add the Walls and the Peak
From the right end of the baseline, draw a vertical line straight up for the right wall. From the left end of the baseline, draw a matching vertical line up to the same height for the left wall.
Tip: The peak does not have to be tall. A short, wide triangle looks more like a cottage; a steep narrow one starts to look like a tower.
3. Build Out the Roof Overhangs
Now widen the roof so it overhangs the walls. From the top of the left wall, draw a short line that pushes out past the wall to the left, then come back up at a matching angle to mirror the original roof slope.
Tip: Keep the two roof slopes parallel. If the inside slope and the outside slope head different directions, the roof reads as broken instead of stylized.
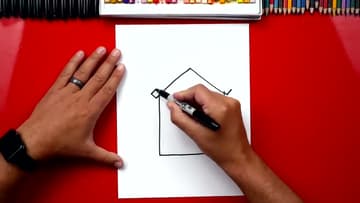
4. Add Shingles and the Chimney
Start at the peak of the roof. Draw a zigzag down the front face of the roof - short line, drop, short line, drop - to suggest a row of shingles along the front edge.
Tip: You only need a handful of shingle teeth on each side. More than eight and the roof starts looking busy.
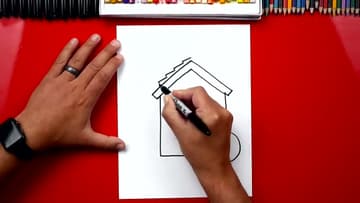
5. Draw the Front Steps and the Door
At the bottom of the house, draw two small stacked rectangles to make a pair of front steps. The lower step is wider than the upper one - a quick way to suggest depth.
Tip: Center the door over the steps. If the door floats above one of the steps, the cottage looks like it cannot decide where the front entrance is.
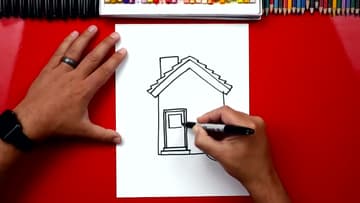
6. Add the Front Window and Side Window
Next to the door, draw a square for the front window using the same L-shape trick: draw an L, then an upside-down L to close the box. Repeat a smaller box just inside for the window frame.
Tip: Match the height of the front window to the top of the door for a cleaner look. Two different heights pull the eye in opposite directions.
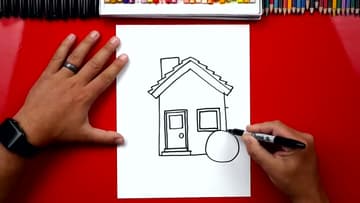
7. Draw the Tree, Add Leaf Texture, and Color the Drawing
Behind the house on the left side, draw a tree trunk that curves out at the base and connects into the wall. Then sketch the canopy: start with a backwards J shape coming up from the trunk, add two more U-shapes to round it out, and curve the top of the canopy across and over the roof, ending where the roof meets the...
Tip: You do not have to match the leaf pattern exactly. A loose handful of U-shapes reads as leaves; trying to make them perfectly even makes the tree look stiff.