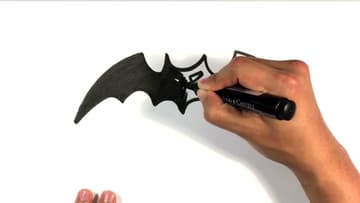
How to Draw a Bat - Easy Halloween Silhouette in 6 Steps
Source: HalloweenDrawings • Full tutorial: www.craftingstepbystep.com/drawing/how-to-draw-a-bat
- Difficulty
- Easy
- Hands-on time
- About 15 minutes
- Makes
- 1 drawing of a Halloween bat silhouette

Tools
- Black fine-tip marker
- Black chisel-tip marker (for the fill)
- White gel pen (optional)
Materials
- Drawing or marker paper
- Black card (for cut-out bats, optional)
Steps
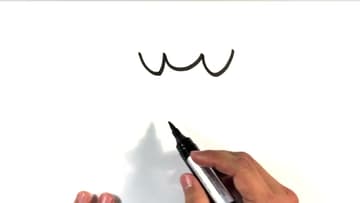
1. Draw the Bat's Head and Two Pointed Ears
Near the top centre of the page, draw two small pointed bumps for the ears with a shallow dip between them. That little W shape is the whole head.
Tip: Make the ears slightly different heights. Perfect symmetry reads as a logo rather than an animal.
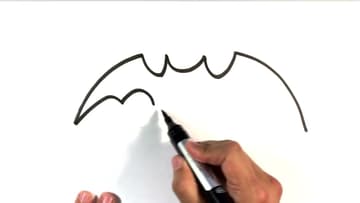
2. Sweep the Top Edge of Each Bat Wing Outward
From the outside of each ear, draw a long line curving outward and slightly upward, then hooking down at the tip. That hook is the wing's thumb.
Tip: Draw these two lines in one motion each. A hesitant, wobbly wing edge is harder to fix than a confident one that is slightly off.
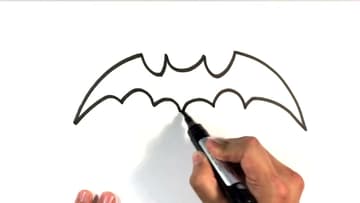
3. Scallop the Wing Membrane Along the Bottom Edge
Come back from each wingtip toward the centre with a row of U shapes, three or four per side, and let the two rows meet under the head where the body sits. Those scallops are the stretched membrane between the bat's fingers, and they are the one detail that makes the silhouette read instantly.
Tip: Make the U shapes bigger near the tip and smaller near the body. Even scallops look like a picket fence.
4. Add Two Beady Eyes to the Bat's Head
Inside the head, put two small dots spaced evenly either side of the centre. That is the whole face.
Tip: Draw the eyes as small circles now rather than dots, so you can fill around them cleanly in the next step and leave them white.
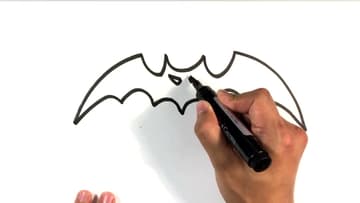
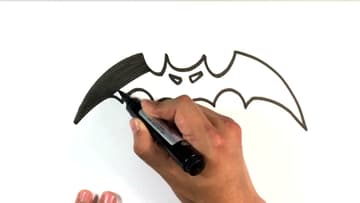
5. Fill the Bat's Body and Wings in Solid Black
Colour the entire bat in with the marker, working in overlapping strokes so no white streaks show through. Go right up to the outline and over it, and leave only the two eyes empty.
Tip: Open a window. Permanent marker fumes over a large fill are noticeable, and a chisel-tip marker fills faster than a fine one.
6. Add Fangs or Wing Lines to Finish the Bat Silhouette
Two tiny white fangs under the eyes make it a vampire bat. A couple of short lines on each wing membrane suggest the bones without breaking the shape.
Tip: A white gel pen adds fangs or wing lines over dry black marker far more cleanly than trying to leave gaps while filling.