How to Weave in Ends (Crochet and Knitting Method That Never Comes Undone)
Source: Nicki's Homemade Crafts • Full tutorial: www.craftingstepbystep.com/crochet/how-to-weave-in-ends
- Difficulty
- Easy
- Hands-on time
- About 10 minutes
Tools
- tapestry needle / yarn needle
- scissors
Steps
1. Gather Your Needle, Scissors, and Finished Piece
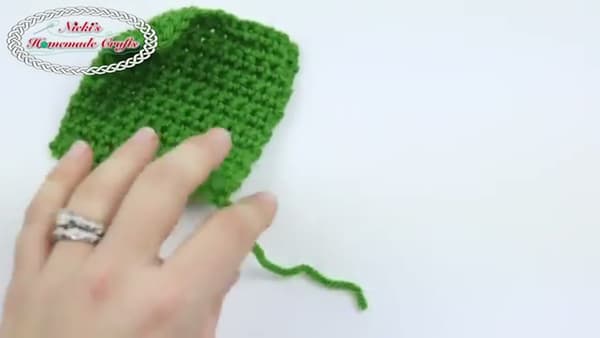
Grab your finished crochet or knit piece with the loose tail still attached, your tapestry needle, and a pair of small scissors. A blunt-tip tapestry needle is what you want here because it slides between yarn strands instead of splitting them.
Tip: If your tail is shorter than about four inches, leave a longer tail next time. A short tail will not give you enough length to do all four passes.
2. Run the Needle Through the Tunnel of Stitches
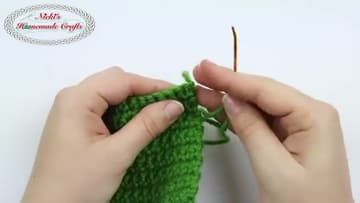
Slide the needle into the body of a stitch so it travels through what Nicki calls the tunnel. You are going under one stitch and out a few stitches over, staying inside the fabric instead of stabbing across the top.
Tip: Aim for three to four stitches per pass. Any longer and the yarn ends up sitting on the surface instead of inside the fabric.
3. Reverse Direction and Weave Back
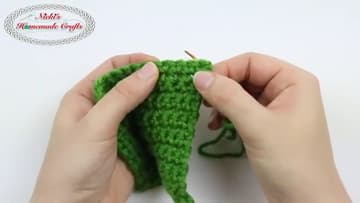
Now reverse direction. Shift the needle over by one stitch and weave back the way you came, running parallel to your first pass.
Tip: Flip the work over after each pass and check the front. If you see the tail color bleeding through, ease off the tension and shift over another stitch.
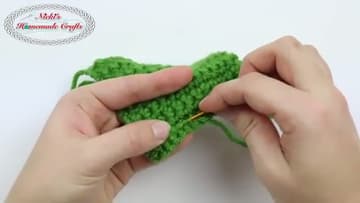
4. Drop a Row and Zigzag Again
Drop down one row and run the needle through a third path, then shift over and zigzag back one more time. You will end up with a small back-and-forth ladder hidden inside the fabric.
Tip: Heavier yarns like chunky or super-bulky only need two or three passes. Lace and fingering weight need five or six because the tail has less friction to grab.
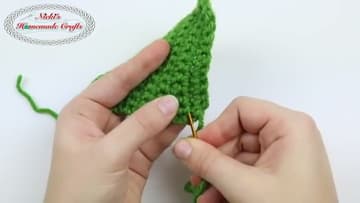
5. Trim Long, Then Stretch the Fabric
Give the tail one last gentle pull so a tiny bit extra sticks out past the fabric, then snip it close with sharp scissors. Do not cut flush yet.
Tip: Sharp embroidery scissors give you a cleaner cut than fabric shears. A clean cut tucks in flush, while a frayed cut wants to fluff back out.
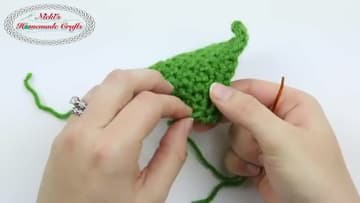
6. Split the Plies for a Stronger Finish
For a stronger finish on plied yarn, untwist the tail and separate the plies before you weave. Nicki uses four-ply, so she splits it into two pairs.
Tip: Use this method on heirloom pieces, anything that will be machine-washed often, and on slippery yarns like cotton or bamboo that fight back against a single weave.