How to Slip Stitch in Crochet
Source: Hope Corner Farm Crochet • Full tutorial: www.craftingstepbystep.com/crochet/how-to-slip-stitch-in-crochet
- Difficulty
- Easy
- Hands-on time
- About 15 minutes
Tools
- crochet hook (size H/8 or J/10 for worsted weight)
- scissors
Materials
- worsted weight yarn
Steps
1. Start With a Base Row to Slip Stitch Into
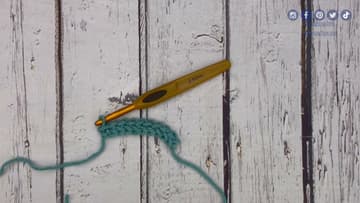
You need something to slip stitch into - a foundation chain, a row of single crochet, or whatever your pattern tells you to work into. Rachel uses a row of foundation single crochets in teal worsted yarn for this demo.
2. Chain 1 and Turn Your Work
Yarn over and pull through to make a single chain stitch, then flip your work so the back becomes the front. That chain-1 gives you the tiny bit of height the slip stitch needs.
Tip: Keep the chain-1 loose. If you cinch it down, you'll have a hard time getting your hook back into the first stitch a second later.
3. Insert the Hook Into the First Stitch
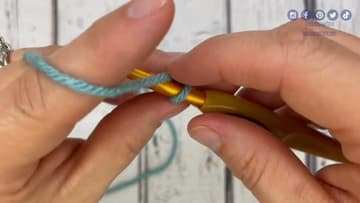
Push your hook down into the very first stitch of the row, going under both top loops. On a row of single crochets, those two loops look like a little V across the top of each stitch.
Tip: If your hook won't slide in, the previous row was probably too tight. Wiggle the hook from side to side to open the space up.
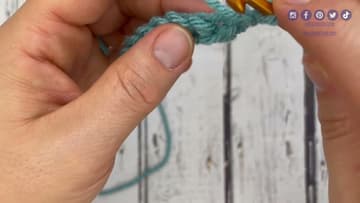
4. Yarn Over and Pull Through the Stitch
Yarn over by coming up from below and catching the working yarn on your hook. Pull that loop of yarn back through the stitch you just inserted into.
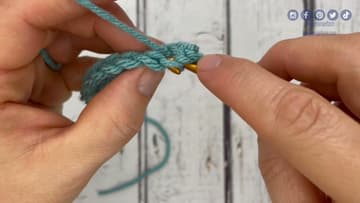
5. Pull Through Both Loops in One Move
Here's the part that makes slip stitch different from every other stitch: pull the new loop straight through the loop already on your hook in one motion. No second yarn over.
Tip: Keep the loop on your hook a little loose. Slip stitches choke up fast if you pull them too tight, and you'll fight every single one after that.
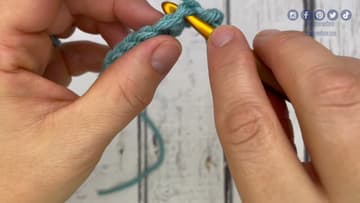
6. Repeat Across the Whole Row
Move to the next stitch and do the same thing: hook in, yarn over, pull through the space and the loop on the hook. Keep going across the entire row.
Tip: Look at your hook between stitches. If there's one loop, you finished cleanly. If there are two, finish the pull-through before moving on.
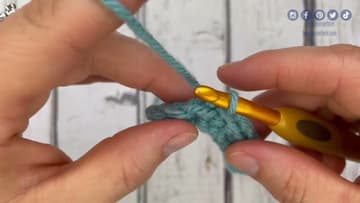
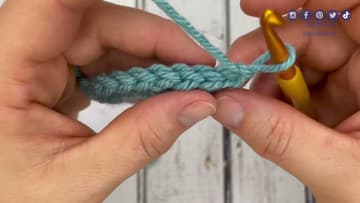
7. Check What the Finished Row Looks Like
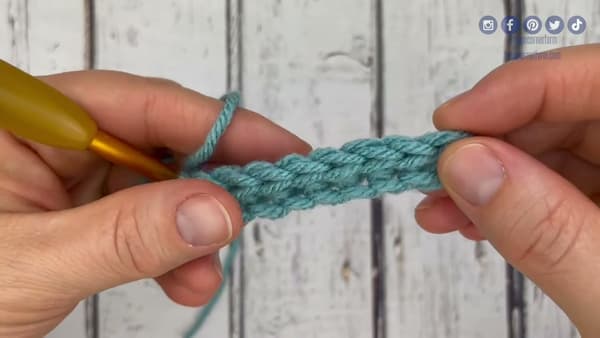
Lay your row out and look at it. Slip stitches show up as a column of small V's on the front, with a thicker, almost knotted ridge along the top.
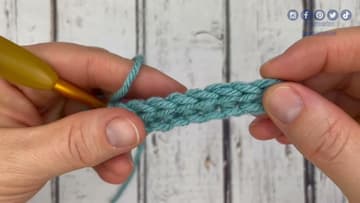
8. Slip Stitch Into a Slip Stitch Row
If your pattern asks you to slip stitch into a previous slip stitch row, the V's sit at a slight angle. Chain 1, turn, and look for the two top loops of the first slip stitch.
Tip: Slip stitch is also how you join the end of a round to the start when you're working in the round.