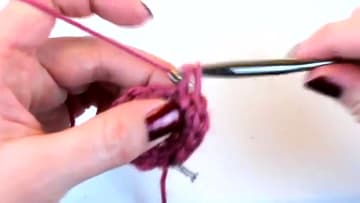
How to Crochet in the Round: Foundational Technique
Source: Crochet Guru • Full tutorial: www.craftingstepbystep.com/crochet/how-to-crochet-in-the-round
- Difficulty
- Easy
- Hands-on time
- About 20 minutes
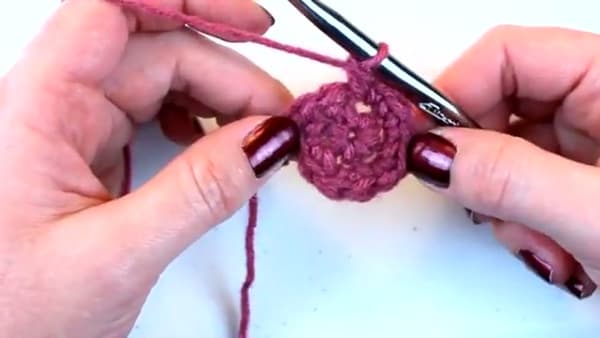
Tools
- Crochet Hook (matched to your yarn weight)
- Scissors
- Yarn Needle
- Stitch Markers
Materials
- Worsted Weight Yarn
Steps
1. Chain four to start the ring
Method one starts with a chain-four ring. Make your slipknot, then chain four stitches.
Tip: Keep the chains loose enough that you can fit the hook back into the first one without fighting the yarn.
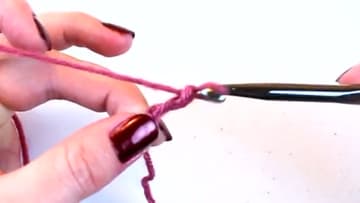
2. Close the ring with a slip stitch
Find the very first chain you made (the one furthest from your hook) and insert the hook into it. Yarn over, then pull the yarn through both the chain and the loop already on your hook.
Tip: If the joining feels too tight to pull through, you chained too snug. Pull the work out and chain again with a looser hand.
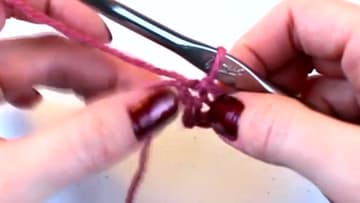
3. Work six single crochets into the ring
Chain one to anchor the first round. Then put six single crochets into the center of the ring.
Tip: Crowd the stitches together. They should look like beads on a bracelet, not spaced out around the ring.
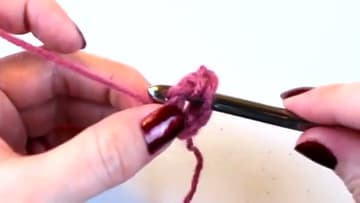
4. Try the chain-two method for a closed center
Method two skips the chain-four ring. Start with a slipknot and chain two.
Tip: An alternative starting method some patterns prefer is the magic ring. Once this technique feels comfortable, try the magic ring for the cleanest closed center.
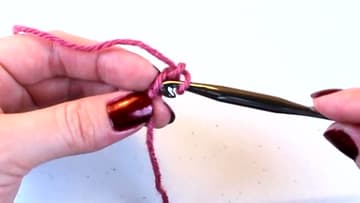
5. Mark the end of the round
Crochet in the round usually spirals - there is no obvious seam telling you where round one ends and round two begins. A stitch marker fixes that.
Tip: Locking stitch markers are easier to move and harder to lose than yarn scraps. Worth keeping a pack in your project bag.
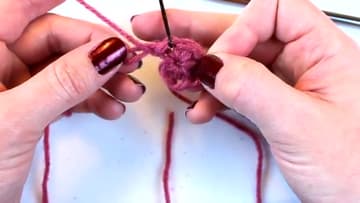
6. Round two - two single crochets in every stitch
Round two doubles the stitch count. Work two single crochets into the first stitch, then two into the second, then two into the third, and so on around the whole circle.
Tip: If your disc starts to cup like a bowl, you are not increasing enough. If it ruffles around the edge, you are increasing too much.
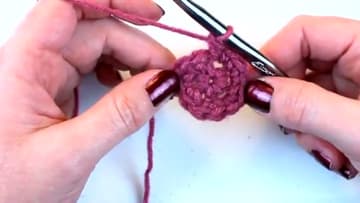
7. Round three - alternate one and two single crochets
Round three keeps adding six stitches but spaces the increases out. The pattern is: one single crochet in the next stitch, then two single crochets in the stitch after, then one, then two, and so on around.
Tip: This same foundation is what builds an octopus, a mushroom, and any other amigurumi project. Master the round and the toys follow.