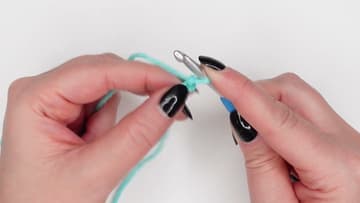
How to Crochet a Foundation Chain: 7 Step Beginner Tutorial
Source: Just Be Crafty • Full tutorial: www.craftingstepbystep.com/crochet/how-to-crochet-foundation-chain
- Difficulty
- Easy
- Hands-on time
- About 20 minutes
Tools
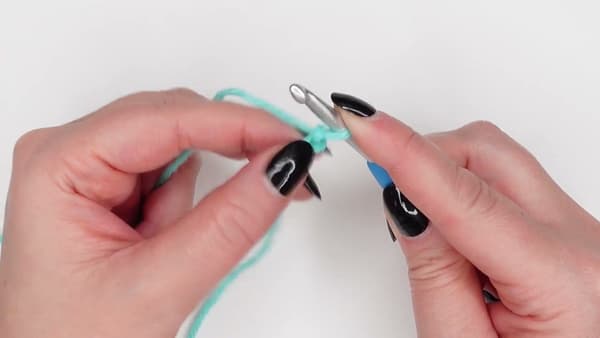
- Crochet hook (5mm/H8 for worsted weight)
- Scissors
Materials
- Worsted weight yarn (cotton or acrylic)
Steps
1. Start With a Slip Knot on the Hook
Make a slipknot at the end of your yarn and slide the loop onto the crochet hook. The slipknot is your anchor - it tightens when you pull but doesn't unravel as you work.
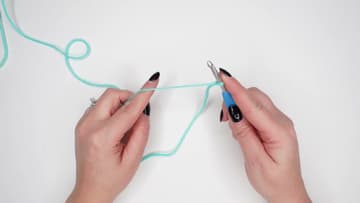
2. Pick a Hook Hold
Two main hook holds: KNIFE hold (grip like a kitchen knife with the hook hand) or PENCIL hold (grip like a pen). Beginners usually find knife hold easier on the wrist over long sessions.

3. Set Up Your Yarn-Hand Tension
Trap the working yarn between your pinky and ring finger of your non-hook hand. Flip the hand so the back faces up.

4. Anchor the Slipknot
Press the pointer finger of your yarn hand against the slipknot to keep it from spinning on the hook. Give the yarn a couple gentle tugs to feel where the tension lives in your hand.
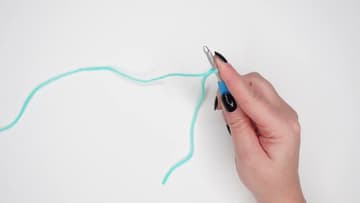
5. Yarn Over the Hook
Yarn over (abbreviated YO in patterns) - wrap the working yarn around the hook from BACK to FRONT. The yarn passes over the top of the hook and comes back to the front, leaving a fresh loop sitting above the slipknot.

6. Pull Through to Make a Chain
Tilt the hook slightly downward to catch the yarn-over loop, then pull it THROUGH the existing slipknot loop. The slipknot drops off; the new loop becomes the active loop on the hook.
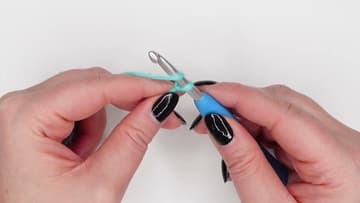
7. Repeat to Build the Chain
Yarn over, pull through. Yarn over, pull through.
Tip: If your chains come out tight and hard to insert a hook into next time, you're holding the working yarn too tight. If they come out loose and floppy, your tension is too loose.