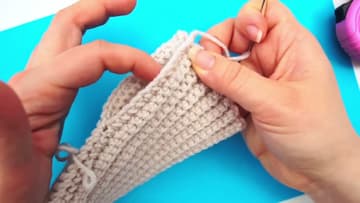
How to Crochet Fingerless Gloves: Easy Beginner Tutorial
Source: Diving Ducks Crochet • Full tutorial: www.craftingstepbystep.com/crochet/how-to-crochet-fingerless-gloves
- Difficulty
- Easy
- Hands-on time
- About 2 hours
- Cost
- About $5 to $10
- Makes
- 1 pair of fingerless gloves
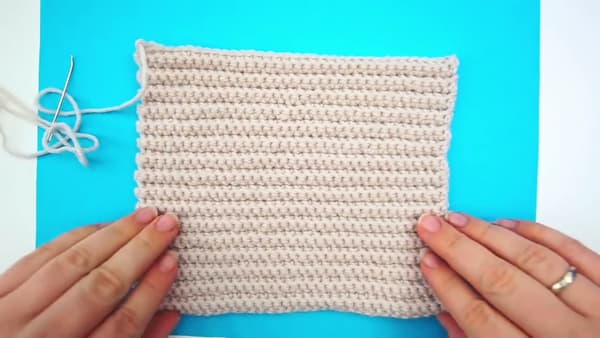
Tools
- Crochet Hook 4mm (Size G)
- Tape Measure
- Scissors
- Tapestry Needle
Materials
- Worsted Weight Yarn (Medium 4) - approx 50-100g
Steps
1. Gather your supplies
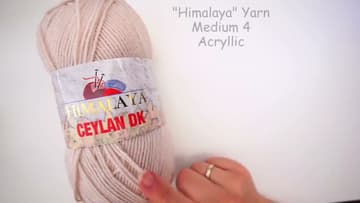
You will need worsted-weight yarn (medium 4 on the yarn label), a 4mm crochet hook, scissors, and a tapestry needle for finishing. The video uses Himalaya Ceylan DK, but any soft acrylic, wool, or wool blend in a medium-4 weight will work.
Tip: If your gauge tends to run tight, go up to a 4.5mm hook. The rectangle should feel soft and stretchy, not stiff.
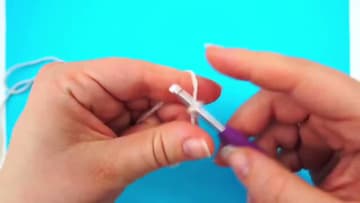
2. Make a slipknot and chain 36
Start with a slipknot on your hook. Yarn over and pull through the loop to make your first chain stitch.
Tip: Keep the chains loose. If you can barely fit the hook back through them, you are chaining too tight. Try again with a relaxed grip.
3. Work single crochet across the foundation
Now turn back and work a row of single crochet into the chain. Insert your hook into the second chain from the hook (the one right next to your hook does not count).
Tip: Count your stitches at the end of the row. If you have 34 or 36, you missed one or added one - tink back and fix it now while it is easy.
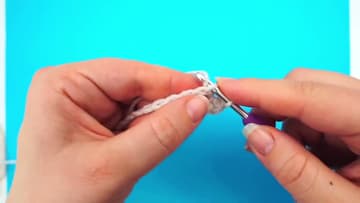
4. Switch to back-loop-only single crochet
Chain one and turn the work. From here on every row is single crochet, but worked only into the back loop of each stitch.
Tip: The very first stitch of the new row does not count as a stitch on its own, but you still skip it and start in the second one. Yes, that feels odd until your hands learn it.
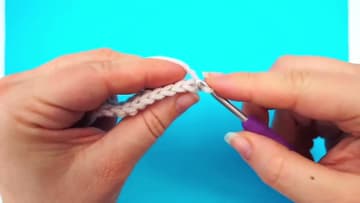
5. Repeat until you have 32 rows
That is the whole pattern. At the end of every row, chain one, turn, and work back-loop single crochet across again.
Tip: The ribbing shows on what is called the public side. Decide which side you want facing out when you wear the mitt, and make sure you sew it accordingly in the next step.
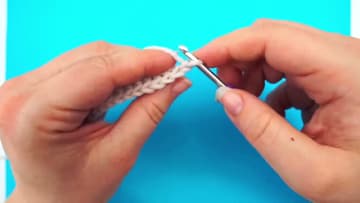
6. Fold in half and seam the long side
Fasten off with a long tail and thread it onto a tapestry needle. Fold the rectangle in half so the two short ends meet, with the right side facing in.
Tip: Do not pull the seam yarn too tight or the fabric will pucker. Just enough tension to bring the edges together is right.
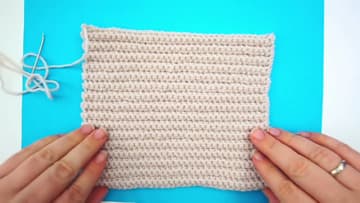
7. Close the top and turn right-side out
Thread the tapestry needle onto the yarn tail at the top of the mitt. Stitch the very top closed for about a centimeter - just enough to anchor the corner.
Tip: If the thumb hole feels tight on the first mitt, leave a slightly longer gap on the second one. Hands are not always perfectly symmetric and these are forgiving.