How to Crochet an Earflap Hat
Source: Pretty Darn Adorable Crochet Tutorials • Full tutorial: www.craftingstepbystep.com/crochet/how-to-crochet-an-earflap-hat
- Difficulty
- Medium

Tools
- 6.5 mm crochet hook
- 6 mm crochet hook
- stitch markers
- large eye yarn needle
- sharp scissors
- measuring tape
- pom pom maker (or a piece of cardboard)
Materials
- chunky #5 weight acrylic yarn in berry plum, about 165 g for the adult size (buy two 150 g balls)
- worsted weight yarn, two strands held together (substitute)
Steps
1. Start the Crown of the Earflap Hat With 15 Double Crochet
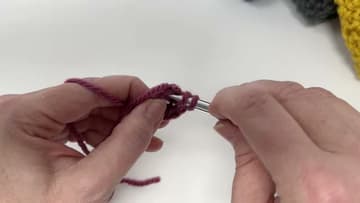
Pick up your 6.5 mm hook and chain 2. Work 15 double crochet into the second chain from the hook.
Tip: Crocheting over the tail saves you weaving it in later and closes the center at the same time.
2. Work the Increase Rounds on the Crown of the Earflap Hat
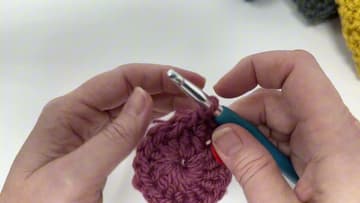
In round two, work a triple crochet and a single crochet together into each double crochet. That doubles your count to 30.
Tip: Move the marker up every round. It takes the guesswork out of counting.
3. Crochet the Sides of the Earflap Hat
Now the hat stops growing. Every round from here works a triple crochet and a single crochet into each triple crochet only, skipping the single crochets.
Tip: Count at the end of every round. One missed stitch is easy to fix now and hard to fix later.
4. Switch Hooks and Single Crochet Around the Earflap Hat Edge
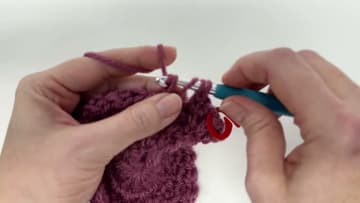
Change to the 6 mm hook. Work one round of single crochet, one stitch in each stitch all the way around.
Tip: If the edge still flares, try this round again with a hook half a size smaller.
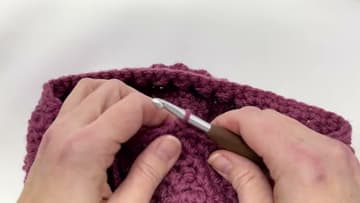
5. Crochet the First Ear Flap on the Earflap Hat
Slip stitch into the next stitch, chain 1 and single crochet in that same spot. Single crochet in the next 13 stitches so you have 14.
Tip: Skipping the first stitch is the easy way to decrease. A regular decrease works too if you prefer it.
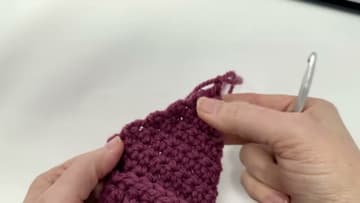
6. Place the Second Ear Flap on the Earflap Hat
Lay the hat flat with the right side facing you. Start at the first stitch of the finished flap and count 20 stitches to the left.
Tip: The side with more stitches between the flaps is the front. Sew any label on the back.
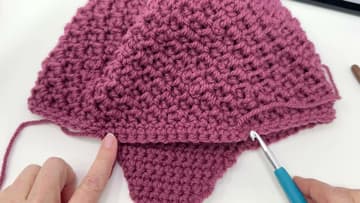
7. Single Crochet Around the Earflap Hat and Ear Flaps
Join yarn and work a round of single crochet all the way around the hat, down each flap and back up. You do not need to hit every stitch on the flap edges.
Tip: Skipping the extra corner stitches makes the flaps lift up. Do not skip them.
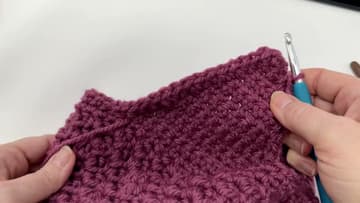
8. Attach and Braid the Ties on the Earflap Hat
Cut 18 pieces of yarn about 30 inches long. Fold three strands in half and pull the loop through a stitch at the tip of a flap, working from the back so the knot sits neatly on the front.
Tip: Braid with a light touch. Pulling too hard makes the braid uneven.
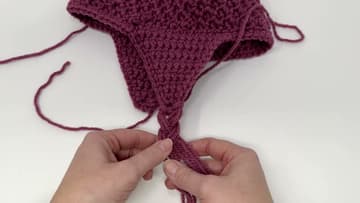
9. Make a Pom Pom for the Earflap Hat
Open both arms of the pom pom maker and wrap yarn around one side until it touches the edge. Do not pack it tight unless you want a very dense pom pom.
Tip: Keep the two long tying strands. You will use them to attach the pom pom.
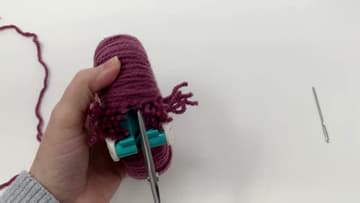
10. Attach the Pom Pom to the Top of the Earflap Hat
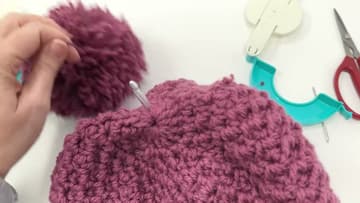
Find the top center of the hat. Poke your crochet hook through one side of the center and pull one pom pom strand to the inside.
Tip: A pom pom that is too big will flop around. Trim it down before you tie it on.