How to Crochet Amigurumi: 5 Beginner Skills That Make Any Plushie
Source: The Mary Jay • Full tutorial: www.craftingstepbystep.com/crochet/how-to-crochet-amigurumi
- Difficulty
- Easy
- Hands-on time
- About 30 minutes
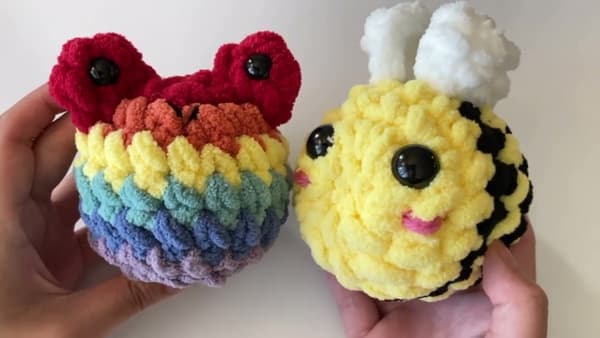
Tools
- crochet hook (4mm/G for worsted weight)
- yarn needle
- scissors
- stitch markers
Materials
- worsted weight yarn
- polyester stuffing
- safety eyes
- embroidery thread
Steps
1. Pick Your Yarn and Hook
For your first amigurumi, grab a worsted weight yarn (also called a number four) and a 4mm crochet hook. Worsted is the most common, most affordable yarn at any craft store, and it's the easiest weight to learn on.
Tip: If you already have yarn at home, check the label for the weight number. A 4 means worsted, a 5 is bulky, a 6 is super bulky. Match the hook to the yarn label's recommendation.

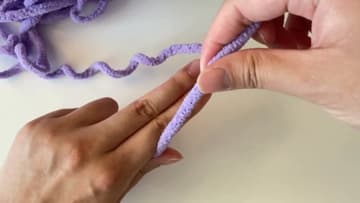
2. Make the Magic Ring
The magic ring is how almost every amigurumi piece starts. It gives you a closeable circle so the base of the plushie doesn't have a hole in the middle.
Tip: Test it by tugging the yarn tail - the ring should tighten around your hook. If it doesn't tighten, you grabbed the wrong strand. Pull it apart and try again.
3. Single Crochet Into the Ring
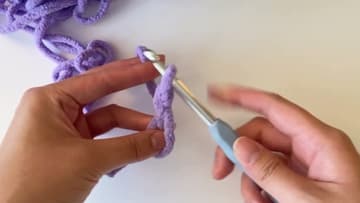
Single crochet is the building block stitch for amigurumi. You'll use it for almost every round of every plushie you ever make.
Tip: Most amigurumi patterns work in a continuous spiral - you don't join the end of each round to the beginning. Use a stitch marker in the first stitch of each round so you can count.
4. Increase to Grow the Shape
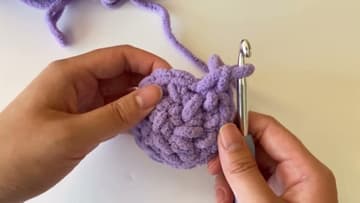
An increase is how you make the circle bigger. It's not a different stitch - it's just two single crochets worked into the same V from the round below.
5. Work an Invisible Decrease
Decreases shrink the circle back down. The standard decrease leaves visible bumps; the invisible decrease - which is what Mary teaches and what most amigurumi makers use - hides them.
Tip: The invisible decrease is the single biggest upgrade you can make to your amigurumi finish.
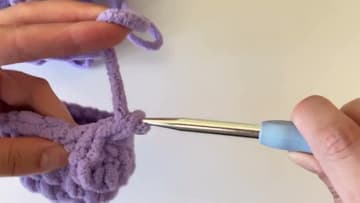
6. Fasten Off and Cinch the Hole
Once the body is decreased down to a small ring of stitches, you fasten off and close the remaining hole. Cut the yarn six to eight inches from the last stitch (leave plenty of tail for sewing ).
Tip: Stuff the plushie with polyester stuffing before cinching closed. Once the tail is pulled tight, you can't get more stuffing in there.
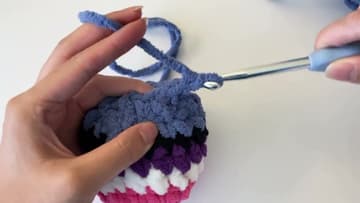
7. Knot and Bury the Tail
Cinching closes the hole, but the tail can still work loose over time. Lock it in place with a few knots and hide the tail inside the body so it doesn't show.
Tip: For amigurumi with safety eyes, install the eyes before stuffing and closing - once the body is sewn shut you can't reach the backs of the eye posts.