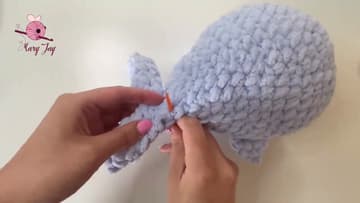
How to Crochet a Whale: Beginner Amigurumi
Source: The Mary Jay • Full tutorial: www.craftingstepbystep.com/crochet/how-to-crochet-a-whale
- Difficulty
- Easy
- Hands-on time
- About 5 hours
- Cost
- About $8 to $18
- Makes
- 1 crochet whale
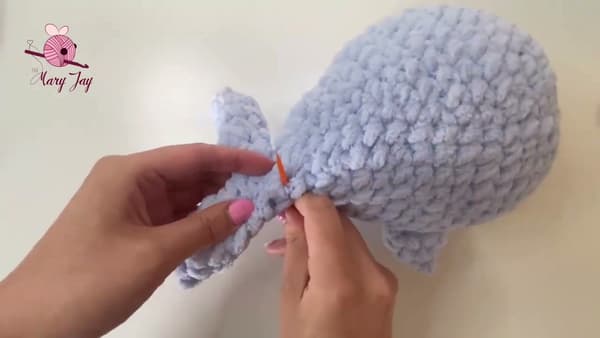
Tools
- 6.5 mm crochet hook
- Yarn needle (for sewing pieces together and weaving in ends)
- Stitch marker (or a paperclip or scrap of contrasting yarn)
- Fabric scissors
Materials
- Super bulky #6 blanket yarn in baby blue (Bernat Blanket or similar - one ball is plenty)
- Polyester fiberfill stuffing
- Two 18 mm safety eyes (or buttons or embroidered black yarn for kids under three)
Steps
1. Make a Magic Ring with 6 Single Crochets
Wrap the yarn around your pointer and middle finger to form an X, slide the hook under the X, and pull a loop through to lock the ring. That is your magic ring.
Tip: If the magic ring keeps slipping open, you can substitute chain 2 and work 6 single crochets into the second chain from the hook.
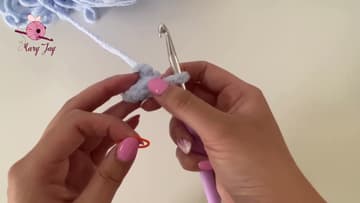
2. Build the Body Through Increase Rounds 2-6
The next five rounds spread the increases evenly so the body grows into a smooth dome. Round 2 is six increases - two single crochets in every stitch around - for 12 stitches.
Tip: An increase in single crochet is just two single crochets worked into the same stitch. The fabric flares outward where the increase lands, which is what shapes the dome.
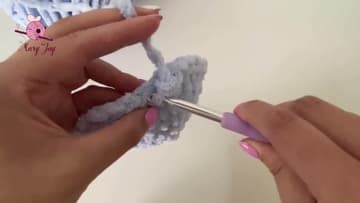
3. Hold Steady at 36 Stitches for Rounds 7-12
Six rounds of even stitching with no increases or decreases - this is what gives the whale its rounded belly. Each round is one single crochet in every stitch all the way around for 36 stitches.
Tip: If you lose count partway through, count rounds by looking at the side of the work. Each round is a horizontal ring of V-shaped stitches stacked above the last.
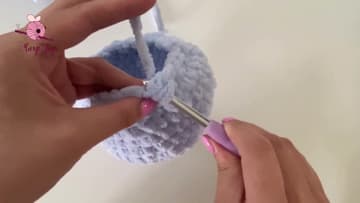
4. Add Safety Eyes, Then Decrease Through Round 21
Stop crocheting and install the eyes first. Find the spot between rounds 7 and 8 along the bottom of the body, count 15 stitches apart, and push each 18 mm safety eye post through the fabric from the outside.
Tip: The invisible decrease (front-loop-only on two stitches) leaves a much cleaner outside than a standard sc2tog. Worth the few extra seconds for a smooth finish.
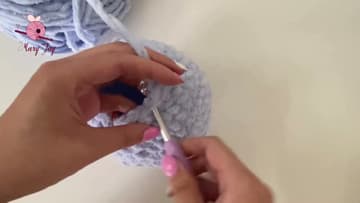
5. Crochet Two Small Tail Pieces
The tail is two identical flat pieces sewn together at the body. Start a fresh magic ring and work 4 single crochets into it - just 4 this time, not 6.
Tip: Do not stuff these pieces. They are meant to lie flat against each other when sewn on, so any stuffing would bunch them up and ruin the silhouette.
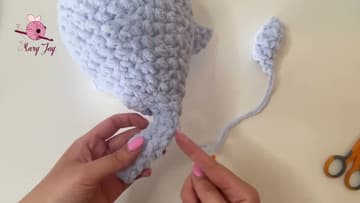
6. Crochet Two Flat Side Fins
The fins use the same starting circle as the tail pieces. Make a fresh magic ring and work 4 single crochets into it.
Tip: If your fins look uneven, flatten each one with your fingers and lightly steam them with a damp cloth before sewing. The bulky yarn relaxes and the shapes even out.
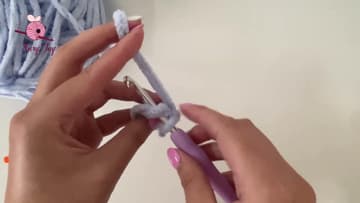
7. Sew the Fins and Tail Onto the Body
Thread one fin's yarn tail onto the yarn needle. Find a spot two stitches below each eye and one stitch toward the back of the body - that is where the fin sits.
Tip: If your fin keeps slipping out of place while you sew, pin it down with a stitch marker first. The bulky yarn is forgiving but it shifts more than worsted does.