How to Crochet a Strawberry - 7-Step Amigurumi Tutorial
Source: Small Serenity Studio • Full tutorial: www.craftingstepbystep.com/crochet/how-to-crochet-a-strawberry
- Difficulty
- Easy
- Hands-on time
- About 1 hour 30 minutes
- Cost
- About $5 to $10
- Makes
- 1 crochet strawberry
Tools
- 3.5 mm crochet hook
- Yarn needle (for embroidering the seeds and attaching the leaf cap)
- Sharp scissors
Materials
- Medium-weight (size 4) yarn in red - one small ball is plenty
- Medium-weight yarn in green for the leaf cap
- Cream or off-white yarn for the embroidered seeds (small amount)
- Polyester fiberfill stuffing
Steps
1. Gather Supplies and Make a Magic Ring
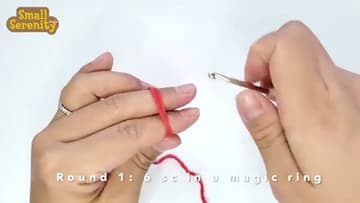
Lay out a 3.5 mm crochet hook, a small ball of red worsted yarn, a small ball of green yarn for the leaves, a scrap of cream yarn for the seeds, a yarn needle, scissors, and polyester fiberfill. Form a magic ring with the red yarn (wrap the yarn around your finger, slide the loop off, insert the hook, yarn over and...
Tip: If you've never done a magic ring, slow it down: it's wrap, hook through the loop, yarn over, pull through.
2. Three Increase Rounds to 15 Stitches
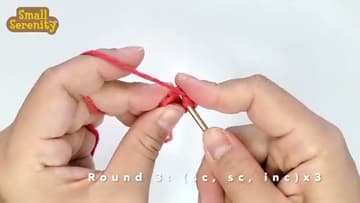
Begin shaping the strawberry. Round 2: single crochet 1, then increase (2 single crochets in next stitch).
Tip: An increase in single crochet is just two single crochets worked into the same stitch.
3. Reach 24 Stitches and Work Two Even Rounds
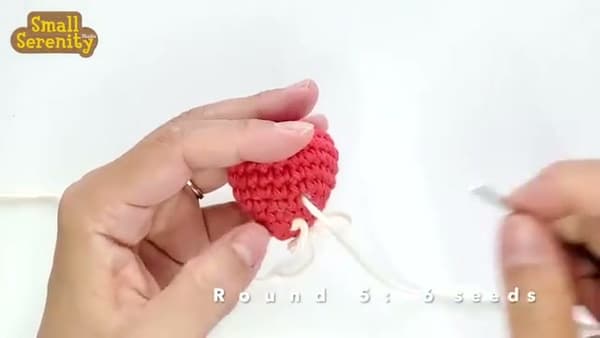
Two more increase rounds and you're at the widest point. Round 5: single crochet 4, then increase, around (18 stitches).
Tip: If the strawberry looks pointed instead of plump, your tension is too tight - the increase rounds aren't flaring enough. Loosen up and try again on the plain rounds.
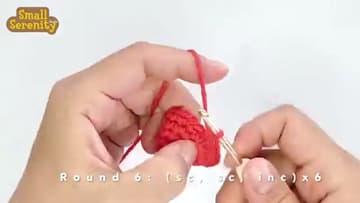
4. Decrease Rounds to Curve the Top
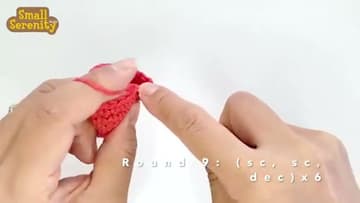
Now reverse direction and start narrowing the body. Round 9: single crochet 2, then single- crochet -2-together (a decrease), repeated around.
Tip: A single-crochet-2-together decrease combines two stitches into one.
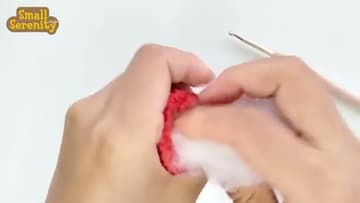
5. Stuff the Body and Close the Top
Stuff the strawberry firmly with polyester fiberfill before the hole gets too small to fit your fingers through. Pack it tightly - amigurumi looks deflated when under-stuffed.
Tip: If the top doesn't cinch fully closed, take another pass with the yarn needle - just thread back through the remaining stitches and pull again.
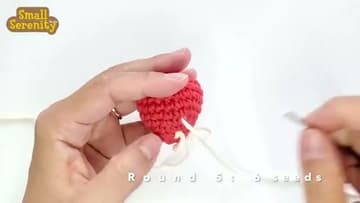
6. Embroider the Cream Seeds in Staggered Rows
Thread cream-colored yarn onto the yarn needle. The seeds go across four rows of the strawberry body, with the rows alternating in seed count and offset.
Tip: If a seed flies off when you pull the yarn through (it happens), don't panic - just thread the tail back through and re-set it. Each seed is independent.
7. Crochet and Attach the Green Leaf Cap
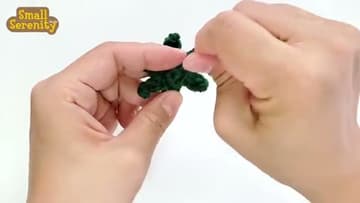
Switch to green yarn. Form a small magic circle and work 6 single crochets into it.
Tip: If the cap won't sit flat, the ring shrank when you joined it. Stretch it gently with your fingers before sewing it on - cotton has memory and will hold the new shape.