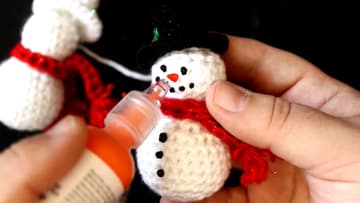
How to Crochet a Snowman Ornament
Source: Crouton Crafts • Full tutorial: www.craftingstepbystep.com/crochet/how-to-crochet-a-snowman-ornament
- Difficulty
- Easy

Tools
- 5 mm (H) crochet hook
- large eye yarn needle
- sewing needle and thread
- small scissors
- stitch marker
Materials
- worsted weight (4) acrylic yarn in white (Caron Simply Soft Party or any worsted white)
- worsted weight yarn in red for the scarf
- worsted weight yarn in black for the hat
- polyester fiberfill stuffing
- 3D puffy fabric paint in black, orange, red and green
- ribbon or gold cord for a hanging loop
Steps
1. Start the Snowman Body With a Magic Ring
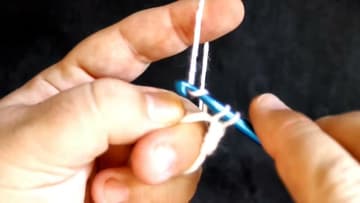
Wrap the white yarn twice around your finger, slip the 5 mm hook under both strands, yarn over and pull up a loop. Chain one to lock it.
Tip: Prefer a chain? Chain two and work the six stitches into the second chain from the hook.
2. Increase to 24 Stitches for the Snowman's Lower Body
Round 2: two single crochets in every stitch, for 12. Round 3: two in the next stitch, one in the next, all the way around, for 18.
Tip: Count your stitches at the end of each round. A missed increase makes the ball lopsided.
3. Decrease to Shape the Snowman's Lower Body Ball
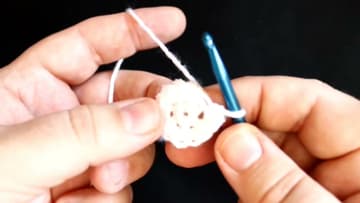
To decrease, put the hook into one stitch and pull up a loop, then into the next stitch and pull up another. Yarn over and pull through all three loops.
Tip: Stuff the lower ball firmly before you close round 11. Once the neck is down to 6 stitches, it is hard to reach.
4. Crochet the Snowman's Head Rounds
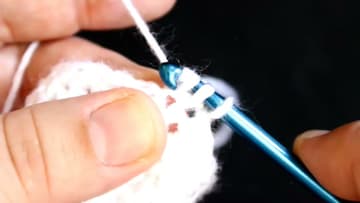
The six stitches of the neck become the start of the head. Round 12: two single crochets in each stitch, for 12.
Tip: The head has fewer rounds than the body, so it comes out smaller. That is what you want.
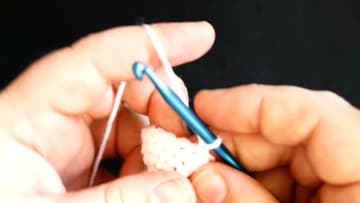
5. Stuff the Crochet Snowman With Fiberfill
Pull off small tufts of fiberfill and push them through the top opening and down through the neck to top up the lower ball. Fill it firmly so it holds a round shape.
Tip: Do not overstuff. Too much filling stretches the stitches and the white fiber shows through.
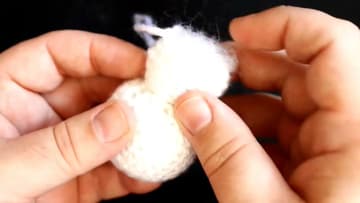
6. Close the Top of the Snowman's Head and Fasten Off
Round 17: decrease all the way around, from 12 stitches down to 6. Keep a finger over the stuffing so the hook does not catch it.
Tip: A wisp of fiberfill poking out? Push it back inside with the blunt end of your hook.
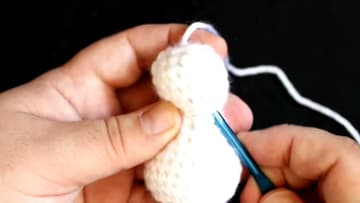
7. Crochet the Snowman Scarf With a Chainless Foundation
Make a slip knot in red and chain two. Insert the hook into the first chain, yarn over and pull up a loop, chain one, then yarn over and pull through both loops.
Tip: Both methods give the same strip. The chainless one has a stretchier, neater bottom edge.
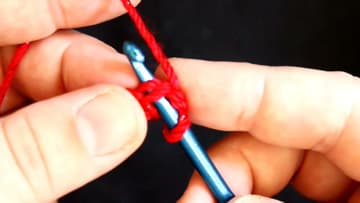
8. Add Fringe and Tie the Scarf on the Snowman
Wrap red yarn three times around three fingers and cut through one end of the loops. Put your hook through the last stitch of the scarf, catch the folded loops and pull them through.
Tip: Separating the plies makes the fringe fuller and softer, a bit like a real wool scarf.
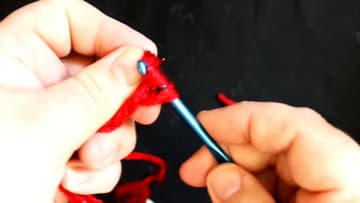
9. Crochet the Snowman's Top Hat
Use black yarn. The video shows white so you can see the stitches.
Tip: Leave a long tail when you fasten off. You will use it to sew the hat onto the head.
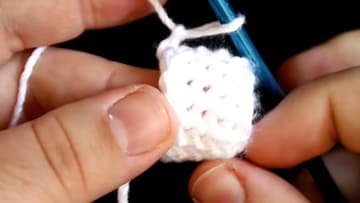
10. Sew On the Hat and Paint the Snowman's Face
Sew the hat to the head with the tail or with thread and a needle. Tilt it a little for some personality.
Tip: Give the first coat of dots 3 to 4 hours to dry before the second coat.