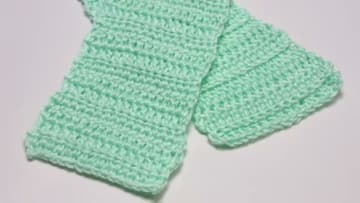
How to Crochet a Scarf
Source: AllFreeCrochet • Full tutorial: www.craftingstepbystep.com/crochet/how-to-crochet-a-scarf
- Difficulty
- Easy
- Hands-on time
- About 5 hours
- Cost
- About $10 to $20
- Makes
- 1 crochet scarf
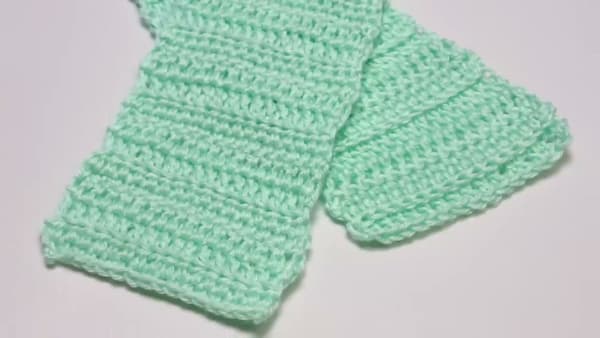
Tools
- crochet hook K/6.5mm
- yarn needle
- scissors
- tape measure
Materials
- worsted weight yarn
Steps
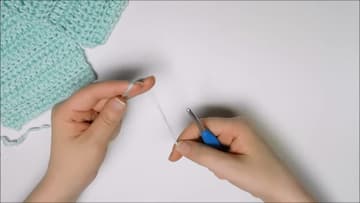
1. Make a Slipknot
Start with a slipknot. Loop the yarn over itself, flip it over so you can see a bar on top and a strand underneath, then grab the strand attached to the skein and pull it through the loop.
Tip: Leave a 6-inch tail hanging off the slipknot. You will weave it into the back of the scarf at the end - too short a tail makes that step a pain.
2. Chain 15
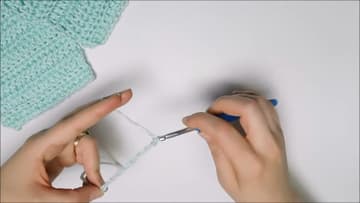
This is your foundation chain - the row that sets the width of the scarf. Yarn over the hook from back to front and pull the yarn through the loop already on the hook.
Tip: If your chain looks twisted or uneven, the tension is the culprit. Hold the working yarn with the same finger every time so it feeds at a consistent rate.
3. Row 1 - Single Crochet Across
Skip the loop on your hook and work into the second chain from the hook. Insert the hook under the back bar (the strand on the back of the chain - using the back bar instead of the front V gives the first row a cleaner look that matches the last row).
Tip: Place a stitch marker (or a scrap piece of contrasting yarn) in the last stitch of the row.
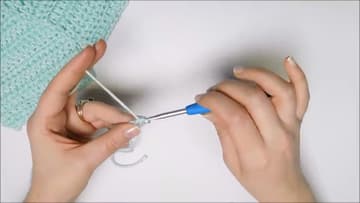
4. Row 2 - Half Double Crochet Across
Chain 1 and turn the work over so the wrong side faces you. The chain 1 does not count as a stitch for half double crochet - it just gets the hook into position for the next row.
Tip: Half double crochet leaves a small horizontal bar on the back of each stitch. That bar matters for the next row - you will work into the back of it to create a textured ridge.
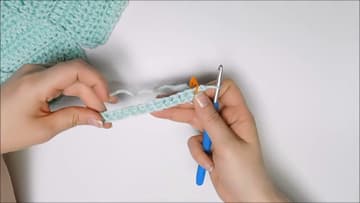
5. Row 3 - Double Crochet in the Back Loop
Chain 3 and turn. Those three chains count as your first double crochet, so the first real stitch will be worked into the second stitch of the row, not the first.
Tip: The back loop is the loop furthest from you when looking down at the row.
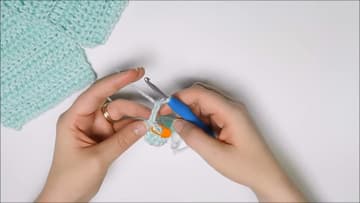
6. Row 4 - Double Crochet in Both Loops
Chain 3 and turn again. The chain 3 counts as the first double crochet.
Tip: If the edge starts leaning or curving, you missed a stitch. Count your stitches at the end of every row - you should always have 14.
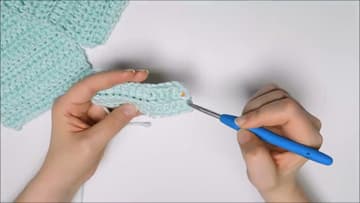
7. Repeat the Four-Row Pattern Until the Scarf Is Long Enough
The rest of the scarf is the same four rows over and over: single crochet, half double crochet, double crochet in the back loop, double crochet in both loops. Memorize the sequence and you will not need to look at the pattern again.
Tip: One skein of worsted weight yarn (around 170 yards) makes a roughly 60-inch scarf at this width.
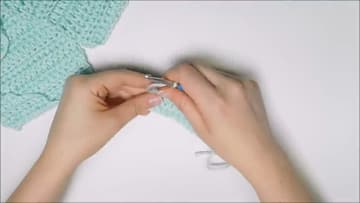
8. Fasten Off and Weave In the Ends
Cut the working yarn, leaving a 6-inch tail. Yarn over the hook one last time and pull that tail all the way through the loop on the hook.
Tip: If this is your first finished crochet project, take a minute to look at it.