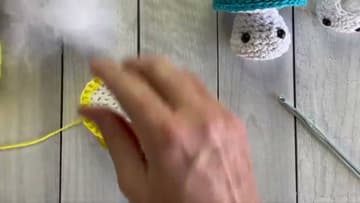
How to Crochet a Mushroom - 7-Step Amigurumi Tutorial
Source: NobleKnits • Full tutorial: www.craftingstepbystep.com/crochet/how-to-crochet-a-mushroom
- Difficulty
- Easy
- Hands-on time
- About 2 hours
- Cost
- About $6 to $12
- Makes
- 1 crochet mushroom
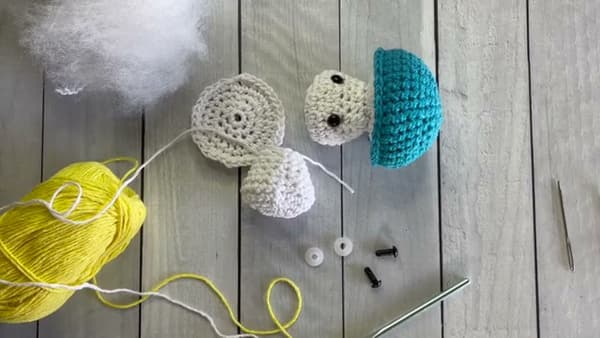
Tools
- 5.5 mm crochet hook
- Yarn needle (for seaming the cap to the stem)
- Sharp scissors
- A short scrap of contrasting yarn (used as a movable round marker)
Materials
- Worsted-weight cotton yarn in cream or white (stem and underside) - one skein is enough for all three sizes
- Worsted-weight cotton yarn in a cap color (teal, red, yellow - whatever fits your cottagecore palette)
- Polyester fiberfill stuffing
- Two 6 mm safety eyes per mushroom
Steps
1. Gather Supplies and Start the Stem
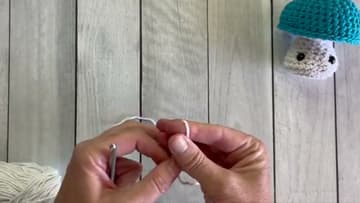
Lay out a 5.5 mm crochet hook, a skein of cream or white worsted-weight cotton, a contrasting cap-color skein (teal, red, yellow - your pick), a yarn needle, polyester fiberfill, and two 6 mm safety eyes. Make a slip knot, chain 3, and join with a slip stitch to form a tiny ring.
Tip: Premier Home Cotton is what Nancy Queen uses, but any worsted-weight 100% cotton will hold the mushroom shape well.
2. Increase to 12 Stitches and Track the Round
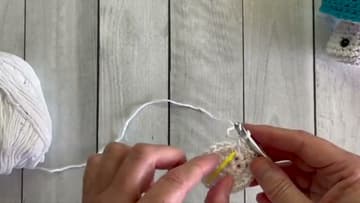
Round 2: work 2 single crochets in each of the 6 stitches around. That gives you 12 stitches total - you've doubled the count, which opens the ring into the start of a flat circle.
Tip: The contrasting-yarn marker is faster than a clip-on for amigurumi because it never gets tangled in the stuffing later. A 6-inch scrap of any leftover yarn works.
3. Continue Increasing to 24 Stitches, Then Work Even
Keep stacking increase rounds until you've reached 24 stitches: round 3 is single crochet 1, then increase, repeated around (18 stitches); round 4 is 2 single crochets, then increase (24 stitches). From there, work several rounds evenly with no increases - just one single crochet in each stitch around.
Tip: Count rounds, not stitches.
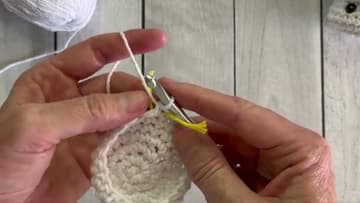
4. Decrease the Top of the Stem and Fasten Off
Round 7 starts the decreasing. Work the first stitch as a regular single crochet, then a single- crochet -2-together decrease, then another single crochet.
Tip: The long tail is critical. If you cut the yarn short and weave the end in now, you'll have to attach a new strand to seam later. Just leave the tail dangling.
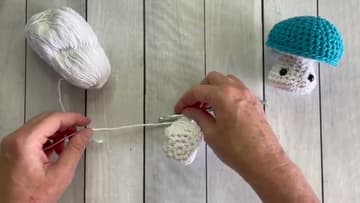
5. Make the Cap and the Underside Disc
The cap and the underside both start exactly like the stem - chain ring, 6 single crochets, increase to 12, then 18, then 24 stitches. The cap is wider and shallower than the stem, so you'll increase faster and stop sooner.
Tip: If you want polka dots on the cap, embroider them on with a yarn needle and contrasting yarn AFTER the cap is fully assembled.
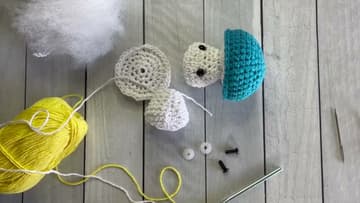
6. Attach Safety Eyes to the Stem
Find a spot about half an inch from the top of the stem, on the front-facing side. Push each safety eye post through the cotton from the outside - the eye sits flush on the front and the post pokes through to the inside.
Tip: Once you press the washer on, the eye cannot be removed.
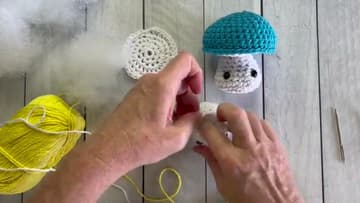
7. Stuff the Stem, Seam the Cap, and Attach
Stuff the stem with small bits of polyester fiberfill, shaping as you go so it stands upright. Pack it firmly - an under-stuffed mushroom slouches.
Tip: If the cap wants to slide off-center, anchor it with a sewing pin first, then whip-stitch around it. The pin holds the geometry while your hands work the seam.