How to Crochet a Magic Ring (Magic Circle)
Source: Lexie Loves Stitching • Full tutorial: www.craftingstepbystep.com/crochet/how-to-crochet-a-magic-ring
- Difficulty
- Easy
- Hands-on time
- About 10 minutes
Steps
1. Identify your tail end and working yarn
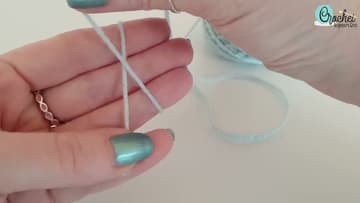
Before you wrap anything, look at your yarn. The loose end - the one not attached to the ball - is your tail.
Tip: If your yarn is dark or fuzzy and you can't tell the strands apart, drape the working end over the back of your hand so you don't lose track mid-wrap.

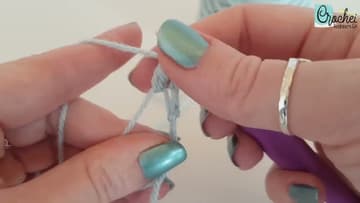
2. Cross the yarn and pinch the loop
Lay the yarn across your fingers and cross it over itself the same way you would for a slipknot. Pinch that crossing point under your thumb so it can't slide.
Tip: Keep the loop a little slack. A tight pinch fights you when you try to bring the hook through next.
3. Hook the back strand and twist
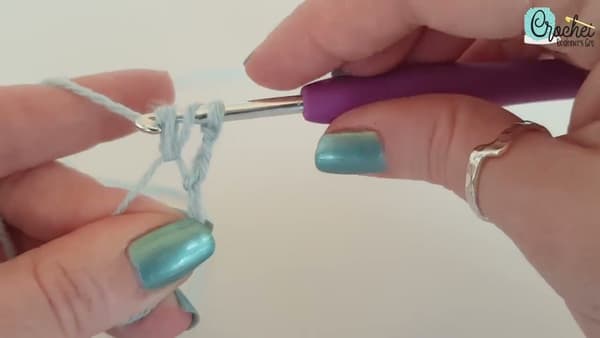
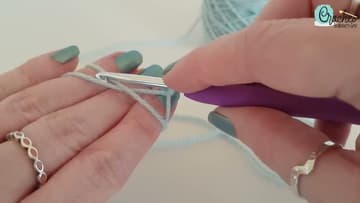
Slide your hook under the front strand of yarn. Catch the back strand on the throat of the hook and pull it forward, under the front strand.

4. Yarn over and pull through
Grab the working yarn with your hook and pull it through the loop already sitting there. This locks the ring in place and gives you the single loop on the hook that will count as your starting chain.
Tip: Some patterns ask you to chain one to lock the ring before you stitch. Others count this loop as the chain. Read your pattern.
5. Slide your fingers out of the ring
Carefully slip your fingers out from inside the loop. You'll be left holding a soft circle of yarn with one loop sitting on the hook and the tail hanging off to the side.
Tip: Pinch the ring between your thumb and index finger as you slide out, so the wraps don't unravel before you start stitching.
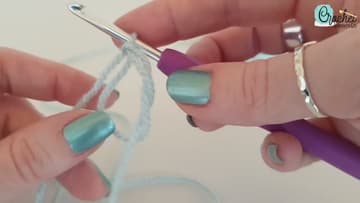
6. Work your stitches into the ring
Insert the hook into the center of the ring (not into a single loop) and crochet your pattern's stitches around the whole strand of yarn. Most amigurumi rounds call for six single crochets to start.
Tip: Drop a stitch marker into the first stitch. When you finish the round you'll need it to find your starting point.
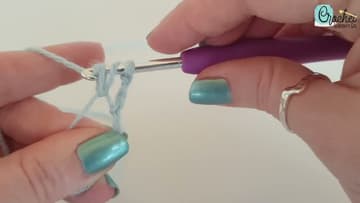
7. Pull the tail to close the ring
Once your stitches are in, pick up the tail end and pull. The ring cinches shut, drawing every stitch tight into a clean closed center with no hole in the middle.
Tip: If only one strand cinches and the other doesn't, you pulled the working yarn instead of the tail. Tug the other one.