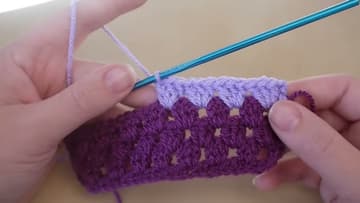
How to Crochet a Granny Stripe Pillow Cover (Beginner-Friendly)
Source: Bella Coco • Full tutorial: www.craftingstepbystep.com/crochet/how-to-crochet-a-granny-stripe-pillow-cover
- Difficulty
- Easy
- Hands-on time
- About 4 hours
- Cost
- About $15 to $30
- Makes
- 1 crochet pillow cover

Tools
- 4mm crochet hook
- Darning needle
- Scissors
- Stitch markers
Materials
- Worsted-weight yarn in 3 or more colors (Bella Coco uses Stylecraft Special DK)
- 16-inch or 18-inch pillow form
- 3 small wooden buttons (optional, for removable cover)
Steps
1. Chain a Foundation Row in Multiples of Three
Grab your worsted-weight yarn in three or more colors (Bella Coco uses Stylecraft Special DK in Plum, Wisteria, and Clematis), a 4mm crochet hook, scissors, and a darning needle. For a 16-inch pillow front, chain a multiple of 3 - aim for about 78 stitches across, then add 2 more chains for the turning corner.
Tip: Pillow covers crochet up best about 1 inch smaller than the form on each side. The natural stretch of granny stripe gives you a snug, plumped finished look.
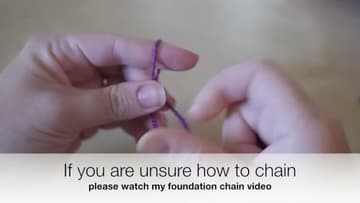
2. Work the Single-Crochet Foundation Row Back Across the Chain
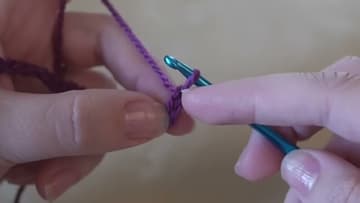
Bella Coco calls this double crochet because she uses UK terms - in US terms it's single crochet. Skip the first two chains closest to your hook, insert into the next chain, yarn over, pull through, yarn over, pull through both loops.
3. Set Up Row Two With the First Treble Cluster
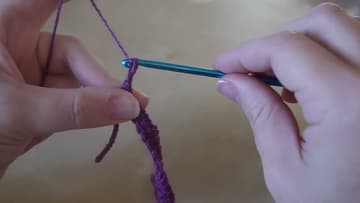
Chain 3 and turn the work. That chain-3 counts as your first treble (US double crochet ).
4. Continue Three-Treble Clusters Across the Row
One treble: yarn over, insert, pull through, pull through two, pull through two. Three of those into the same space = one cluster.
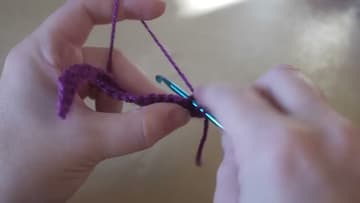
5. Alternate the Edge Pattern in Rows Three, Four, and Five
Chain 3, turn, and work just one treble into the first gap. Not two.
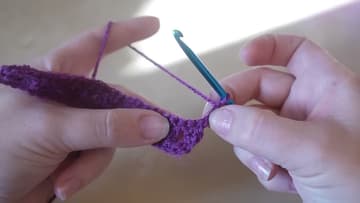
6. Change Colors to Start Your Next Stripe
At the end of a row, cut the old yarn leaving a 6-inch tail and pull the loop through to fasten off. Insert your hook into the first chain space of the new row, loop your new color over the hook, pull it through, and tie a small knot to anchor it.
Tip: Weave in the color-change tails as you go rather than at the end. Twenty stripes means forty tails and that's a slog to do all at once.
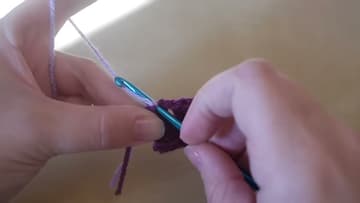
7. Keep Adding Stripes Until the Panel Hits Pillow Size
Crochet stripe after stripe until the front panel measures 16 inches square (or 18 inches for an 18-inch form). For a tight, plumped look, aim for a panel about 1 inch smaller than the form on each side - the granny stripe stretch handles the rest.
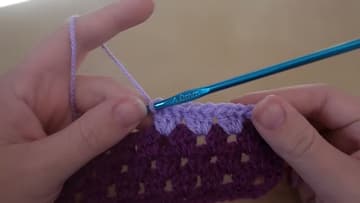
8. Make the Back, Join the Panels, and Insert the Pillow Form
Make a second granny stripe panel the same size for the back, or cut a piece of cotton fabric to match for a lighter, flatter back. Place the two panels together with the right sides facing out, line up the corners, and join three sides with single crochet through both layers - or whip-stitch the seams with a darning...
Tip: A removable cover is worth the extra five minutes for the buttonholes - yarn pillows attract every bit of cat hair and crumb on the couch and you'll want to be able to throw the...