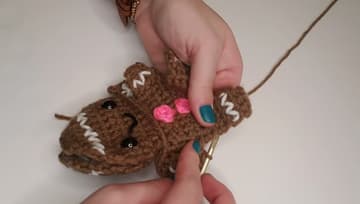
How to Crochet a Gingerbread Man Ornament
Source: Heather Corinne Crochets • Full tutorial: www.craftingstepbystep.com/crochet/how-to-crochet-a-gingerbread-man-ornament
- Difficulty
- Medium

Tools
- size G (4 mm) crochet hook
- yarn needle
- scissors
- stitch markers
Materials
- worsted weight acrylic yarn in brown
- worsted weight yarn in white, black, and pink or blue (small amounts)
- any worsted weight yarn from your stash (substitute)
- 12 mm black safety eyes, or black yarn for embroidered eyes
- polyester fiberfill stuffing
- gold cord or yarn for a hanging loop
Steps
1. Crochet the First Leg of the Gingerbread Man Panel
Make a slip knot with brown yarn, leaving a tail to weave in later, and chain 4. For row 1, single crochet in the second chain from the hook and across, so you have 3 stitches.
Tip: You need two matching panels, a front and a back. Make the whole panel once, then repeat it before you add any decoration.
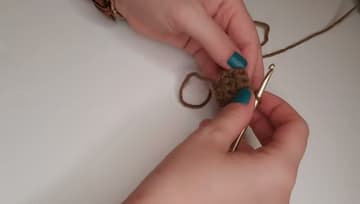
2. Chain for the Gingerbread Man Torso and Work Back Across
In row 5, single crochet across the 4 leg stitches, then chain 7. That chain makes room for the body and the second leg.
Tip: Clip a stitch marker into the first stitch of row 6. It makes the next rows easy to count.
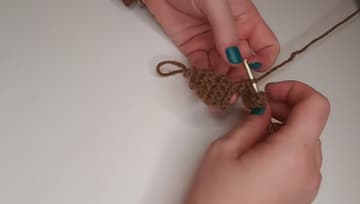
3. Decrease to Shape the Gingerbread Man Shoulders
Now the body narrows toward the neck. In row 10, single crochet two stitches together at the start, then single crochet the next 8, for 9 stitches.
Tip: To decrease, pull up a loop in each of two stitches, then yarn over and pull through all three loops at once.
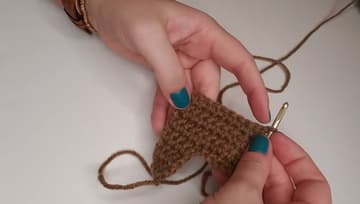
4. Increase and Decrease to Shape the Gingerbread Man Head
The head grows out from the neck. Rows 13, 14 and 15 each start and end with two single crochets in one stitch, which takes you from 8 to 10 to 12 stitches.
Tip: Lay the panel flat after row 15. Both sides of the head should flare out evenly.
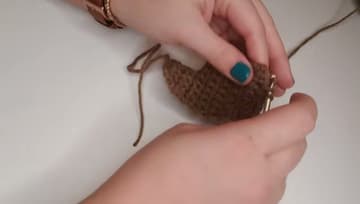
5. Crochet the Second Leg of the Gingerbread Man
Turn the panel upside down so the legs point up. Make a slip knot, insert your hook at the far right of the bottom edge, and single crochet.
Tip: Hold the new leg next to the first one. They should be the same length before you fasten off.
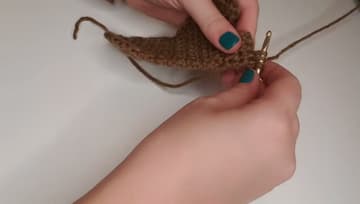
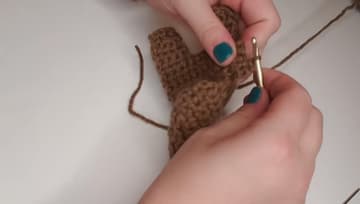
6. Crochet Both Arms of the Gingerbread Man
Join brown yarn on one side of the body, right below the neck dip. Single crochet 4 stitches down the edge to start the arm.
Tip: Join both arms on the same row so the shoulders sit level.
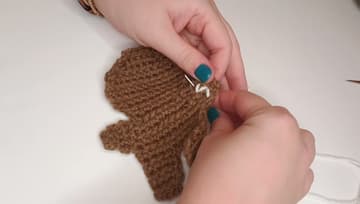
7. Stitch White Frosting Zigzags on the Gingerbread Man
Thread a long piece of white yarn onto a yarn needle. Come up from the back near the end of an arm and leave a tail behind.
Tip: Keep the stitches loose. Tight frosting puckers the fabric. You can decorate both panels or the front only.
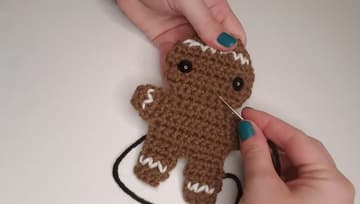
8. Add Safety Eyes and a Smile to the Gingerbread Man
Count down from the top of the head and push a 12 mm safety eye between rows 6 and 7, about 3 stitches in from the edge. Place the second eye on the same row, check that they match, then snap the washers on the back.
Tip: Safety eyes can come loose with hard chewing. For ornaments within reach of small children, embroidered eyes in black yarn are safer.
9. Crochet Two Round Buttons for the Gingerbread Man
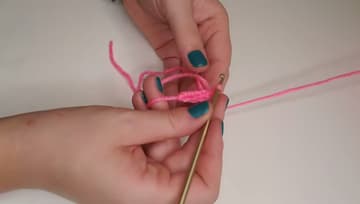
Make a magic circle with pink or blue yarn. Work 4 single crochets into the ring, then pull the tail to close it tight.
Tip: Skip the chain 1 before you fasten off. The button stays rounder.
10. Join and Stuff the Gingerbread Man Ornament
Stack the two panels with the right sides out and the stitches lined up. Start at the top of one arm, insert the hook through both layers, and single crochet around the edge.
Tip: Add the hanging loop before you close the head, so the knot stays hidden inside.