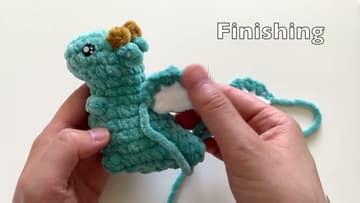
How to Crochet a Dragon (Pocket Dragon Amigurumi, Step by Step)
Source: Sweet Softies • Full tutorial: www.craftingstepbystep.com/crochet/how-to-crochet-a-dragon
- Difficulty
- Medium
- Hands-on time
- About 4 hours
- Cost
- About $10 to $20
- Makes
- 1 crochet pocket dragon

Tools
- 5mm crochet hook
- yarn needle
- stitch markers
- scissors
Materials
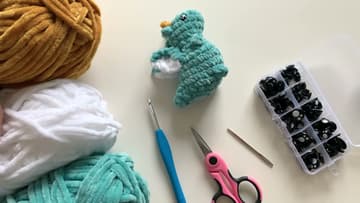
- super bulky chenille yarn (main dragon color plus white and yellow accents)
- polyester fiberfill stuffing
- 8mm safety eyes
Steps
1. Gather Your Yarn, Hook and Eyes
Grab your supplies before you start. You want super bulky chenille yarn in your main dragon color, plus white for the belly and inner wings and a little yellow for the horns.
Tip: Watch this step Chenille yarn hides stitches, so keep a stitch marker in the first stitch of each round to track where you are.
2. Attach the First Ear
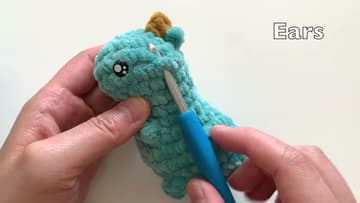
The ears go straight onto the finished head, no separate piece to sew. Insert your hook under a stitch in round three, toward the back of the head, and pull your yarn through.
Tip: Watch this step If you cannot see the stitch under the fuzz, feel for it with the hook tip. Chenille is worked as much by touch as by sight.
3. Make the Second Ear
Repeat the same attach-chain-single- crochet -slip-stitch sequence on the other side of the head. Eyeball it against the first ear so the pair sits level and symmetrical.
Tip: Watch this step Line the second ear up with the first by counting stitches from the center, not by eye alone. It keeps them even.
4. Crochet the Horns
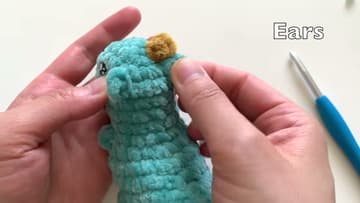
Switch to your yellow yarn for the horns. Work into round two, one round above the ears, and put each horn just above and in front of an ear.
Tip: Watch this step A contrasting horn color pops against the body. Yellow or cream reads as a classic dragon horn, but any bright shade works.

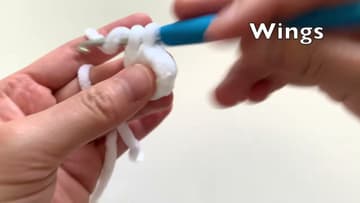
5. Start a Wing with White Yarn
Each wing is worked in two colors, starting with white for the inner section. Make a slipknot and chain five.
Tip: Watch this step Keep your chain a little loose. A tight starting chain is hard to work back into, especially with fuzzy chenille.
6. Finish the Wing in Turquoise
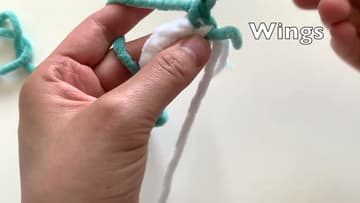
Switch to your dragon color for the outer edge of the wing. Slip stitch to join, then turn the piece and work back along the top of the stitches you just made.
Tip: Watch this step Leave the sewing tail longer than you think you need. It is easier to trim excess than to re-thread a short tail mid-seam.
7. Sew On the Wings and Finish
Thread the long turquoise tail onto your yarn needle and sew a wing to each side of the body. Position them around rounds seven and eight, roughly at arm level, and line them up with the ears so the dragon looks balanced from the front.
Tip: Watch this step Pin the wings on before you sew. A couple of stitch markers hold them in place so you can check the look from every angle first.