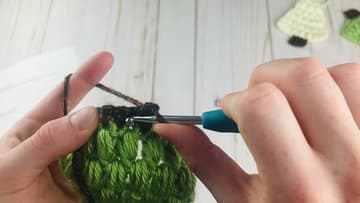
How to Crochet a Christmas Tree Ornament
Source: Desert Blossom Crafts • Full tutorial: www.craftingstepbystep.com/crochet/how-to-crochet-a-christmas-tree-ornament
- Difficulty
- Easy

Tools
- 4 mm crochet hook (size G)
- yarn needle
- scissors
- stitch marker
Materials
- worsted weight acrylic yarn in light green (Caron Simply Soft)
- worsted weight yarn in brown for the trunk (Lion Brand Heartland)
- any worsted weight scrap yarn (substitute)
- off white worsted yarn for a snowy tree (optional)
- thin gold cord or ribbon for the hanger (optional)
Steps
1. Chain 16 to Start the Crochet Christmas Tree
Make a slip knot with your green yarn and put it on the 4 mm hook. Now chain 16.
Tip: If your chains always come out tight, make them with a hook one size larger and switch back for row 1.
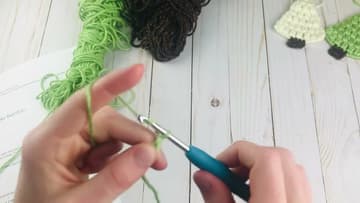
2. Single Crochet Across the Bottom Row of the Tree
Skip the first chain next to your hook. Single crochet into the second chain from the hook, then single crochet into every chain across.
Tip: Clip a stitch marker on this row so you can find the right side later.
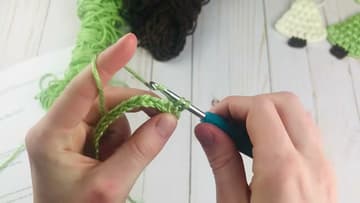
3. Make the First Puff Stitch of the Tree
Chain 1 and turn. The chain does not count as a stitch.
Tip: Pull every loop up to the same height. Even loops give you neat, matching puffs.
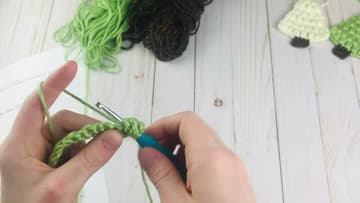
4. Finish Row 2 of Puff Stitches Across the Tree
Chain 1, skip the next single crochet, and make a puff stitch in the stitch after it. Keep going that way across the row: chain 1, skip one, puff.
Tip: Count your puffs before you turn. Seven is the number that sets up the rest of the tree.
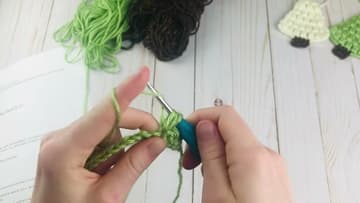
5. Crochet Row 3 Puff Stitches Into the Tree's Chain Spaces
Chain 2 and turn. This chain counts as a half double crochet.
Tip: Look for the small holes between the puffs. Those are the chain spaces you work into.
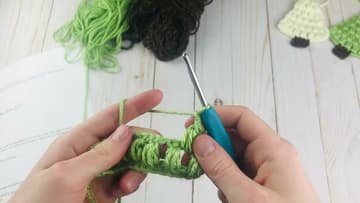
6. End Row 3 With a Half Double Crochet to Shape the Tree
At the end of row 3, skip the last puff stitch and make a half double crochet in the half double crochet from the row before. Already the sides start to lean in.
Tip: Lay the piece flat after this row. It should look like the bottom of a wide triangle.
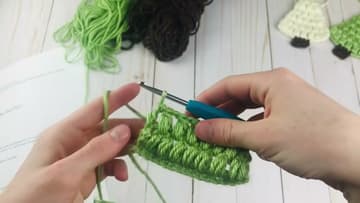
7. Repeat the Puff Stitch Rows to Taper the Tree
For rows 4, 5 and 6, chain 2, turn, and make a puff in each chain space with a chain 1 between. Row 4 has five puffs, row 5 has four, and row 6 has three.
Tip: Working into the chain 2 makes a loose, wavy edge. The top of the puff gives a cleaner line.
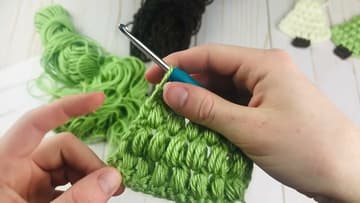
8. Crochet the Top Rows and the Point of the Tree
Row 7 has two puffs and row 8 has one, each ending with a half double crochet in the top of the end puff. For row 9, chain 1 and make one single crochet in the top of the last puff.
Tip: Leave about 10 inches of tail at the point if you plan to make the hanging loop from it.
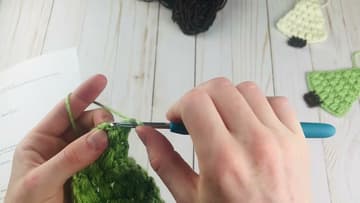
9. Start the Brown Trunk With Standing Single Crochets
Turn the tree upside down with the right side, the single crochet row, facing you. Make a slip knot in the brown yarn and keep it on the hook.
Tip: If the trunk looks off to one side, pull the stitches out and try again. It takes seconds.
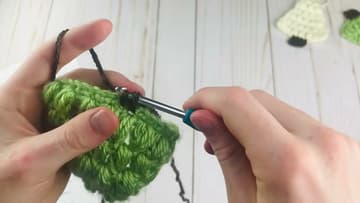
10. Crochet the Tree Trunk Rows Between the Stitch Legs
Chain 1 and turn. Single crochet in the first stitch.
Tip: Good light helps. The gap between the stitch legs is easier to see with a lamp on your work.