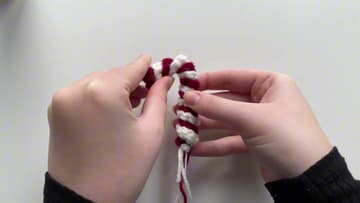
How to Crochet a Candy Cane Ornament
Source: Ally Newbry • Full tutorial: www.craftingstepbystep.com/crochet/how-to-crochet-a-candy-cane-ornament
- Difficulty
- Easy

Tools
- 4.5 mm crochet hook
- small scissors
- wire cutters
- stitch marker (optional)
Materials
- worsted weight (4) acrylic yarn in red
- worsted weight (4) acrylic yarn in white
- cotton worsted yarn (substitute)
- 18 to 20 gauge craft wire
- tacky glue or a hot glue gun
- thin gold cord for a hanging loop (optional)
Steps
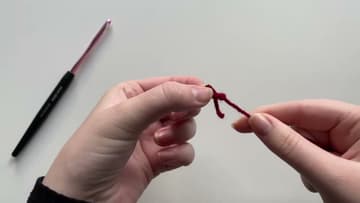
1. Make a Slip Knot in the Red Candy Cane Yarn
Pick a color to start with. Ally starts with red, but both spirals use the same pattern, so it does not matter.
Tip: Leave a tail of about four inches. This end gets glued at the top of the wire later.
2. Chain 24 for the Red Candy Cane Spiral
Yarn over and pull through the loop on your hook. That is one chain.
Tip: Count the chains, not the loop on the hook. The loop on the hook does not count.
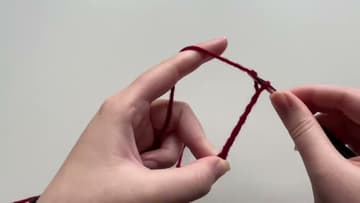
3. Work Two Single Crochets in the Second Chain of the Candy Cane
Skip the chain closest to the hook. Insert your hook into the second chain from the hook.
Tip: Work into the top loop of each chain. It is easier to see in white yarn if red is hard to read.
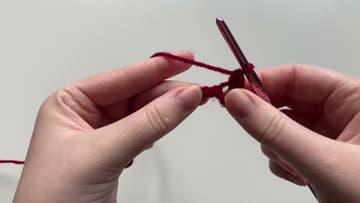
4. Finish the Red Candy Cane Spiral and Fasten Off
Put two single crochets in every chain all the way down. The strip will start to twist into a curl, and that is what you want.
Tip: Keep that 4-inch tail. It gets tied around the wire at the bottom of the cane.
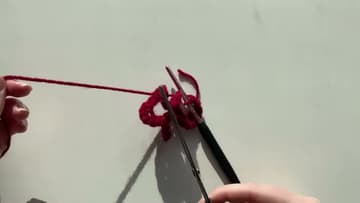
5. Crochet the White Candy Cane Spiral the Same Way
Make a slip knot in the white yarn and chain the same number you did for the red. Ally chains 24 again.
Tip: If the white spiral comes out a little longer, that is fine. Trim the wire to match later.
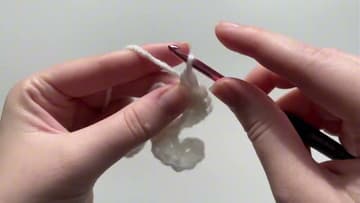
6. Glue the Red and White Candy Cane Spirals Together
Find the starting ends of both spirals, the ends without the loose tails. Lay one on top of the other.
Tip: Squeeze the tacky glue bottle with the tip pointed down for a minute before you need it. It flows more easily.
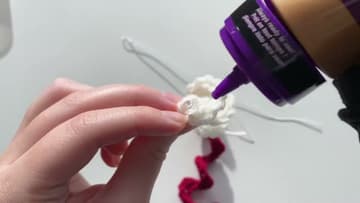
7. Thread the Wire Through the Top of the Candy Cane
Take a piece of craft wire a bit longer than your spirals. Ally's wire was very thin, so she folded it over twice to make it stiffer.
Tip: Around 18 to 20 gauge wire is stiff enough to hold the crook and still bends by hand.
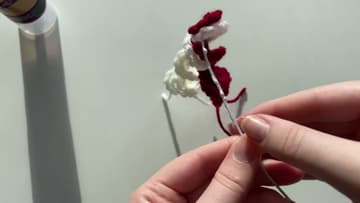
8. Twist the Spirals Around the Wire to Make Candy Cane Stripes
Spread a little glue along a short section of the wire. Wrap the red and white spirals around the wire together, so the colors sit side by side like stripes.
Tip: Small sections of glue keep your fingers clean and stop the glue drying before you get there.
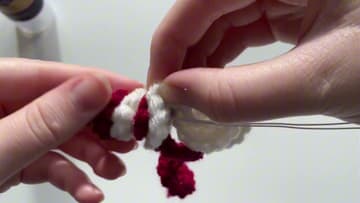
9. Tie Off the Yarn Tails at the Bottom of the Candy Cane
When you reach the end of the wire, tie the yarn tails around it to hold the stripes in place. Add a dab of glue over the knot.
Tip: Do not cut the wire with your good yarn scissors. It dulls the blades fast.
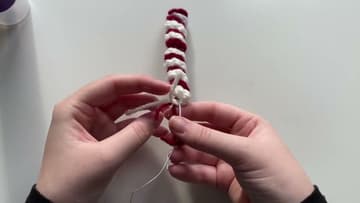
10. Bend the Top Into a Candy Cane Hook
Hold the straight stick in one hand and bend the top over with the other to form the crook. Because there is wire inside, the shape stays where you put it.
Tip: Bend the crook around a marker or pencil for a smooth, even curve.