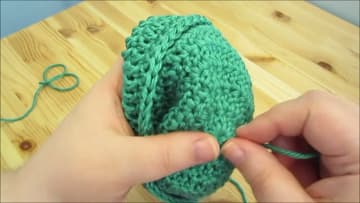
How to Crochet a Baby Hat
Source: CraftingWithClaudie • Full tutorial: www.craftingstepbystep.com/crochet/how-to-crochet-a-baby-hat
- Difficulty
- Easy

Tools
- 5 mm (size H) crochet hook
- yarn needle
- scissors
- soft measuring tape
- locking stitch marker
Materials
- soft worsted weight acrylic yarn (Red Heart Soft or similar)
- machine washable wool yarn (substitute)
Steps
1. Make a Magic Ring to Start the Baby Hat
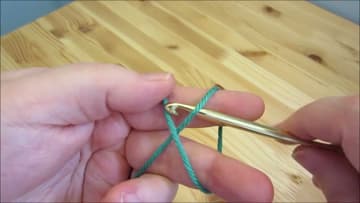
Hold the yarn tail in your left hand and wrap the working yarn around two fingers so the strands cross in an X. Slide the hook under the first strand, catch the second strand and pull it through.
Tip: Leave a tail of about 6 inches. You need it to pull the ring closed.
2. Work 12 Double Crochets Into the Baby Hat Magic Ring
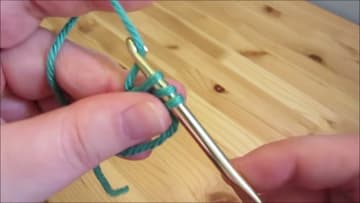
Yarn over and push the hook into the center of the ring, under both strands. Yarn over and pull up a loop.
Tip: Count your stitches before you close the ring. It is easy to add or drop one here.
3. Close the Ring and Join the First Round of the Baby Hat
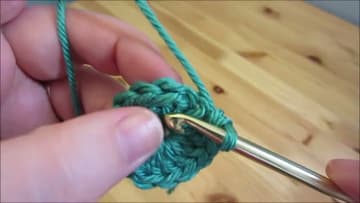
Pull the tail of the magic ring firmly until the hole in the center closes. Now find the top of your first double crochet, right beside the chain 2.
Tip: Join into the first double crochet, not into the chain 2. That keeps your count right.
4. Increase to 24 Stitches on Round 2 of the Baby Hat
Chain 2. Work two double crochets into the same stitch where you made the slip stitch.
Tip: A locking stitch marker in the first stitch of each round makes the join easy to find.
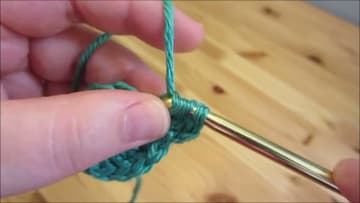
5. Increase to 36 Stitches on Round 3 of the Baby Hat Crown
Chain 2 and work two double crochets into the joining stitch. In the next stitch, work one.
Tip: Say the pattern under your breath, two, one, two, one. It helps you keep your place.
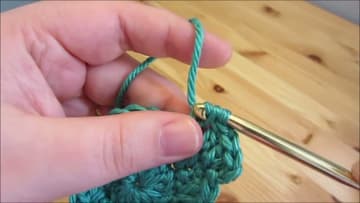
6. Increase to 48 Stitches on Round 4 of the Baby Hat Crown
Chain 2 and work two double crochets into the joining stitch. Then work one double crochet into each of the next two stitches.
Tip: Count all 48 stitches now. A mistake here shows up as a wavy or cupped crown.
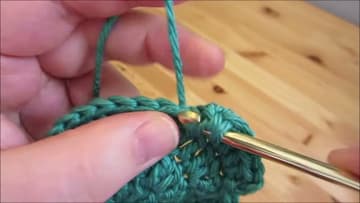
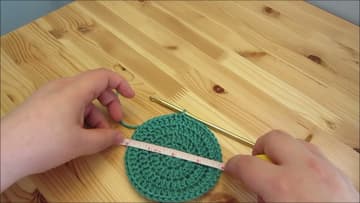
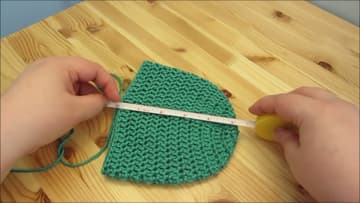
7. Measure the Baby Hat Crown to Check Your Gauge
Lay the circle flat on the table and smooth it out. Put a soft measuring tape straight across the middle.
Tip: Measure without stretching. A gentle pat flat is all the circle needs.
8. Work Even Rounds to Build the Sides of the Baby Hat
Chain 2 and work one double crochet into the joining stitch. Then work one double crochet into every stitch around, 48 in total.
Tip: Count your rounds by the ridges on the outside of the hat, from the top down.
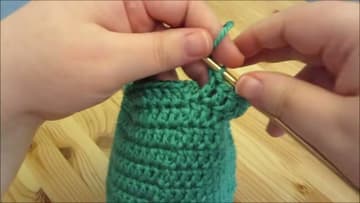
9. Fasten Off and Measure the Finished Baby Hat
After round 12, join with a slip stitch as usual. Claudie then adds one more slip stitch into the next stitch, which gives the edge a smoother finish.
Tip: See how to fasten off in crochet if the last pull-through feels new to you.
10. Weave In and Knot the Ends Inside the Baby Hat
Turn the hat inside out. Thread the tail at the crown onto a yarn needle and weave it through the stitches in a few directions.
Tip: Weave each end in at least three directions. Baby clothes go through the wash a lot.