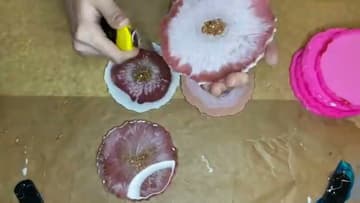
Resin Art for Beginners: Coaster Tutorial
Source: Summer Girl Designs • Full tutorial: www.craftingstepbystep.com/crafts/resin-art-for-beginners-coaster-tutorial
- Difficulty
- Medium
- Hands-on time
- About 30 minutes
- Wait time
- 48 hours
- Cost
- About $20 to $40
- Makes
- 1 resin coaster
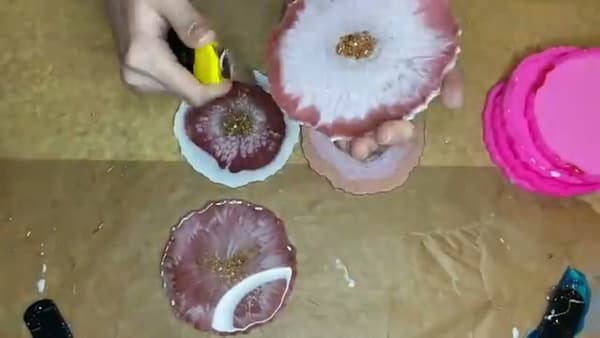
Tools
- Silicone mold
- Mixing cups
- Stir sticks
- Heat gun or torch
Materials
- Epoxy resin
- Pigments
- Glitter
Steps
1. Prep Your Workspace
Cover your work table with baking paper. Resin drips peel right off of it, and it protects the surface underneath.
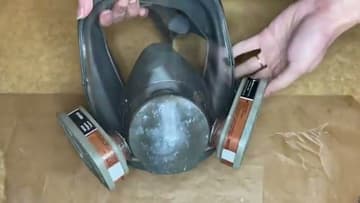
2. Put on Safety Gear
Wear 100% nitrile gloves for skin protection. Regular latex gloves do not provide enough barrier against epoxy resin.
3. Prep Your Molds
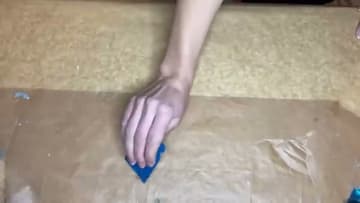
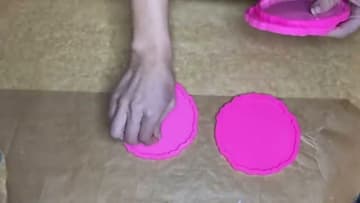
Clean the inside of your silicone coaster molds by pressing tape into them and peeling it off. This picks up any dust, fibers, or particles that would show up in the cured resin.
4. Mix the Resin
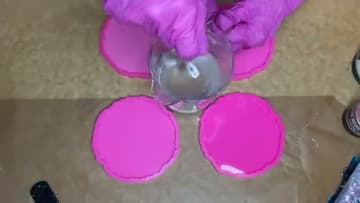
Measure Part A and Part B into a cup according to your ratio. For four coasters, about 225 ml total is enough.
5. Add Pigments and Colors
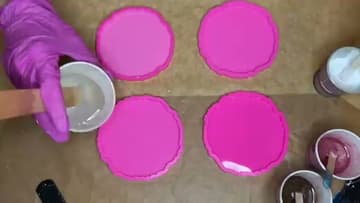
Split the mixed resin into smaller cups and add a different pigment to each one. Color shift pearls, pigment pastes, and glitter all work.
6. Pour into the Molds
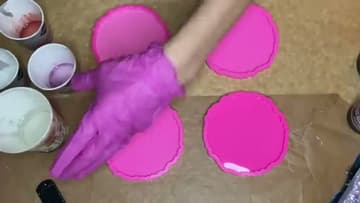
Start by pouring clear resin as a base layer into the first mold. Then circle colored resin around the edges in rings.
7. Pop Bubbles and Let Cure
Pass a torch gun quickly over the surface of each mold to pop air bubbles. Move fast - holding the flame in one spot will burn the resin or melt the silicone mold.
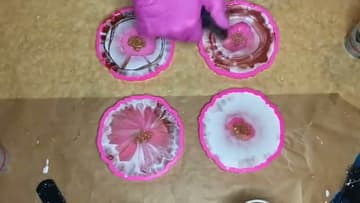
8. Demold and Clean the Edges
Pop the cured coasters out of the silicone molds. Check both sides - sometimes the bottom has a better finish than the top.
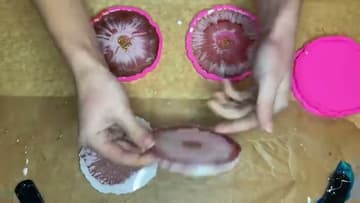
9. Apply a Protective Top Coat
Paint liquid latex on the bottom of each coaster to protect it from drips. Prop them up on cups so the top surface is accessible.