How to Weave on a Lap Loom: A Beginner Landscape Tapestry
Source: Spruce & Linen • Full tutorial: www.craftingstepbystep.com/crafts/how-to-weave-on-a-lap-loom
- Difficulty
- Easy
- Hands-on time
- About 2 hours 30 minutes
- Cost
- About $3 to $8
- Makes
- 1 framed mini tapestry

Tools
- lap loom or frame loom
- weaving comb
- metal tapestry needle
- scissors
- ruler
- marker
- picture frame
Materials
- cotton warp string
- medium weight yarn in 5 colors
- cardstock
- thick paper
Steps
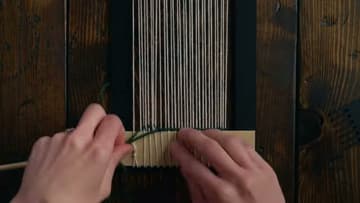
1. Twine the First Row Above the Cardstock on the Lap Loom
Warp the loom first. The video double warps a mini loom with 30 strings of cotton, two in each notch.
Tip: The cardstock comes out at the end and leaves room for a fringe.
2. Draw the Landscape Pattern Onto the Lap Loom Warp
Slip a printed pattern or sketch behind the warp, then trace the hill lines onto the strings with a marker. A water-soluble marker is ideal, but any marker works because the weft will cover every mark.
Tip: Dots on each warp string are easier to follow than one long drawn line.

3. Weave the First Mountain in Plain Weave on the Lap Loom
Start with the front hill in your darkest color. Weave over one warp and under the next across the shape, then come back the opposite way.
Tip: A pick-up stick slid under alternate warps opens the gap for you on every other row.
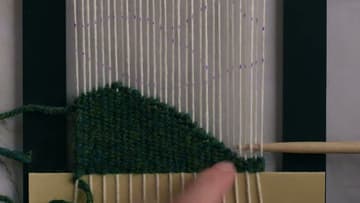
4. Butt the Second Weft Color Against the First Mountain
Start the second color at its lowest point. Weave a row across until it reaches the warp string next to where the first color ended.
Tip: Leave tails a few inches long. They are easier to weave in later.
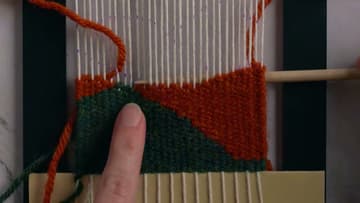
5. Fill the Back Mountains From the Lowest Point Up
Weave the next hills the same way, one color at a time. The video uses gold, then a light pink for the farthest peak.
Tip: Press each row down firmly so no warp shows between colors.
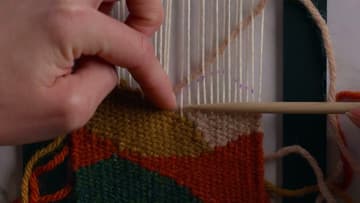
6. Weave the Sky Into the Valleys Between the Peaks
Use the lightest color for the sky. Fill the low spots between the peaks first, each one on its own.
Tip: Finish with another row of twining across the top to lock everything in.
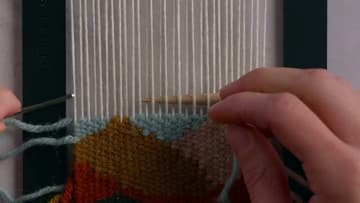
7. Tuck and Trim the Weft Tails on the Back of the Weaving
Thread each tail onto a small metal tapestry needle and weave it up or down into the back of the same color for an inch or so. The rows are packed tight, so a slim metal needle slides through better than a wooden one.
Tip: Tuck tails into their own color so nothing shows on the front.
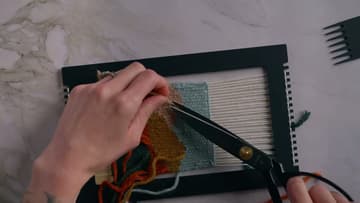
8. Mark a Straight Fringe Line Before Cutting the Weaving Off the Loom
Lay a ruler across the warp at each end and mark a straight line with your marker. Leave about three quarters of an inch for fringe.
Tip: A clean pet brush works well for fluffing cotton fringe.

9. Mount the Woven Landscape Tapestry on Paper in a Frame
Trace the frame's glass or insert onto thick paper, such as watercolor paper, and cut it out. Set the weaving on it and mark where it sits.
Tip: Stitch over any warp ends that stick out so they lie flat.