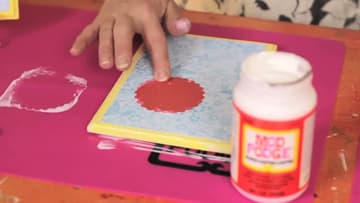
How to Use Mod Podge
Source: Plaid Crafts • Full tutorial: www.craftingstepbystep.com/crafts/how-to-use-mod-podge
- Difficulty
- Easy
- Hands-on time
- About 30 minutes
- Wait time
- 15 minutes
- Cost
- About $15 to $25
- Makes
- 1 decoupaged wood plaque

Tools
- foam brush
- rubber brayer
- scissors or craft knife
- fine-grit sandpaper
- craft mat
Materials
- Mod Podge Gloss
- acrylic craft paint
- unfinished wood plaque
- scrapbook paper
- embellishments (buttons, gems, letter tiles)
Steps
1. Gather Your Supplies
You need Mod Podge, a foam brush, a brayer, acrylic paint, a wood surface and your paper. Sand the wood lightly and paint it first - the painted edge is what frames your paper once everything is dry.
Tip: Watch this step Any sealed or raw wood works. Unfinished plaques from the craft store are a dollar or two and take paint well.
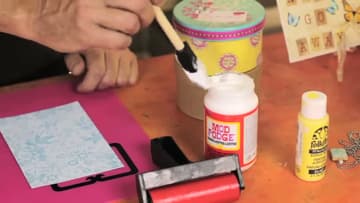
2. Brush Mod Podge onto the Wood
Load a foam brush and lay down a thin, even coat across the whole wood surface. Get right out to every edge.
Tip: Watch this step Thin is the whole game. A thick coat traps moisture under the paper and takes hours longer to set.
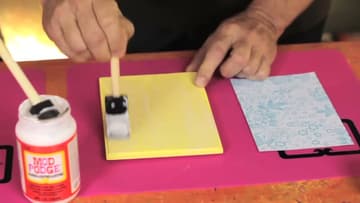
3. Coat the Back of the Paper
Flip your paper over and cover the back with another thin layer. Pay attention to the edges - add a little extra Mod Podge right along them.
Tip: Watch this step Inkjet prints will bleed the moment Mod Podge touches them. Use laser copies for photos.
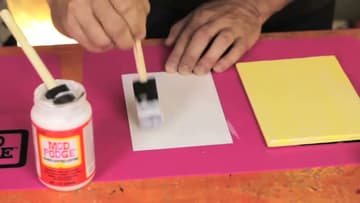
4. Position the Paper on the Wood
Lay the paper onto the wood surface. Wet Mod Podge gives you real wiggle room, so slide it around until the edges line up evenly.
Tip: Watch this step Work from the middle outward when you press. Starting at an edge pushes wrinkles ahead of your fingers.
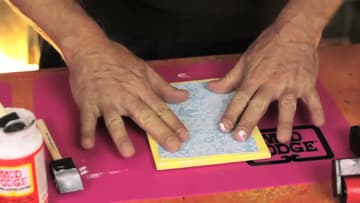
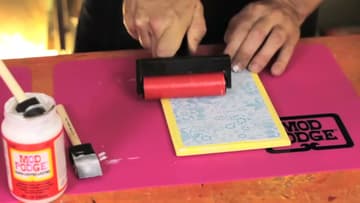
5. Roll Out the Bubbles with a Brayer
Run a brayer across the paper to push out wrinkles and trapped air. You can hear the bubbles moving as they go.
Tip: Watch this step No brayer? A clean plastic gift card wrapped in a paper towel does the same job on small pieces.
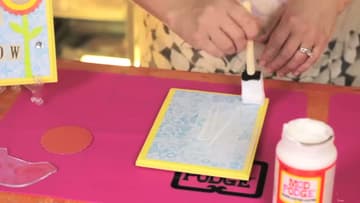
6. Let It Dry, Then Add the Top Coat
Give it 15 minutes to dry - skipping this is where wrinkles and bubbles come from. Then brush a thicker coat over the top with your foam brush, working in one direction only so you don't leave stroke lines.
Tip: Watch this step Cloudy is normal while it is wet. Gloss formula clears as it cures - do not add more trying to fix it.
7. Layer On More Paper for a Collage
Once the top coat has a couple of hours on it, build up your collage. Same method every time: Mod Podge on the back of the piece, position it, tap it down with your fingers or the brayer, then top coat over it.
Tip: Watch this step Let each layer cure before adding the next, or the brush will drag the piece underneath out of place.